
A small bathroom can make a body feel like it is forever hunting for a place to set one more thing. I have always believed the handiest fixes are often the simplest ones, and this little bathroom shelf proves it. By attaching strong adhesive strips behind a narrow white picture ledge and mounting it above the toilet, you can create a tidy spot for extra tissue, a candle, a small plant, or those everyday items that somehow never seem to have a proper home.
What I like most about this project is that it is approachable for renters, beginners, and anyone who does not want to drill into tile or drywall. It reminds me of the kind of practical household fix we always appreciated on the farm: use what you have, keep it neat, and make it serve you well every day.
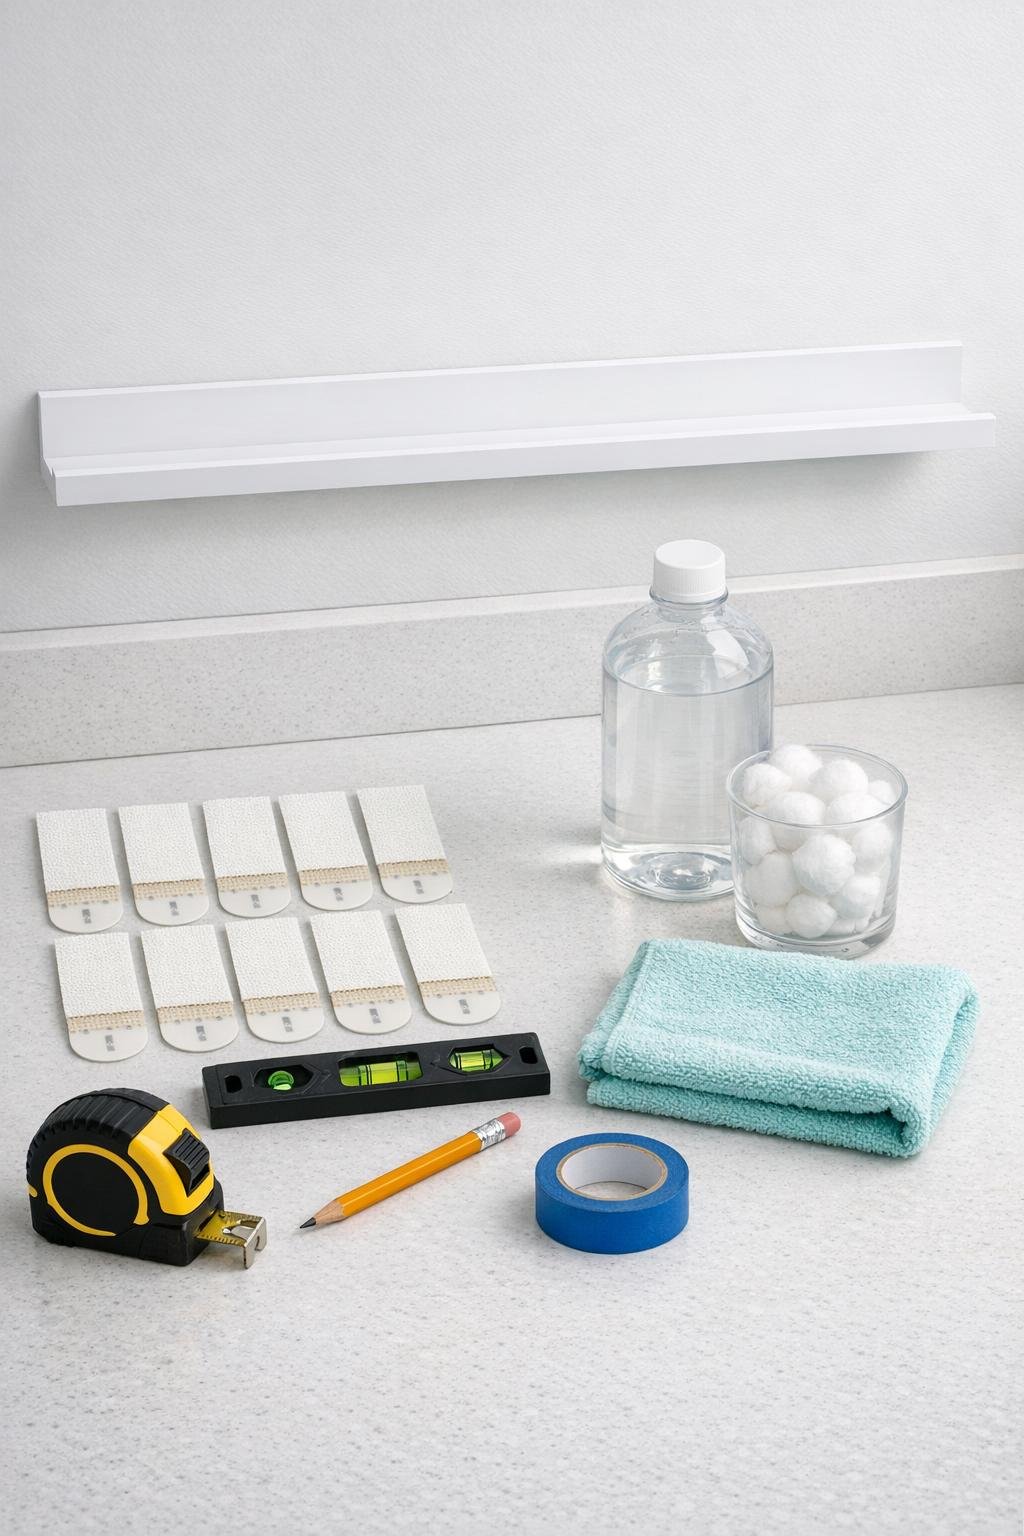
Materials
1 narrow white picture ledge, 20 to 24 inches long and 3 to 4 inches deep
Instructions
1. Empty the top of the toilet tank area and choose a spot on the wall where the shelf will sit comfortably above it, leaving at least 10 to 12 inches of clearance above the tank lid.
2. Measure the width of the wall space and mark the center point lightly with pencil so the ledge will look balanced over the toilet.
3. Wipe the wall surface thoroughly with rubbing alcohol on a microfiber cloth, cleaning an area slightly larger than the shelf, then let it dry completely.
4. Turn the picture ledge face down and attach 4 pairs of adhesive strips evenly across the back, placing one pair near each end and spacing the others between them.
5. Hold the ledge against the wall at your marked height and use the level to make sure it is perfectly straight; mark the left and right ends lightly with pencil or small pieces of painter's tape.
6. Remove the backing from the exposed side of the adhesive strips, line the ledge up with your marks, and press it firmly against the wall for 30 to 60 seconds.
7. Run your hands along the full length of the ledge and press over each strip location again to help the adhesive bond evenly.
8. Let the shelf set according to the adhesive manufacturer's directions, ideally at least 1 hour before styling and up to 24 hours before placing heavier items on it.
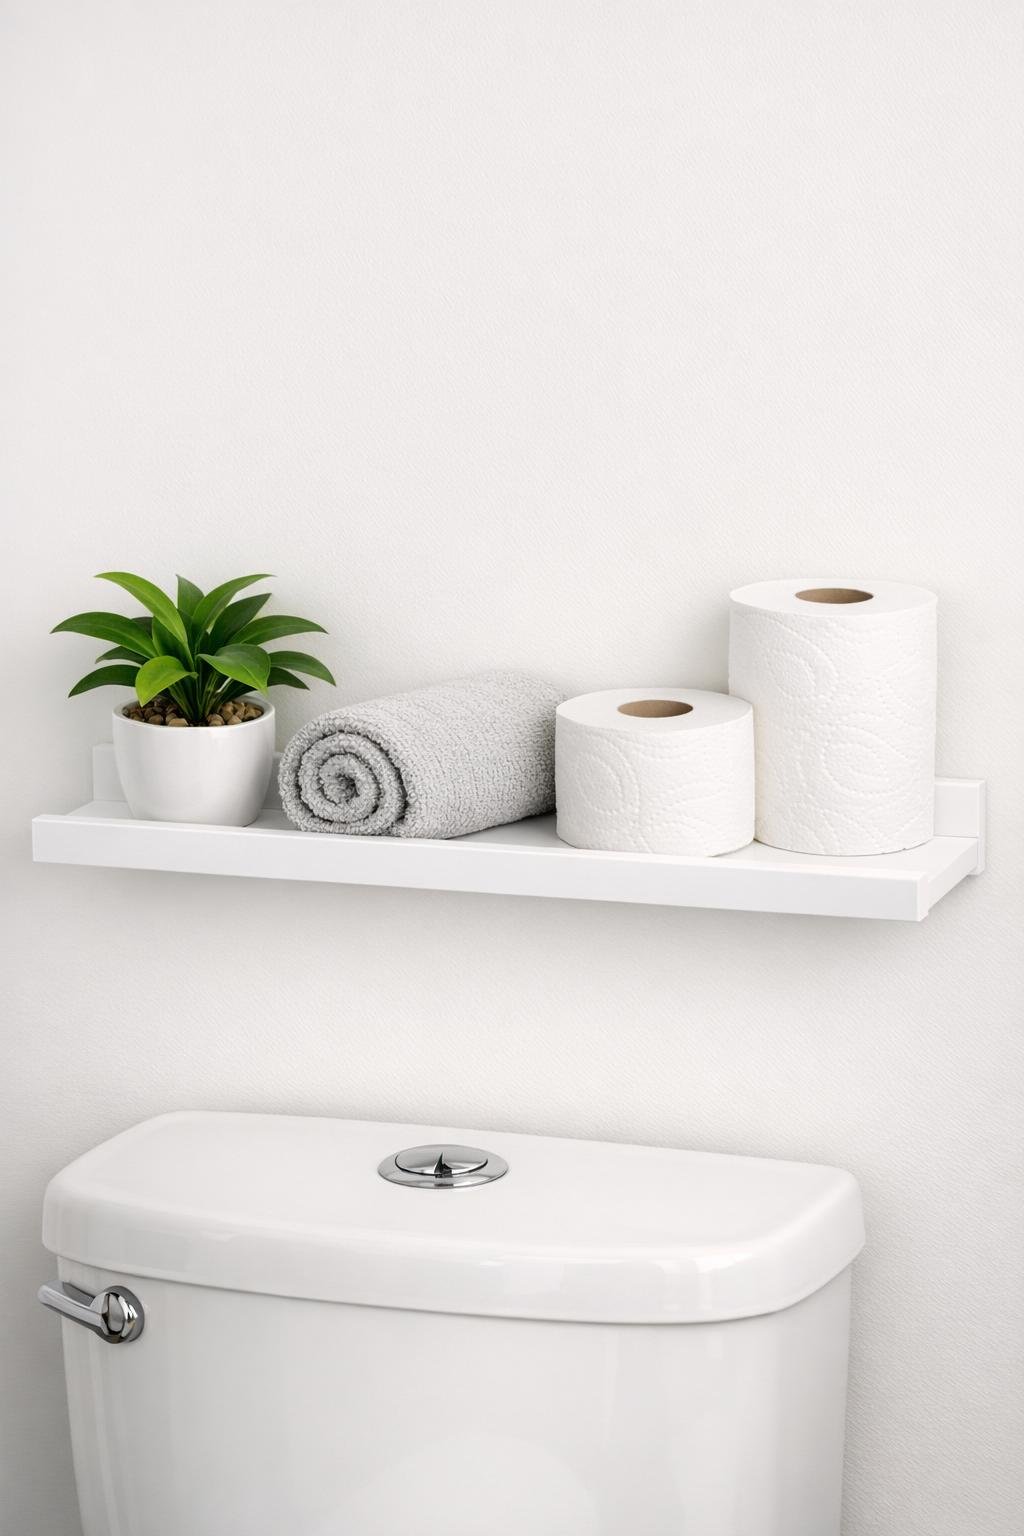
9. Add lightweight bathroom items such as a small jar, extra toilet paper, a tiny plant, or a room spray, keeping the total weight under the strip rating.
Variations & Tips
For renters: This is a lovely option when you want storage without making holes, but do check that your wall surface is smooth and suitable for adhesive strips before you begin.
For extra security: Use more adhesive pairs if your ledge is longer, but always stay within the manufacturer's wall and weight guidelines.
For bathroom styling: I like keeping the top simple with just two or three useful things. In a small room, a shelf looks best when it is helpful without becoming crowded.
For wall prep: Do not skip the alcohol wipe. In my experience, a little soap film or bathroom humidity residue can keep adhesives from holding as well as they should.
For shelf choice: Pick a ledge with a front lip so items are less likely to slide off. That small detail makes a big difference above a toilet.
For weight limits: This shelf is best for light bathroom storage and display, not heavy glass containers or stacks of thick books. Think practical and gentle, and it will serve you well.