
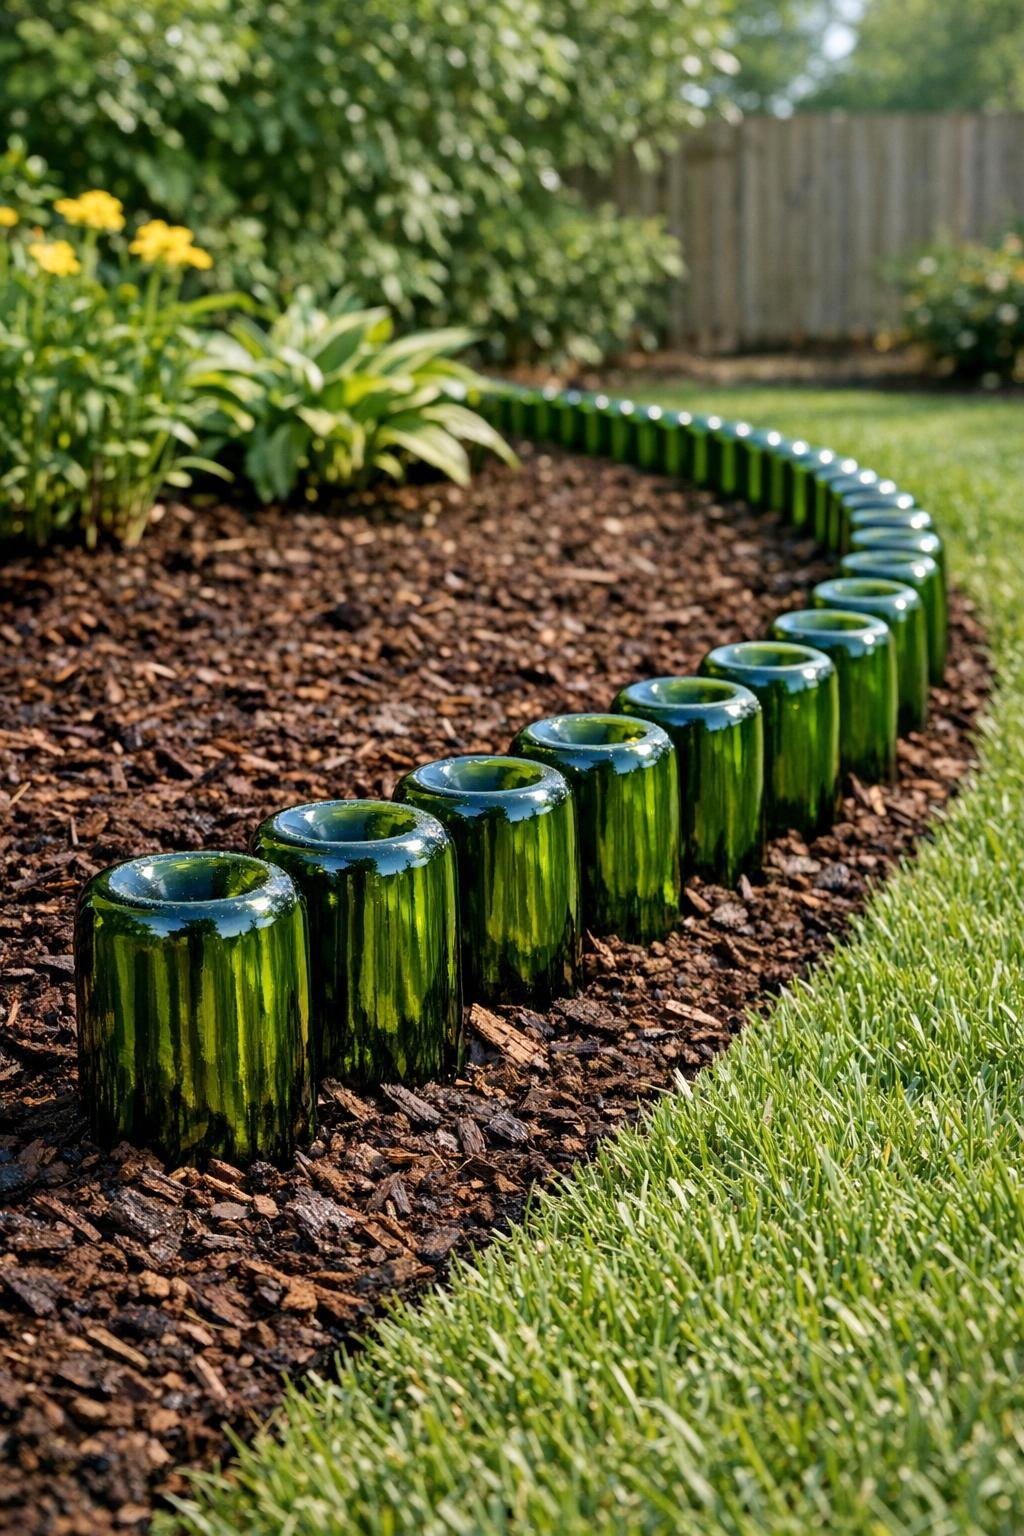
I love a garden project that looks polished without requiring a whole weekend of heavy work, and this wine bottle border is exactly that kind of win. By burying smooth green wine bottles upside down into dark brown mulch, you get a border that feels charming, a little whimsical, and surprisingly tidy. The green glass catches the light beautifully, and it gives a plain flower bed or walkway edge much more personality.
This is a great project for anyone who wants an affordable upcycling idea and doesn’t mind a bit of digging. I’m always looking for ways to make my yard feel more intentional without adding one more high-maintenance task to my week, and this is one of those simple upgrades that makes the whole space feel finished.
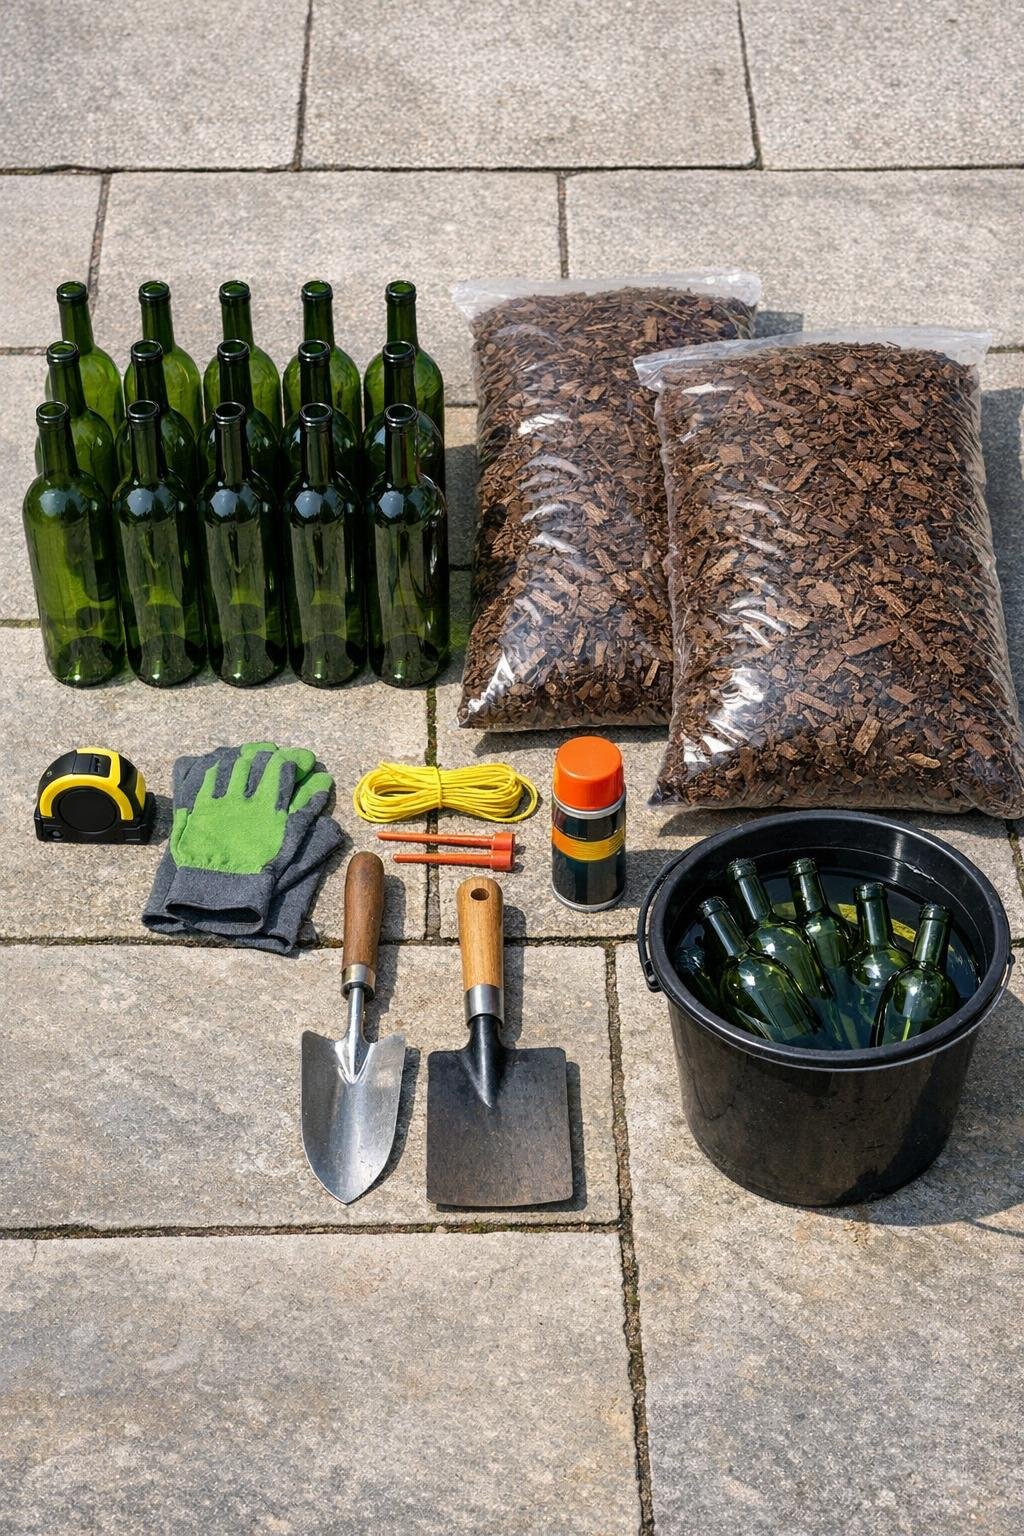
Materials
24 smooth green wine bottles, standard 750 ml size, labels removed
Instructions
1. Collect your bottles and remove all labels, then wash and dry them well so the glass looks clean and consistent in the garden.
2. Measure the area you want to border and count out enough bottles to fit it, allowing about 3 to 4 inches of spacing from bottle center to bottle center.
3. Mark your border line with stakes and twine for a straight edge, or use marking spray or flour to sketch a curved line for a softer look.
4. Use the flat spade to cut a narrow trench along the marked line, making it about 6 inches deep and just wide enough for the bottle necks.
5. Set each bottle upside down into the trench, pushing the neck into the soil so the bottle bases sit evenly above the surface by about 4 to 5 inches.
6. Adjust the spacing as you go so the bottles sit snugly side by side or with a small even gap, depending on the look you want.
7. Backfill soil around the bottle necks with your trowel, then press it firmly to hold each bottle upright and stable.
8. Add dark brown mulch around the border, covering the disturbed soil and creating a clean finished edge around the bottles.
9. Step back and check the line from several angles, then gently reposition any bottle that looks tilted before tamping the soil one last time.
10. Water the area lightly to help the soil settle, and wipe off any dirt on the exposed glass so the border looks crisp right away.
Variations & Tips
For a straighter border: Keep twine pulled tight between stakes and install bottles one section at a time so the line stays neat.
For a more relaxed cottage look: Use a gentle curve and leave tiny, even gaps between bottles instead of placing them tightly together.
Bottle prep tip: If labels are stubborn, soak the bottles in warm soapy water for 20 to 30 minutes first. I usually do this in batches because it makes the project feel much more manageable after work.
Safety tip: Only use intact bottles with no chips or cracks, and wear gloves while handling and burying them.
Height consistency: Set 3 or 4 bottles first and check the exposed height before continuing; it is much easier to correct early than after the whole border is in place.
Best placement: This border works especially well around flower beds, herb gardens, or short pathways where the glass can be seen clearly without getting hidden by tall plants.
Cold-climate tip: In areas with freeze-thaw cycles, bury the bottles deeply and tamp the soil well so they stay more secure through seasonal shifts.