
If your spice cabinet has turned into the usual jumble of half-used jars, this magnetic spice rack is one of those small kitchen projects that makes daily cooking feel so much easier. I love a DIY that looks tidy, saves space, and takes less than an afternoon, and this one checks all three boxes.
I’m especially fond of projects like this because weeknight cooking at my house is all about efficiency. When I can see cumin, paprika, and oregano at a glance instead of digging through a crowded shelf, dinner prep goes a lot more smoothly. This is a great project for anyone with a small kitchen, a busy schedule, or just a soft spot for practical organizing ideas that still look polished.
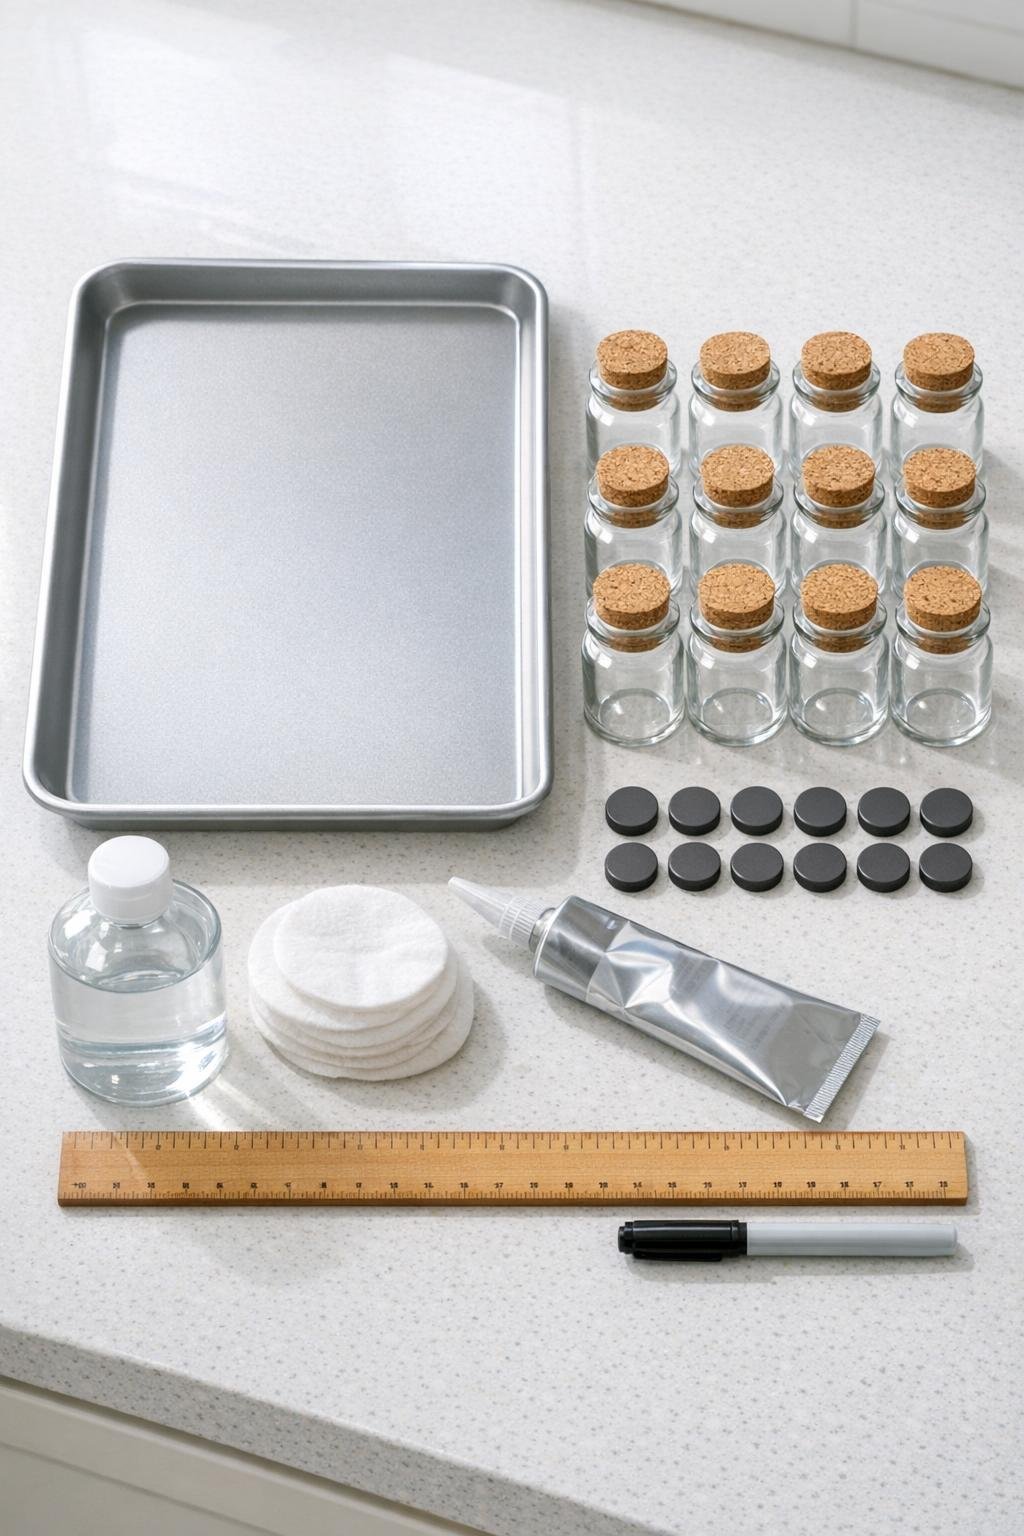
Materials
1 metal cookie sheet, approximately 13 x 18 inches
Instructions
1. Wash and dry the glass jars and cork tops thoroughly so no dust or oils interfere with the adhesive. Wipe the outside bottom of each jar with rubbing alcohol and let them air-dry completely.
2. Clean the cookie sheet with warm soapy water, dry it well, and set it on a flat work surface. If you want a centered layout, use a ruler and marker to lightly mark rows where the jars will sit.
3. Place one magnet on the bottom center of each jar to test the fit before gluing. Make sure the magnet sits flat and does not extend past the jar base.
4. Apply a small, even layer of industrial adhesive to one magnet and press it onto the bottom of a jar. Repeat with the remaining jars, keeping the magnets centered so the jars hang evenly later.
5. Stand the jars upright and allow the adhesive to cure for the full time listed on the package. I always give glued pieces a little extra time here, especially for something that will hold weight vertically.
6. Once the adhesive has cured, use a small funnel to fill each jar with a spice, leaving about 1/2 inch of space at the top. Press the cork tops in firmly so they sit snugly.
7. Test each jar on the cookie sheet one at a time before loading the full rack. If a jar slides or feels weak, remove it and replace the magnet with a stronger one or add a second magnet if the jar base allows it.
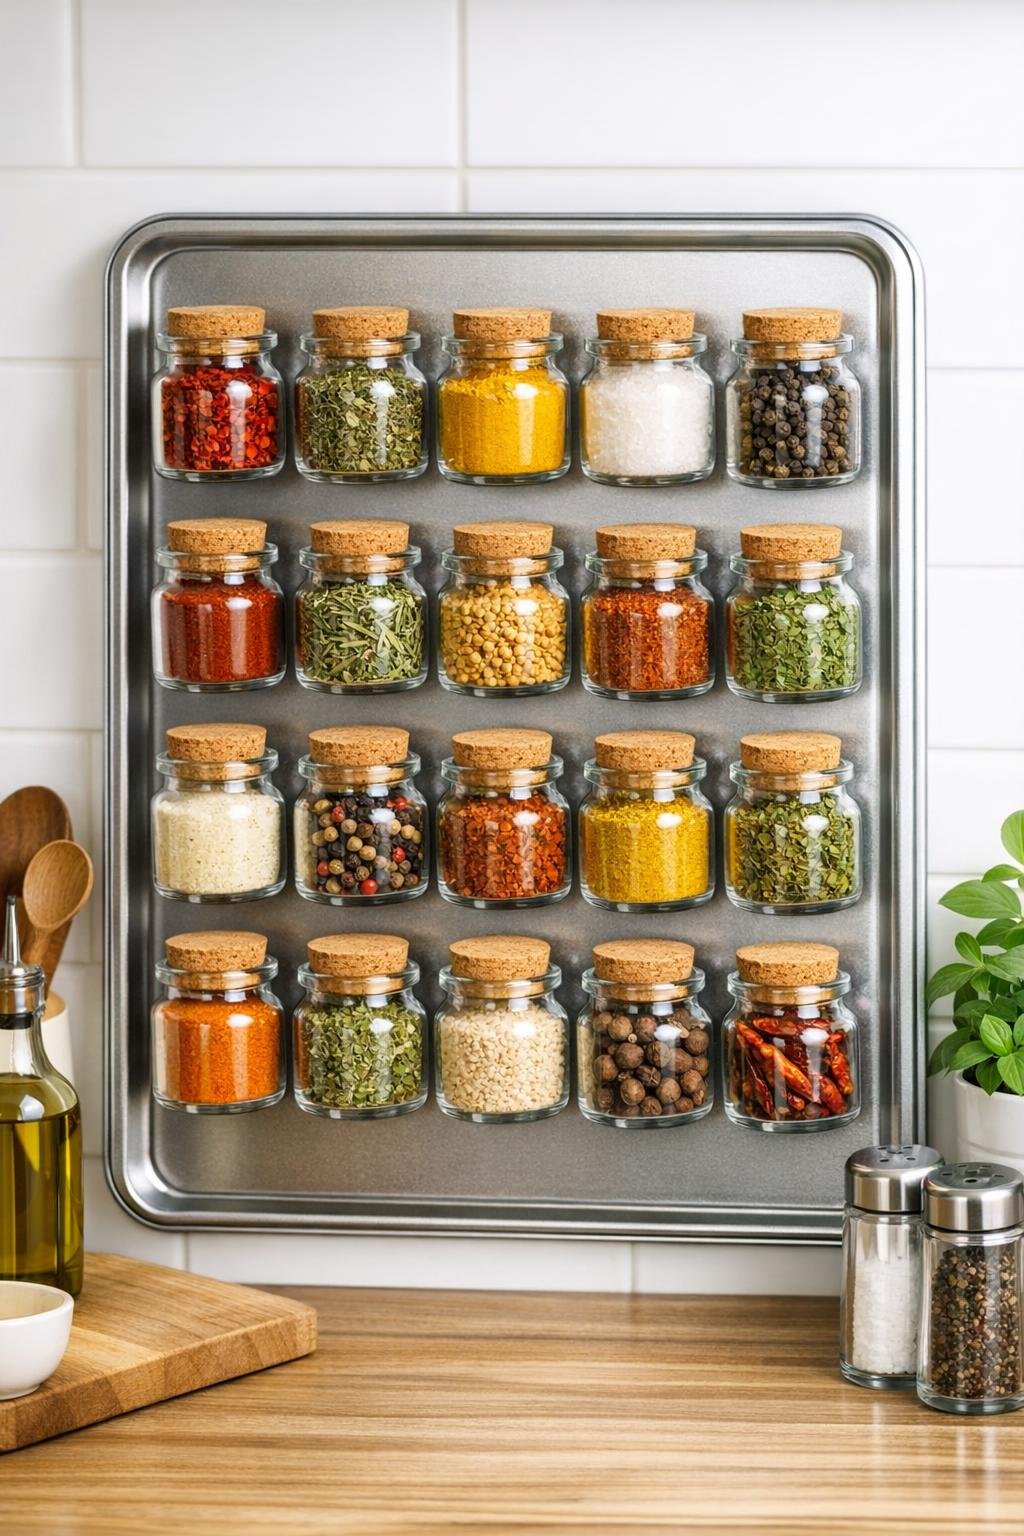
8. Arrange the filled jars on the cookie sheet in straight rows or by how often you use them. Leave a little finger space between jars so you can remove one quickly while cooking.
9. Set the cookie sheet upright against a backsplash, place it on a shelf, or mount it securely if your sheet has holes or a frame that allows safe hanging. Always make sure the rack is stable before relying on it for everyday use.
Variations & Tips
Stronger hold: If you use heavier glass jars or fill them fully, choose magnets rated for more weight than you think you need. In my experience, a little overbuilding saves a lot of annoyance later.
Better adhesive bond: Roughing up the magnet surface very lightly with fine-grit sandpaper can help some adhesives grip better. Just wipe away any dust before gluing.
Easy spice system: Group baking spices together and savory spices together so weeknight cooking moves faster. That kind of simple organization helps more than I ever expect it to.
Placement option: If you do not want to hang the cookie sheet, it works beautifully propped inside a pantry or on a deep shelf. It still keeps everything visible without taking up much room.
Jar choice: Short, flat-bottom jars work better than tall narrow ones because they are less top-heavy. If you are shopping for jars, that is the first thing I’d look for.
Spill prevention: Check that every cork fits tightly before mounting the jars. For extra security, keep powdered spices in especially snug jars so they do not puff out when handled.