
There’s something about a garden path that sets the whole tone of a yard. Out here where I live, a walkway is never just a way to get from the porch to the gate; it’s part welcome mat, part practical mud control, and part little bit of beauty you get to enjoy every single day. This cedar-and-river-rock walkway upgrade is one of those projects that looks thoughtful and custom, but it’s very manageable if you take it one section at a time.
I especially love this approach for anyone who wants to soften a plain path or cover a rough, tired-looking walkway without pouring concrete. The warm cedar slats against cool gray river rock have that lovely natural contrast that feels both tidy and relaxed, like something you’d notice in a well-kept cottage garden. If you’re comfortable measuring, leveling, and using a drill and saw, you can absolutely make this yourself.
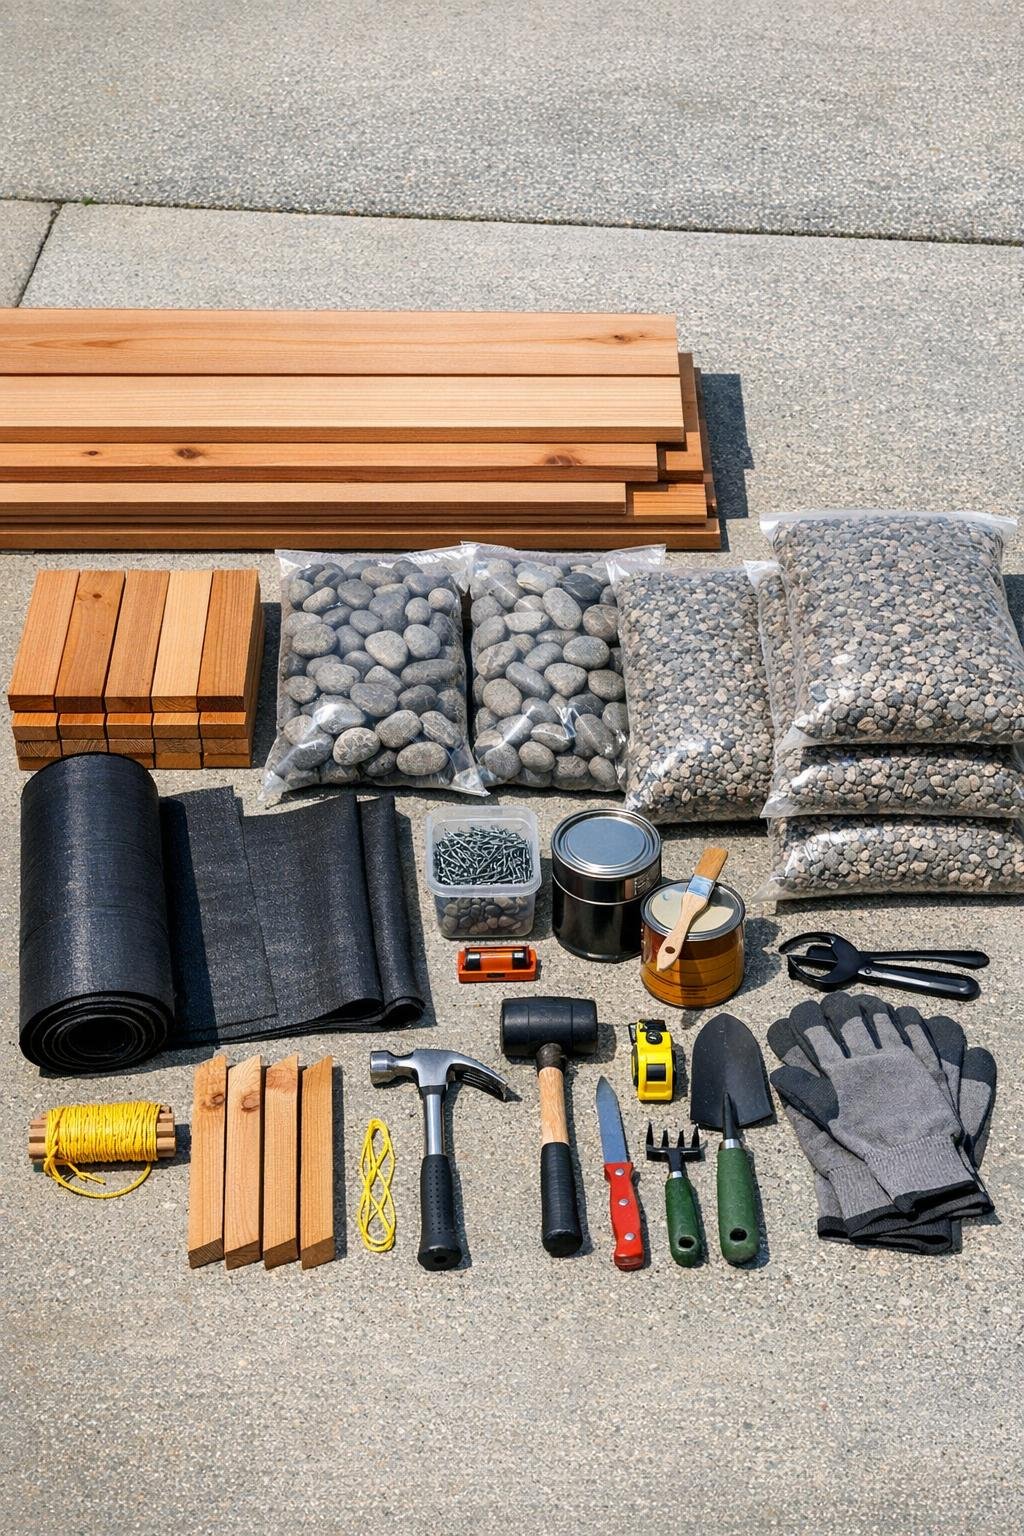
Materials
6 cedar deck boards, 5/4 x 6 x 8 ft, for slats
Instructions
1. Mark the walkway outline with stakes and mason’s string, keeping the width at about 36 inches so it feels comfortable underfoot. Check the path from several angles before digging so the line looks natural in the yard.
2. Remove sod and soil to a depth of about 4 inches across the full path, then rake the bottom smooth. If your yard holds water, add an extra inch of depth so you can build a better-draining base.
3. Lay landscape fabric over the excavated area, overlapping seams by 4 inches, and secure it with landscape spikes. This simple layer saves you a lot of weeding later, and I never skip it anymore.
4. Spread 2 inches of crushed gravel over the fabric and compact it firmly with a hand tamper. Keep the surface as level as possible, with a slight slope away from the house for drainage.
5. Cut the cedar deck boards into slats to fit your path width, about 34 1/2 inches long if your finished walkway is 36 inches wide. Cut the 2 x 2 cedar into support cleats about 20 inches long.
6. Brush or wipe the cedar pieces clean and apply a coat of penetrating exterior sealer to all sides, then let them dry fully. Cedar holds up well on its own, but this extra step helps preserve that rich warm color.
7. Assemble the cedar panels by laying slats side by side with 1/4 inch gaps between them, then fastening them to two or three underside support cleats with 1 5/8 inch exterior screws. Pre-drill each screw hole to prevent splitting.
8. Set the cedar panels on top of the compacted gravel base and check that each one sits flat and steady. Add or remove a little gravel underneath as needed until there’s no rocking.
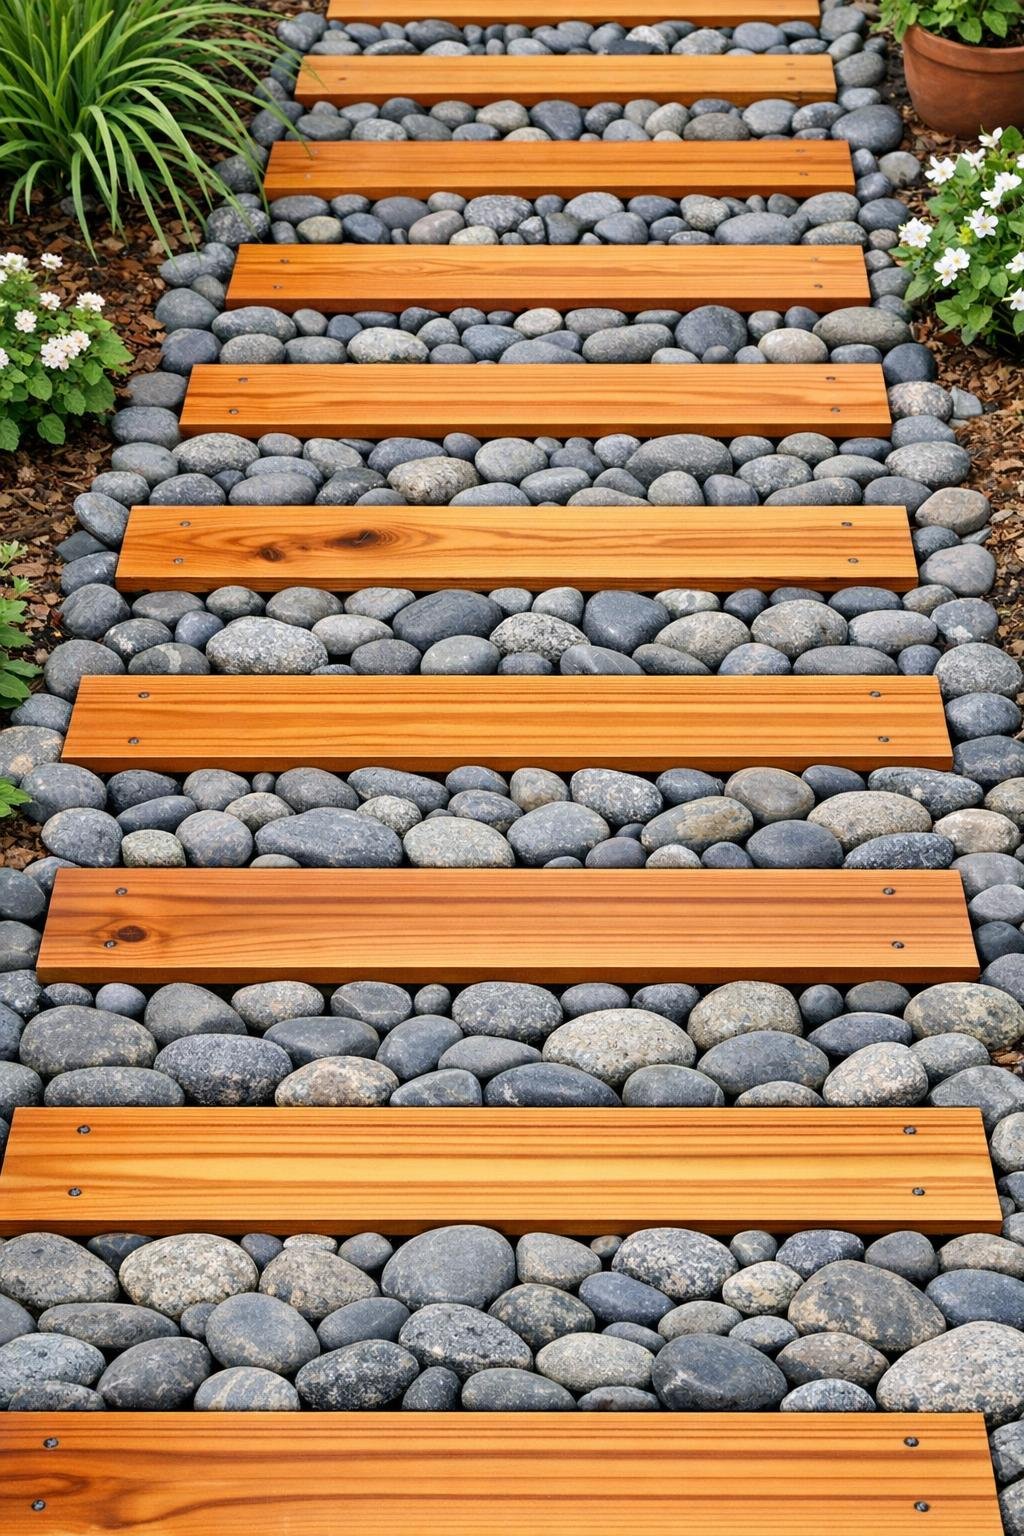
9. Pour smooth gray river rock around and between the cedar panels, keeping the stones just below the top surface of the slats. Use your hands or a small trowel to nestle the rock neatly so the wood remains the comfortable walking surface.
10. Adjust the rock coverage until the gaps look balanced and the cedar stands out clearly against the gray stone. If needed, edge the sides with a little polymeric sand or extra gravel to help hold everything in place.
11. Walk the path slowly and test every section for movement, then tighten screws or re-level any panel that shifts. A good walkway should feel solid the first time you step on it, not like a loose boardwalk.
12. Sweep off the cedar, rinse dust from the river rock if needed, and let the whole walkway settle for a day before heavy use. Once it’s cleaned up, the contrast between the honey-colored cedar and cool stones is what makes this project so charming.
Variations & Tips
For a longer path: Build the walkway in repeated cedar panel sections instead of one long piece. It’s easier to level, easier to repair later, and much simpler to carry into place.
For better drainage: Increase the gravel base to 3 inches and crown the center of the path very slightly. That little bit of slope helps rain move off instead of puddling around the wood.
For a more rustic look: Use varying slat widths or slightly wider gaps between boards. I’ve found that a too-perfect layout can look stiff outdoors, while a touch of variation feels more at home in the garden.
For lower maintenance: Let the cedar weather naturally to a soft silvery tone instead of resealing for color. It will still pair beautifully with gray river rock, just with a quieter, aged look.
To prevent wobble: Take your time leveling each panel before adding stone. Most problems in a project like this come from rushing the base, and as my family always said, a good foundation saves double work later.
To keep it comfortable to walk on: Make sure the river rock sits slightly below the top of the cedar slats. That way your foot lands on wood first, while the stones provide the texture and charm around it.