
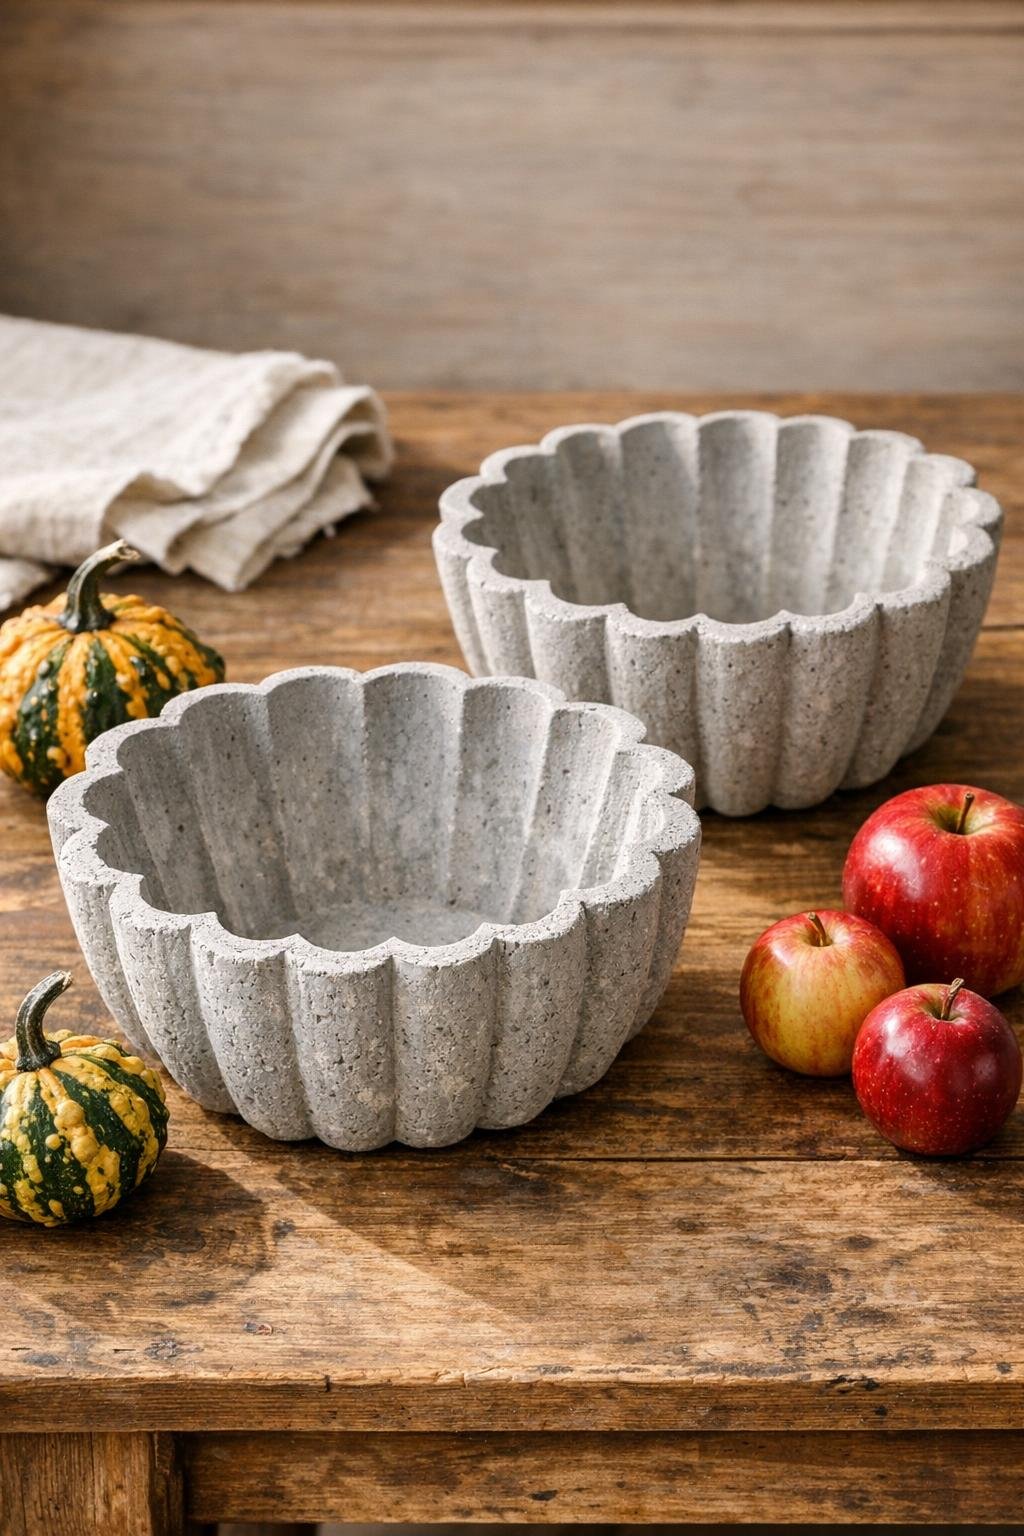
I’ve always had a soft spot for projects that turn the plainest household odds and ends into something that looks like it came from a lovely little shop in town. These fluted concrete harvest bowls are just that sort of make-do magic: a pair of sturdy, sculptural bowls made by pouring cement into ribbed gelatin molds, with one humble pantry staple helping everything release cleanly. The finished pieces have that old-fashioned pressed-glass look, only in stone, and they’re right at home holding gourds, apples, seed packets, or a candle on the table.
Out where I live, we’ve long believed in using what we have and making it beautiful enough to last. This is a fine weekend project for beginners, because the shapes come from the molds, not from any fancy handwork. If you like practical décor with a little farmhouse character, this one is worth making.
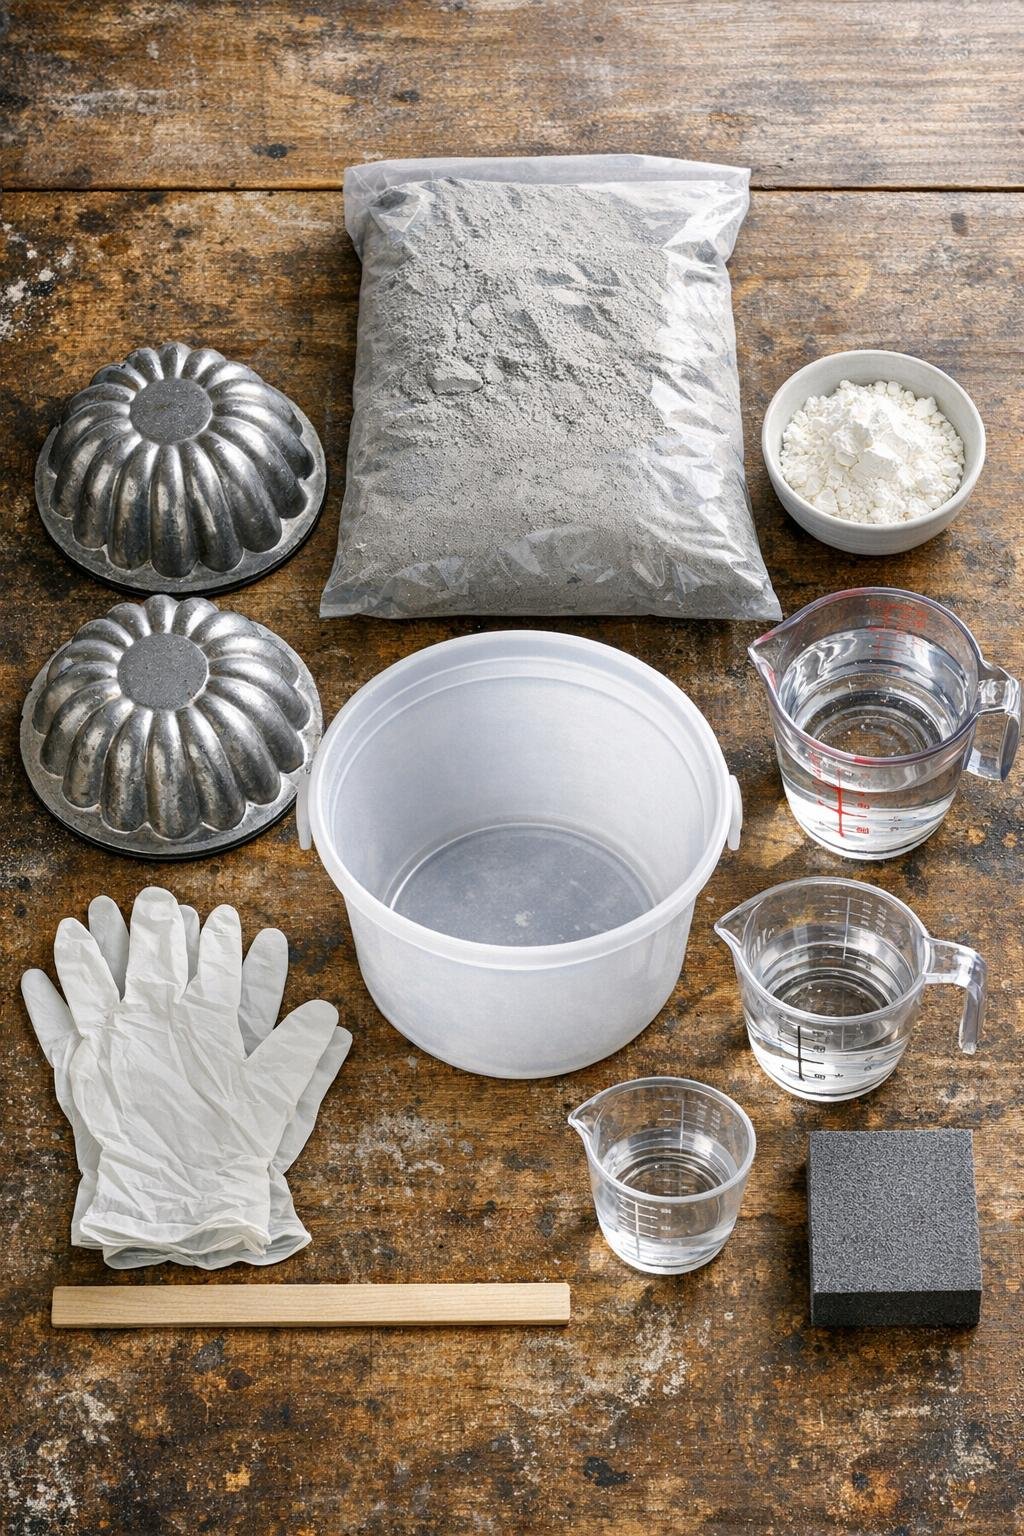
Materials
Instructions
1. Cover your work surface with a plastic drop cloth and set the gelatin molds on a level area where they can sit undisturbed for at least 24 hours.
2. Lightly coat the inside of each ribbed mold with cooking oil using a pastry brush or paper towel, making sure the oil reaches down into all the flutes.
3. Dust 2 tablespoons of cornstarch into each mold and tilt them around so the starch coats the oiled interior; tap out any excess. That pantry staple helps the concrete release without tugging at the delicate ridges.
4. In the bucket, combine 4 cups of concrete mix with 1 1/2 cups of water and stir slowly until it looks like thick brownie batter. Add up to 2 tablespoons more water only if dry pockets remain.
5. Let the mixture rest for 1 minute, then stir again to smooth it out and knock down any powdery lumps.
6. Spoon the wet concrete evenly into the two molds, filling each about 1 1/2 to 2 inches deep depending on the mold size. Tap each mold firmly on the table 8 to 10 times to bring air bubbles to the surface.
7. Gently shake and tap the molds once more, then smooth the top surface with the stir stick so the bowls will sit flat when turned out.
8. Leave the molds in place to cure for 24 hours, or until the concrete feels hard and cool with no soft spots when pressed.
9. Flex the molds gently and invert them onto a folded towel; if needed, tap the outside lightly until each bowl releases. Set the bowls upright and let them continue curing for another 24 to 48 hours.
10. Sand any rough rim or base edges with the sanding sponge until the bowls feel even and comfortable to handle, then wipe away the dust with a dry cloth.
11. Wait a full 5 to 7 days before using the bowls for produce or outdoor display so the concrete can finish hardening properly.
Variations & Tips
For a smoother finish: Sift out larger stones from the concrete mix before adding water if you want a finer, more refined surface on smaller bowls.
For a more aged look: After the bowls cure fully, rub on a thin coat of watered-down gray or chalky white paint and wipe most of it back off so the fluting stands out.
For outdoor use: Seal the finished bowls with a clear matte masonry sealer after the full curing time if they’ll live on a porch or garden bench.
About food use: I use these as decorative harvest bowls and always place a cloth liner or a smaller food-safe dish inside if I’m serving anything edible from them.
Choosing molds: Metal gelatin molds with deep, even ribs give the prettiest fluting, but sturdier plastic molds can work too as long as they hold their shape when filled.
A lesson from experience: Don’t rush unmolding. I’ve learned over the years, whether it’s a loaf of bread or a concrete casting, patience is often the difference between handsome and heartbreak.