
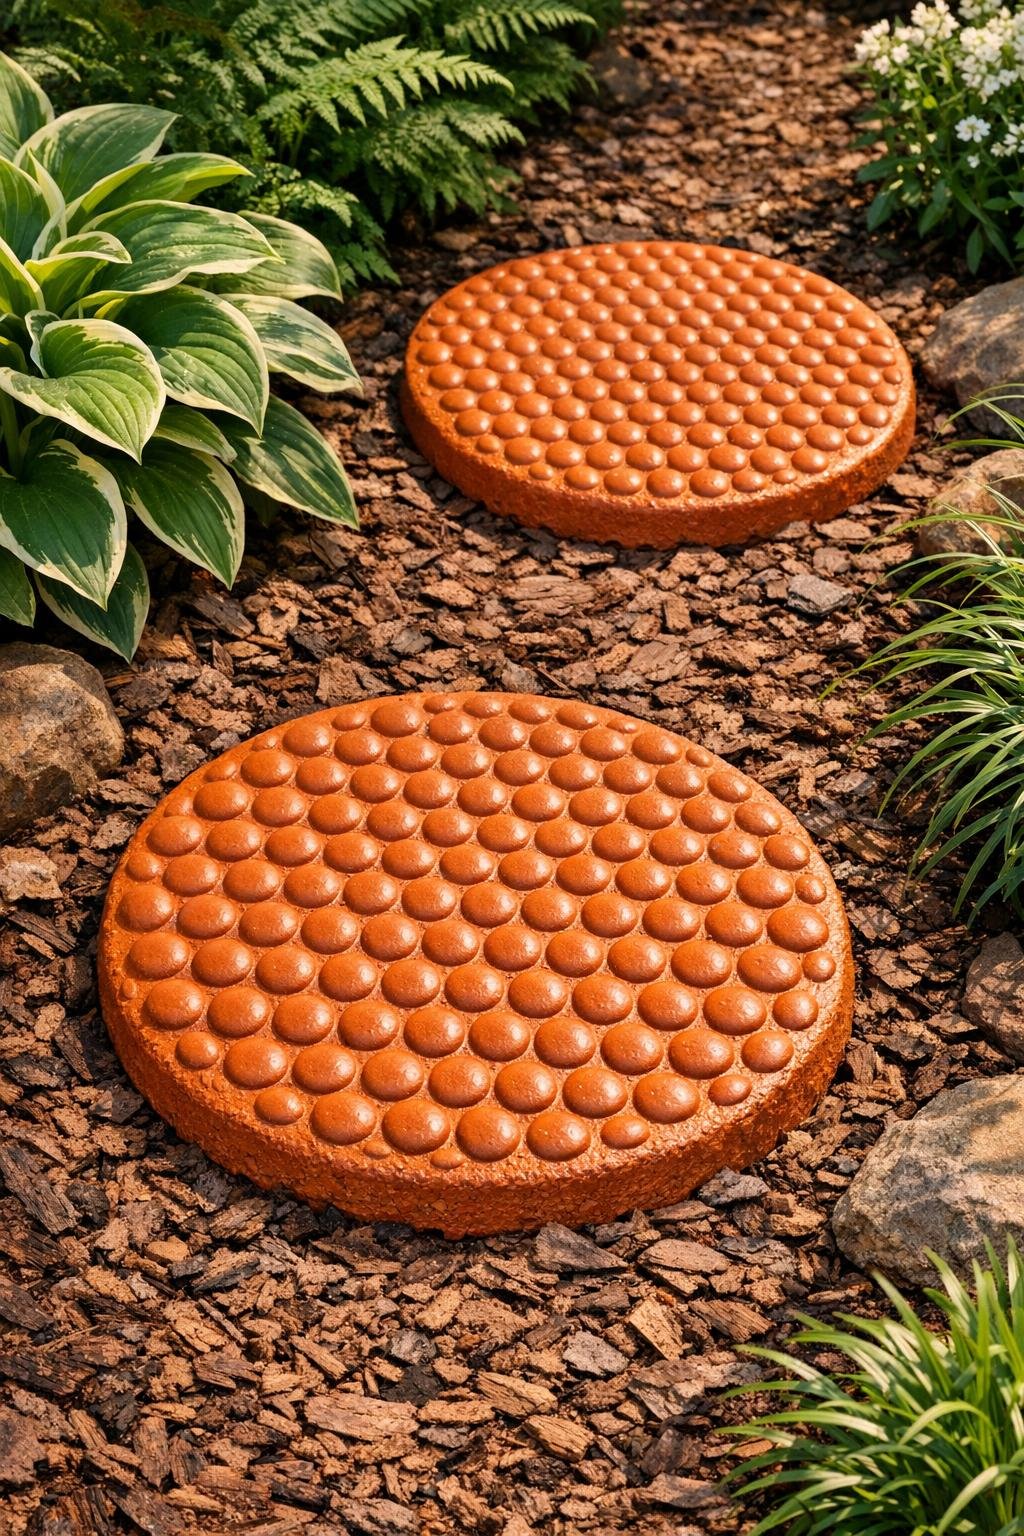
I love a garden project that looks a little fancy but is actually very doable on a busy weekend, and these textured harvest stepping stones are exactly that. By pressing bubble wrap into wet cement, you get a beautiful organic pattern that looks almost like seed pods or raindrops, and my little secret ingredient—acrylic craft paint mixed into the cement—warms the stones up with a soft harvest tone instead of plain construction gray.
This is a great project if you want to dress up a path, fill a muddy spot near a raised bed, or make a couple of handmade accents for the backyard without committing to a huge landscaping overhaul. I’m always looking for projects I can squeeze in between work and dinner prep, and two small stepping stones feel very manageable while still making the garden look pulled together.
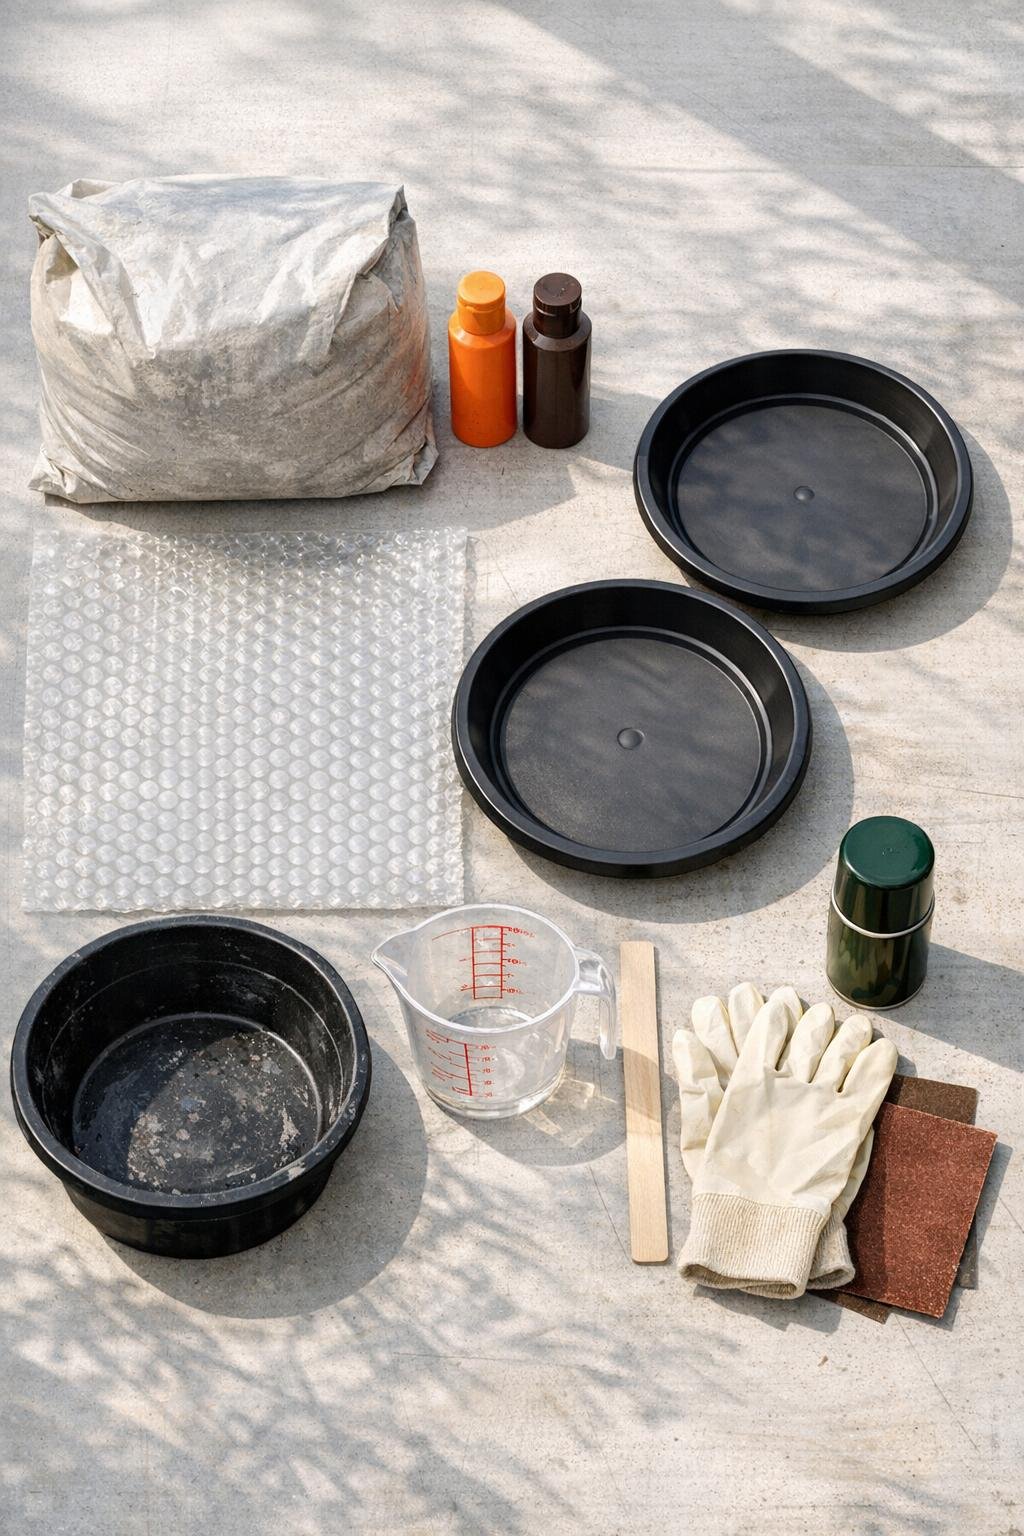
Materials
Instructions
1. Cover your work surface with a plastic drop cloth and set the two saucers on a flat, level area where they can sit undisturbed for at least 24 hours.
2. Lightly coat the inside of each saucer with nonstick spray or a thin layer of petroleum jelly so the stones release easily later.
3. Cut two circles of bubble wrap slightly smaller than the inside of the molds, with the bubble side ready to press into the cement.
4. In a mixing tub, combine the cement mix with 3 cups of water and stir until it looks like thick brownie batter, then mix in the orange paint and brown paint until the color is evenly blended.
5. Divide the cement evenly between the two molds, filling each to about 1 1/2 inches thick, then tap the molds gently on the table several times to release air bubbles.
6. Smooth the tops with a stir stick or scrap piece of cardboard, then let the cement rest for 5 to 10 minutes so the surface firms up slightly.
7. Press one bubble wrap circle onto each stone with the bubble side down, applying even pressure across the whole surface without pushing so hard that the wrap sinks to the bottom.
8. Leave the bubble wrap in place and let the stones cure for 24 hours, or according to the cement package directions if it calls for longer.
9. Peel off the bubble wrap, turn the stones out of the molds, and let them continue curing for another 24 to 48 hours until fully hardened.
10. Sand any rough edges lightly with fine-grit sandpaper, then place the stones in the garden on level soil or a bed of mulch.
Variations & Tips
Change the color: If terracotta does not fit your garden, try muted sage, soft charcoal, or creamy beige craft paint for a different look. Keep the total paint amount modest so the cement still cures properly.
Use different molds: Round plant saucers are easy, but square plastic trays or cake pans also work well if you want a more formal path layout. Just keep the depth around 1 1/2 inches so the stones stay sturdy.
Make placement easier: I like to set stepping stones into slightly damp soil and wiggle them down until they feel stable. That little extra minute saves the annoying wobble later.
Don’t rush the texture step: If the cement is too wet, the bubble pattern can blur; if it is too dry, the wrap will not leave much impression. Waiting those 5 to 10 minutes before pressing has given me the best results.
Seal for extra durability: If your garden gets a lot of rain or freeze-thaw weather, add a concrete sealer after the stones are fully cured. In the Midwest, that extra protection is worth it.
Batch your projects: Since you’re already mixing cement, it’s smart to make two stones at once like this tutorial, or even prep a few more molds if you have them. I’m a big fan of getting maximum payoff from one messy afternoon.