
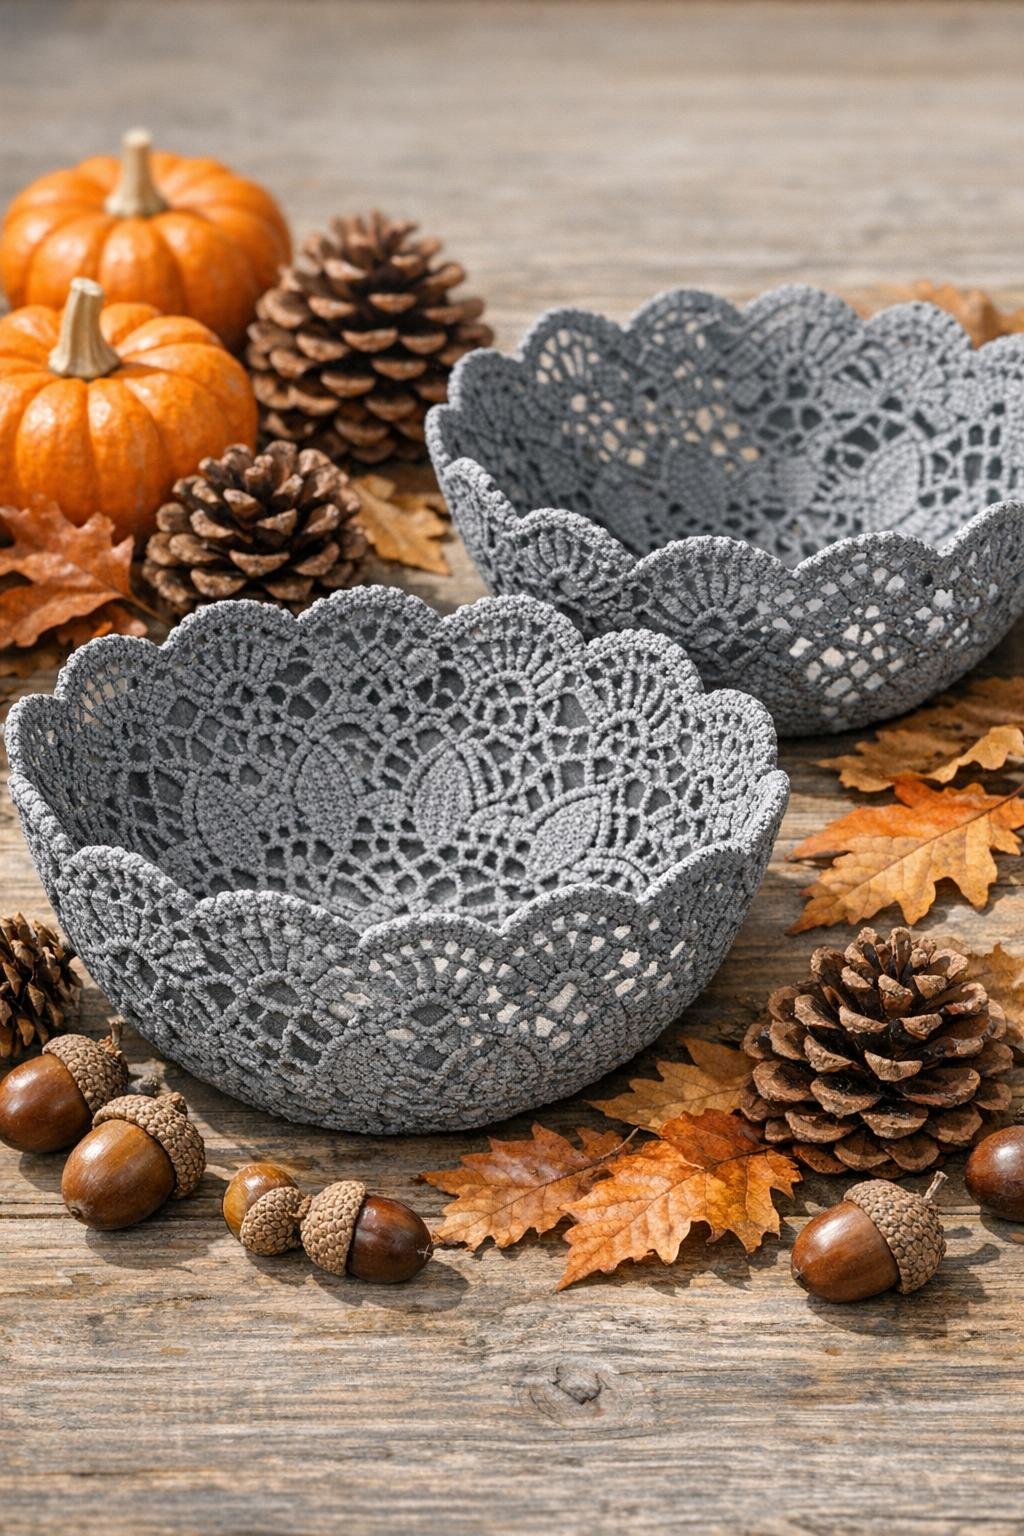
This project turns a pair of stiff lace doilies, a simple cement mixture, and one upside-down kitchen bowl into sculptural faux stone harvest bowls with beautiful openwork texture. I love this kind of craft because it feels a little like kitchen alchemy: something soft and old-fashioned becomes sturdy, weathered, and surprisingly elegant after a quick soak and shape.
These bowls are ideal for anyone who likes rustic fall décor, handmade centerpieces, or easy weekend projects with a big visual payoff. I especially like making them for holding mini pumpkins, pinecones, seed pods, or even wrapped snacks on a buffet table, though I always treat them as decorative rather than food-safe unless they’re lined.
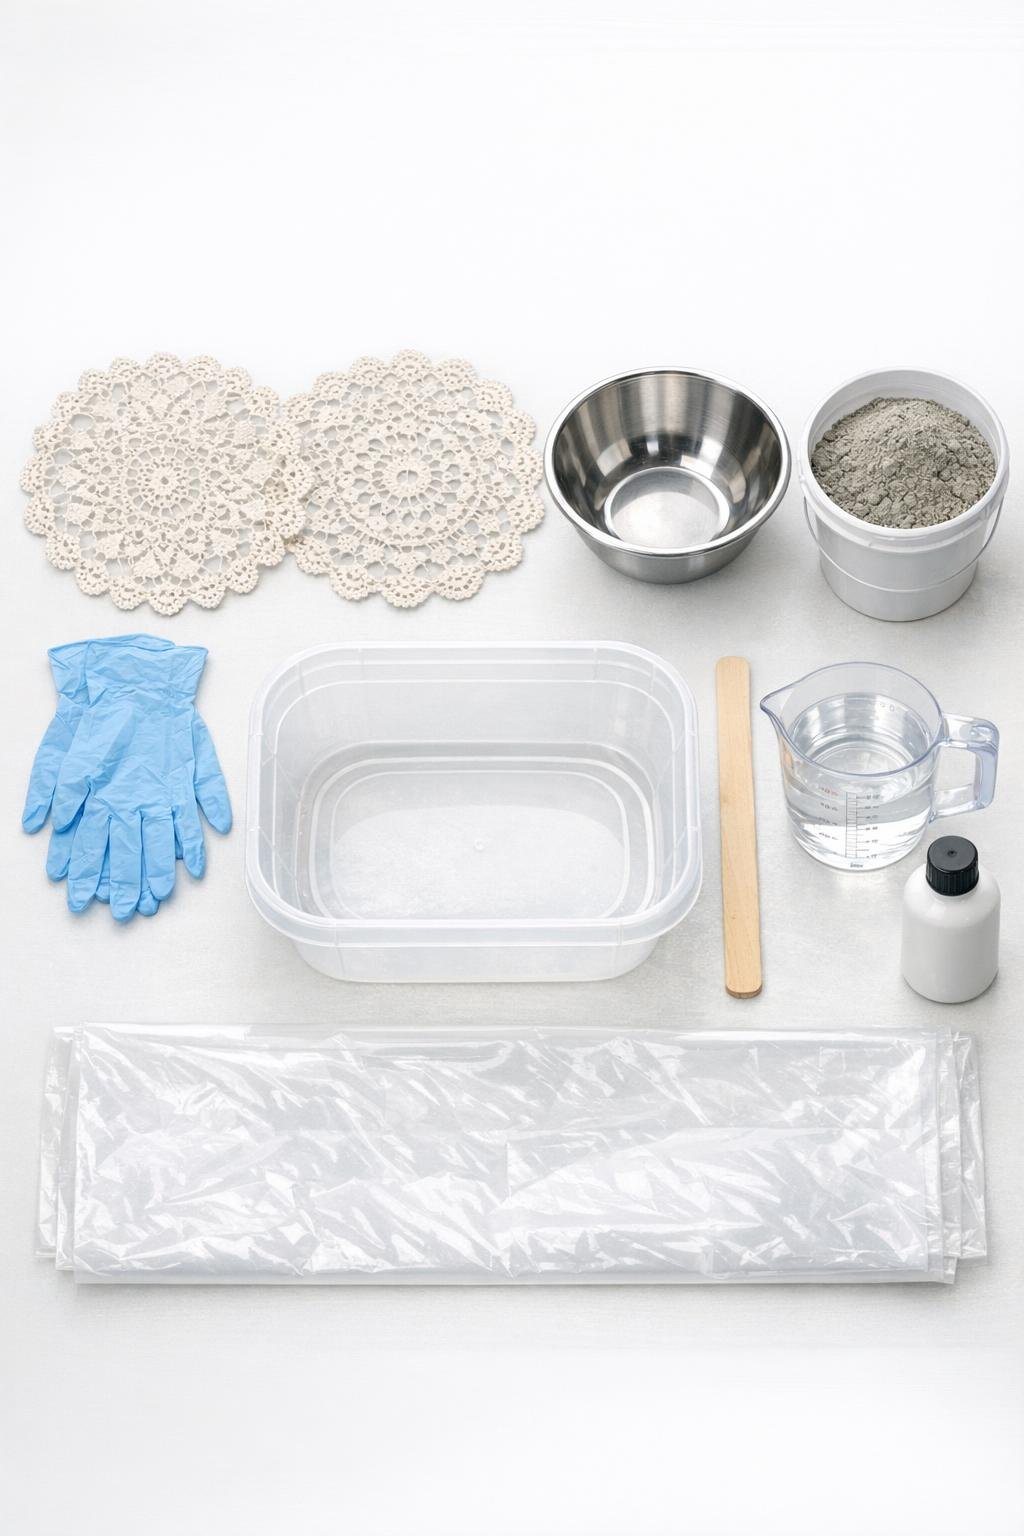
Materials
2 stiff lace doilies, 10 to 12 inches wide each
Instructions
1. Cover your work surface with the plastic drop cloth and set the kitchen bowl upside down on top. Rub a very thin coat of cooking oil or petroleum jelly over the outside of the bowl so the cemented doily releases easily later.
2. Put on gloves and mix the cement with water in the plastic tub until it reaches the texture of heavy cream or pancake batter. Stir until smooth, because dry pockets will leave weak spots in the lace.
3. Dip the first doily into the wet cement and press it down gently so every strand is saturated. Lift it out and let the excess drip back into the tub for a few seconds.
4. Center the soaked doily over the upside-down bowl and drape it evenly, adjusting the scalloped edges into natural folds. Smooth only enough to help it hold shape; the irregular dips and ridges are what make it look stone-like.
5. Repeat with the second doily, shaping it on the same bowl after the first one is firm enough to move, or on a temporary rounded support if you have one. Let each piece dry undisturbed for 24 hours, or longer if the air is humid.
6. When the bowls feel fully hard and cool-dry rather than damp, lift them off the form bowl carefully. If the edges feel rough, tap away loose grit with your fingers or a dry, stiff brush.
7. For a more weathered faux stone finish, dry-brush a little light gray acrylic paint over the raised lace texture after the cement cures. This is optional, but it brings out the pattern beautifully, much the way a good finishing touch wakes up a braise or a loaf right before serving.
8. Seal the bowls with a thin coat of matte sealer if you plan to use them outdoors or want extra dust resistance. Let the sealer dry completely before styling the bowls with decorative harvest items.
Variations & Tips
Try different lace patterns: Tighter lace gives a sturdier-looking bowl, while open lace creates more dramatic cutwork. If I’m making a pair, I like using similar sizes with slightly different patterns so they coordinate without looking too matched.
Adjust the bowl size: A smaller kitchen bowl creates a deeper, narrower vessel, while a wider bowl makes a flatter centerpiece shape. Just make sure your doily is large enough to drape past the rim by at least 2 inches.
Mind the cement consistency: If the mixture is too thick, the lace pattern gets buried; if it’s too thin, the doily may slump. Aim for a pourable but creamy texture that coats the fibers without clumping.
Use them decoratively: These are best for holding dry decorative items, wrapped treats, or a liner-filled arrangement. I would not use unlined cement bowls for direct food contact.
Layer the finish: For a more aged stone look, blend two paint tones such as light gray and a touch of taupe. A restrained finish works best here; just like seasoning in cooking, you can always add more, but it’s harder to pull it back.
Plan for drying time: If the weather is damp or cool, give the bowls an extra day before unmolding. Patience pays off, because moving them too early is the fastest way to crack the shape.