
I love a project that turns a handful of overlooked thrift-store pieces into something I can actually use on my table, and this vintage-style cake stand is exactly that kind of makeover. With just three main items—an old plate, a brass candlestick, and a strong adhesive—you can make a charming pedestal stand that looks right at home at a birthday party, holiday brunch, or Sunday dessert with family.
This is a wonderful beginner project because it is simple, affordable, and fast, but the finished piece looks surprisingly polished. I’ve made versions of these for cupcakes, cookies, and even little tea sandwiches, and they always make the table feel a bit more special without much fuss.
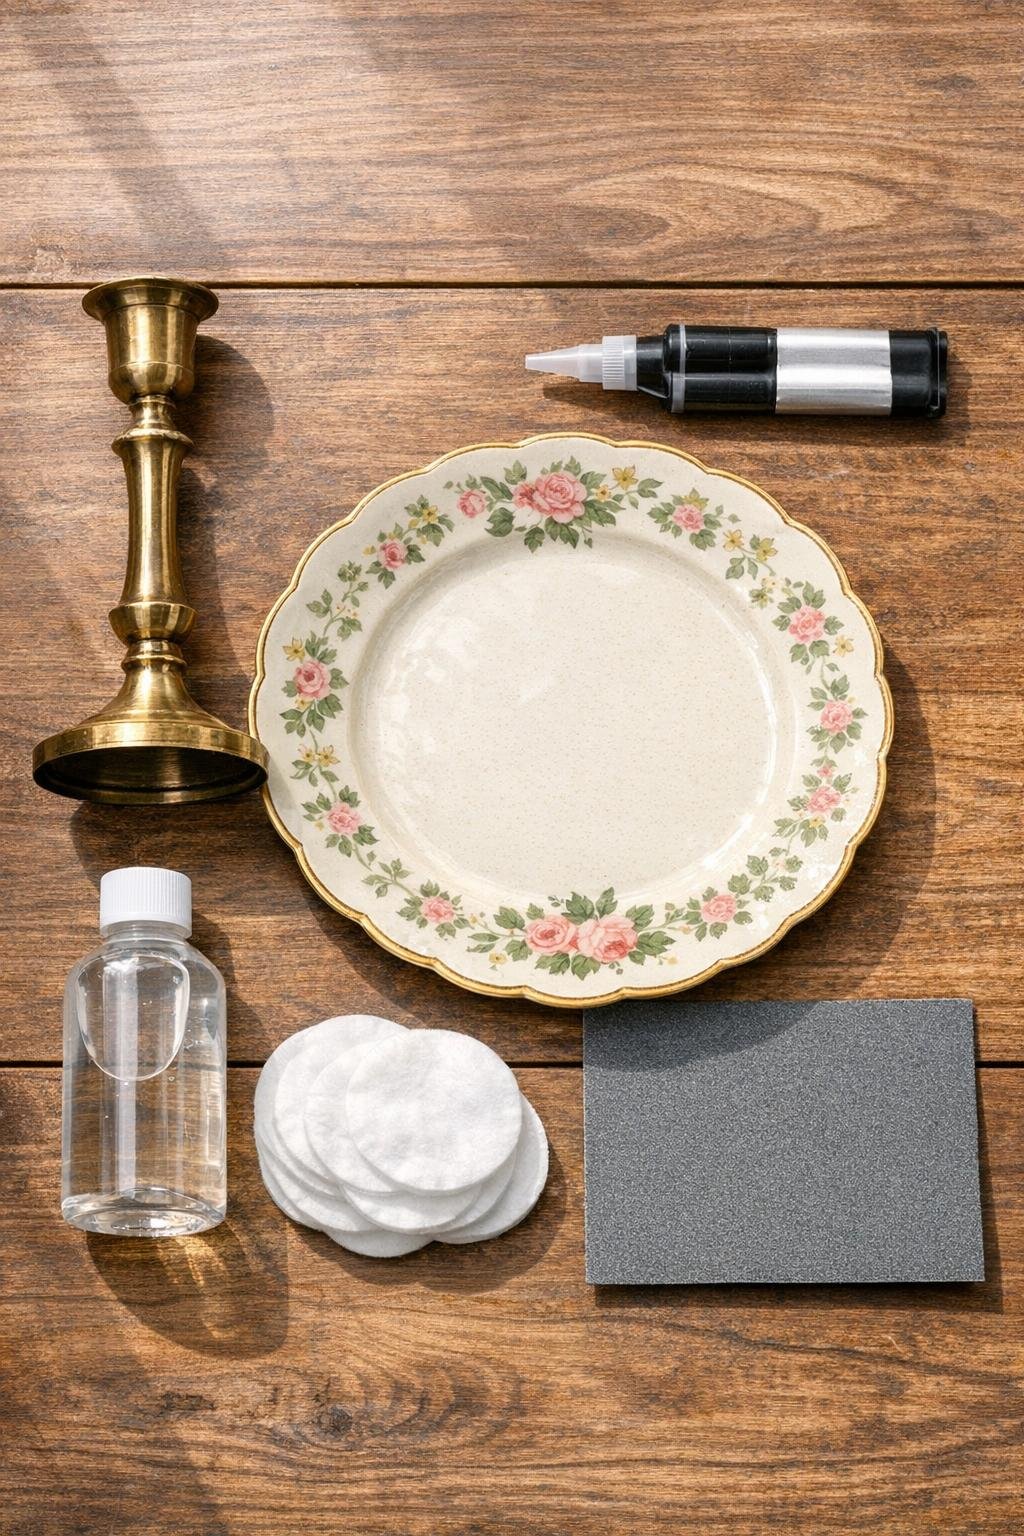
Materials
Instructions
1. Wash the plate and brass candlestick with warm soapy water, then dry them completely so no dust, grease, or residue is left behind.
2. Lightly sand the center underside of the plate and the top rim of the candlestick for better grip, keeping the scuffed area just where the glue will go.
3. Wipe both sanded areas with rubbing alcohol and let them air-dry for a minute; this step helps the adhesive bond much more securely.
4. Turn the plate upside down and find the exact center by eye, then do a dry fit by placing the candlestick on the middle to check balance and placement.
5. Mix or open your adhesive according to the package directions, then apply a generous ring of glue to the top of the candlestick.
6. Press the candlestick firmly onto the center underside of the plate and hold it steady for 30 to 60 seconds so it does not slide.
7. Gently turn the piece upright and check that the stand sits level; if needed, make tiny adjustments right away before the adhesive starts setting.
8. Leave the cake stand undisturbed for the full cure time listed on your adhesive, usually 24 hours, before adding any food or weight.
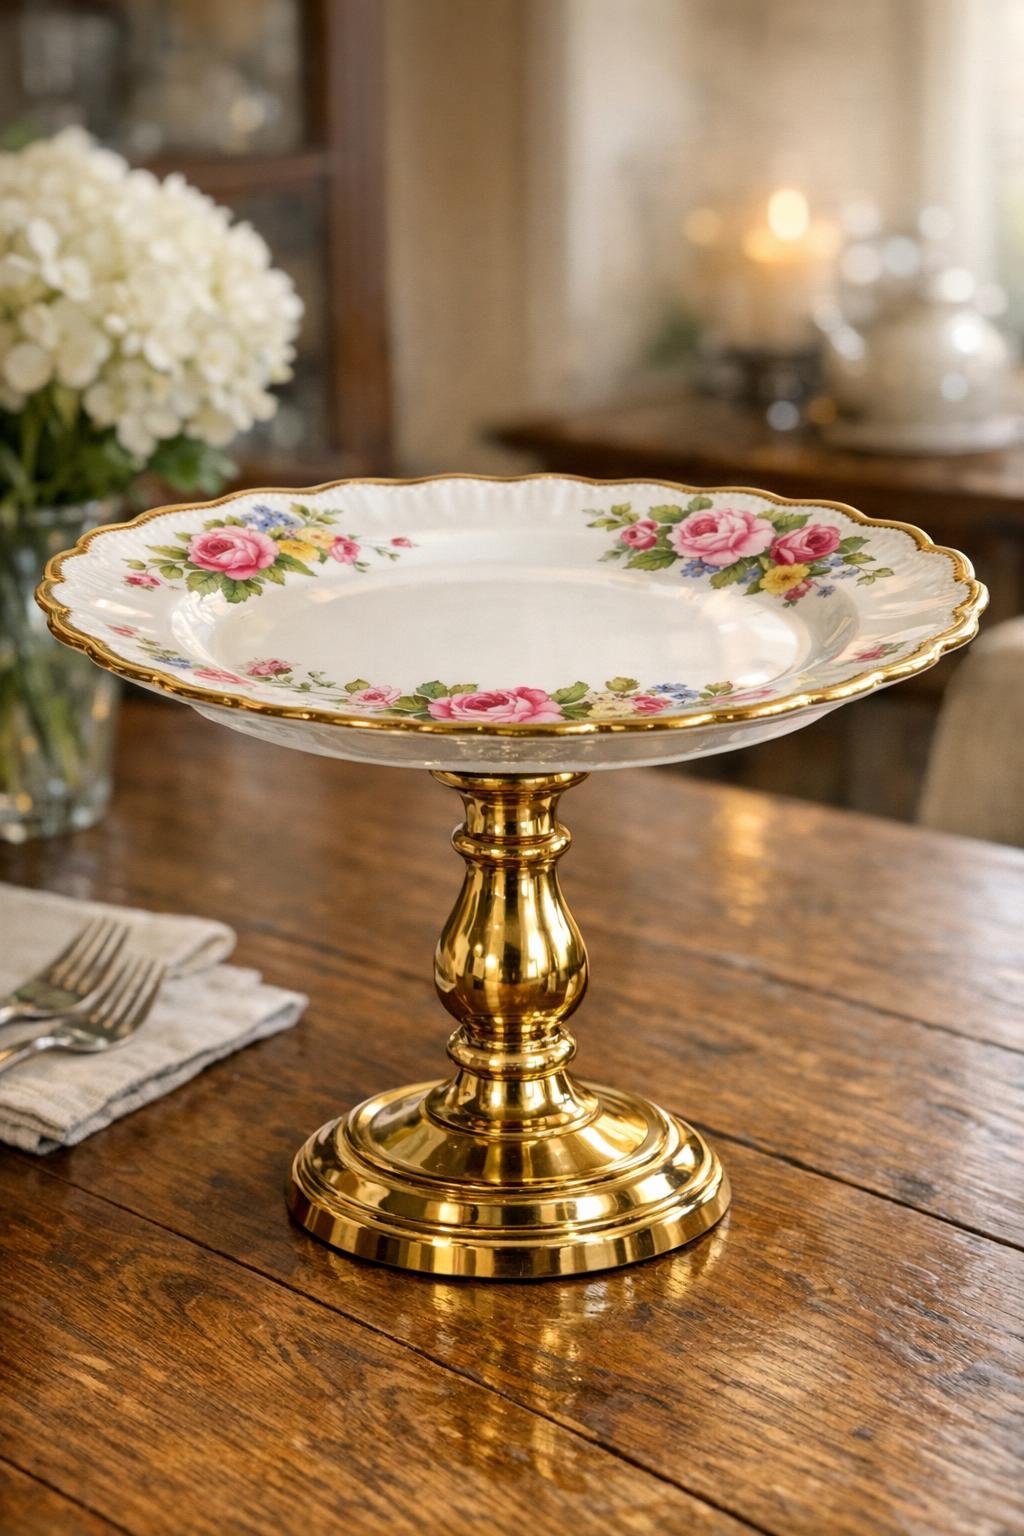
9. Once cured, wipe the plate clean and use your finished stand for cake, muffins, cookies, or fruit for a simple vintage centerpiece.
Variations & Tips
For picky eaters: I like using these stands for more than dessert—arranging strawberries, crackers, or small sandwiches on a raised plate can make snack time feel fun and a little more inviting for kids.
Plate choice: Heavier ironstone and sturdy ceramic plates work best; I avoid very thin, cracked, or delicate plates that may not support the weight well.
Adhesive tip: Choose an adhesive that is suitable for both metal and ceramic, and always let it cure fully. Rushing this part is the easiest way to end up with a wobbly stand.
Style variation: If the brass is heavily tarnished, you can leave it for a more antique look or polish it first for a brighter finish. Both styles are beautiful, just with a different personality.
Height option: A shorter candlestick creates a low pastry stand, while a taller one gives you more drama for a dessert table. I usually choose the height based on whether I’m serving cookies or a full cake.
Gift idea: These make lovely handmade gifts when paired with homemade muffins or wrapped cookies. I’ve brought one to a friend with a few frosted cupcakes on top, and it felt extra special without costing much.
Care note: Hand-wash only and do not soak the whole stand in water. I wipe the brass carefully and wash the plate surface gently to help the bond last as long as possible.