
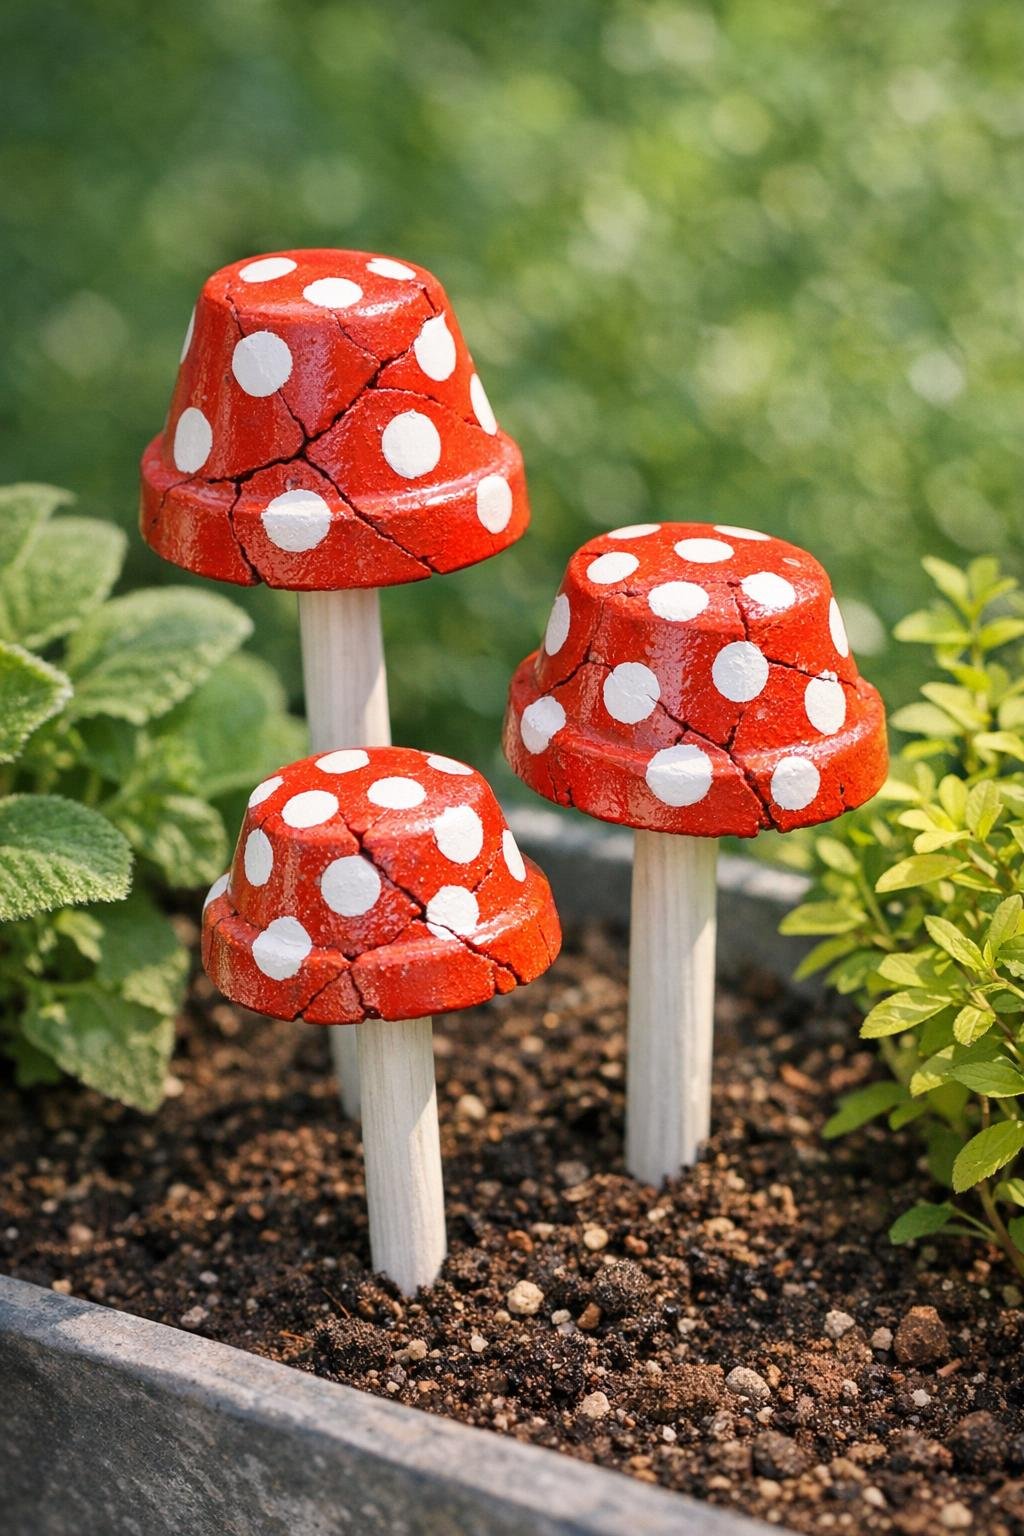
Broken terracotta usually ends up in the trash, but this is one of those garden projects where a flaw becomes the best part of the design. In this tutorial, I’m turning cracked terracotta pots into a set of three whimsical mushroom stakes for the garden using paint, wooden dowels, and a little glue. The curved pot bottoms make convincing mushroom caps, and the cracks often disappear beautifully once everything is painted.
I love projects like this because they’re inexpensive, practical for using up odds and ends, and charming enough to tuck into a flower bed, container garden, or even a porch planter. If you’ve got a few damaged clay pots and want an easy afternoon project with a lot of visual payoff, this one is very beginner-friendly.
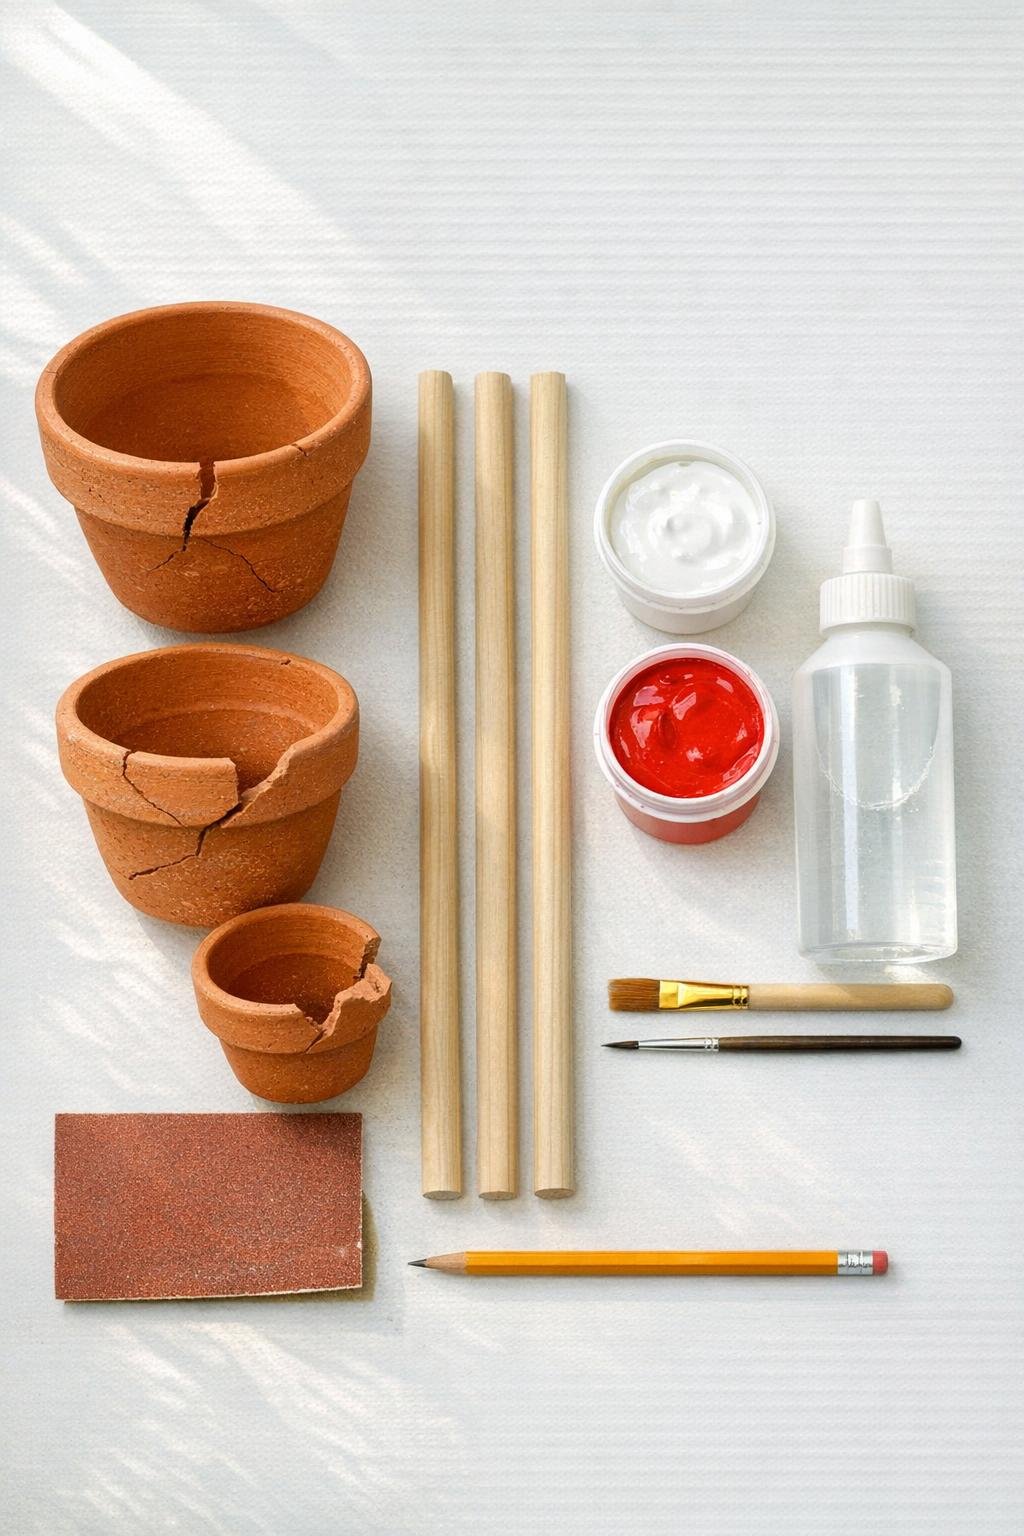
Materials
Instructions
1. Wipe the terracotta pots clean with rubbing alcohol or mild soapy water, then let them dry completely. Any dust left on the clay will keep the paint and glue from bonding well.
2. Lightly sand any sharp or flaky edges around the cracks with 120-grit sandpaper. You’re not trying to remove the damage, just making the pots safe to handle and easier to paint.
3. Turn each pot upside down and decide which angle looks most mushroom-like. I usually rotate the crack toward the back or underside so the front curve reads like a cap.
4. Mark the center of the drainage hole on each upside-down pot and test-fit a dowel into the opening. If the hole is too loose, that’s fine; the adhesive will secure it later.
5. Paint the outside of each upside-down pot red to create the mushroom caps, and leave the inside unpainted or paint it a soft beige if you want a more finished underside. Let the first coat dry, then add a second coat for even coverage.
6. Paint white spots on the red caps in assorted sizes, spacing them irregularly for a natural toadstool look. Add a few tiny dots between the larger ones so the pattern feels balanced.
7. Paint the top 10 to 12 inches of each dowel white or beige to become the mushroom stems, leaving the bottom section bare for pushing into the soil. Let the painted dowels dry fully before assembly.
8. Add a generous amount of exterior adhesive around the drainage hole inside each pot, then insert one painted end of a dowel into each hole. Hold it in place for a minute, then lean the pieces carefully so the dowels stay centered while the glue sets.
9. Let the adhesive cure according to the package directions, preferably overnight. This is the step that makes the stakes sturdy, so I don’t rush it.
10. Brush a coat of clear outdoor sealer over the painted caps and stems, especially along the cracked areas and painted spots. Let the sealer dry completely before handling.
11. Push the bare ends of the dowels into garden soil, planter boxes, or a large pot, grouping the three mushrooms at different heights for the most natural look. Set them a few inches apart so each cap is easy to see.
Variations & Tips
Color variation: Try cream caps with brown speckles, sage green with white dots, or even a weathered copper tone if you want something less storybook and more cottage garden.
Crack control: If a pot is more than lightly cracked, apply adhesive along the crack first and let it cure before painting. I only use pots that still hold their overall shape securely.
Height mix: Cut the dowels to different lengths, such as 12, 15, and 18 inches, for a more natural cluster. Mushrooms almost always look better to me when they’re not all perfectly matched.
Paint finish: Matte paint gives these the most believable garden look, while gloss paint makes them feel more playful and decorative. Either works as long as it’s suitable for outdoor use.
Placement tip: These stakes look best tucked near low herbs, around hostas, or in container arrangements where the caps peek through foliage. In my own containers, I place them slightly off-center so they look discovered rather than staged.
Weather protection: If your garden gets hard freezes, pull the stakes out at the end of the season and store them in a garage or shed. Painted terracotta lasts much longer when it isn’t left wet through winter.