
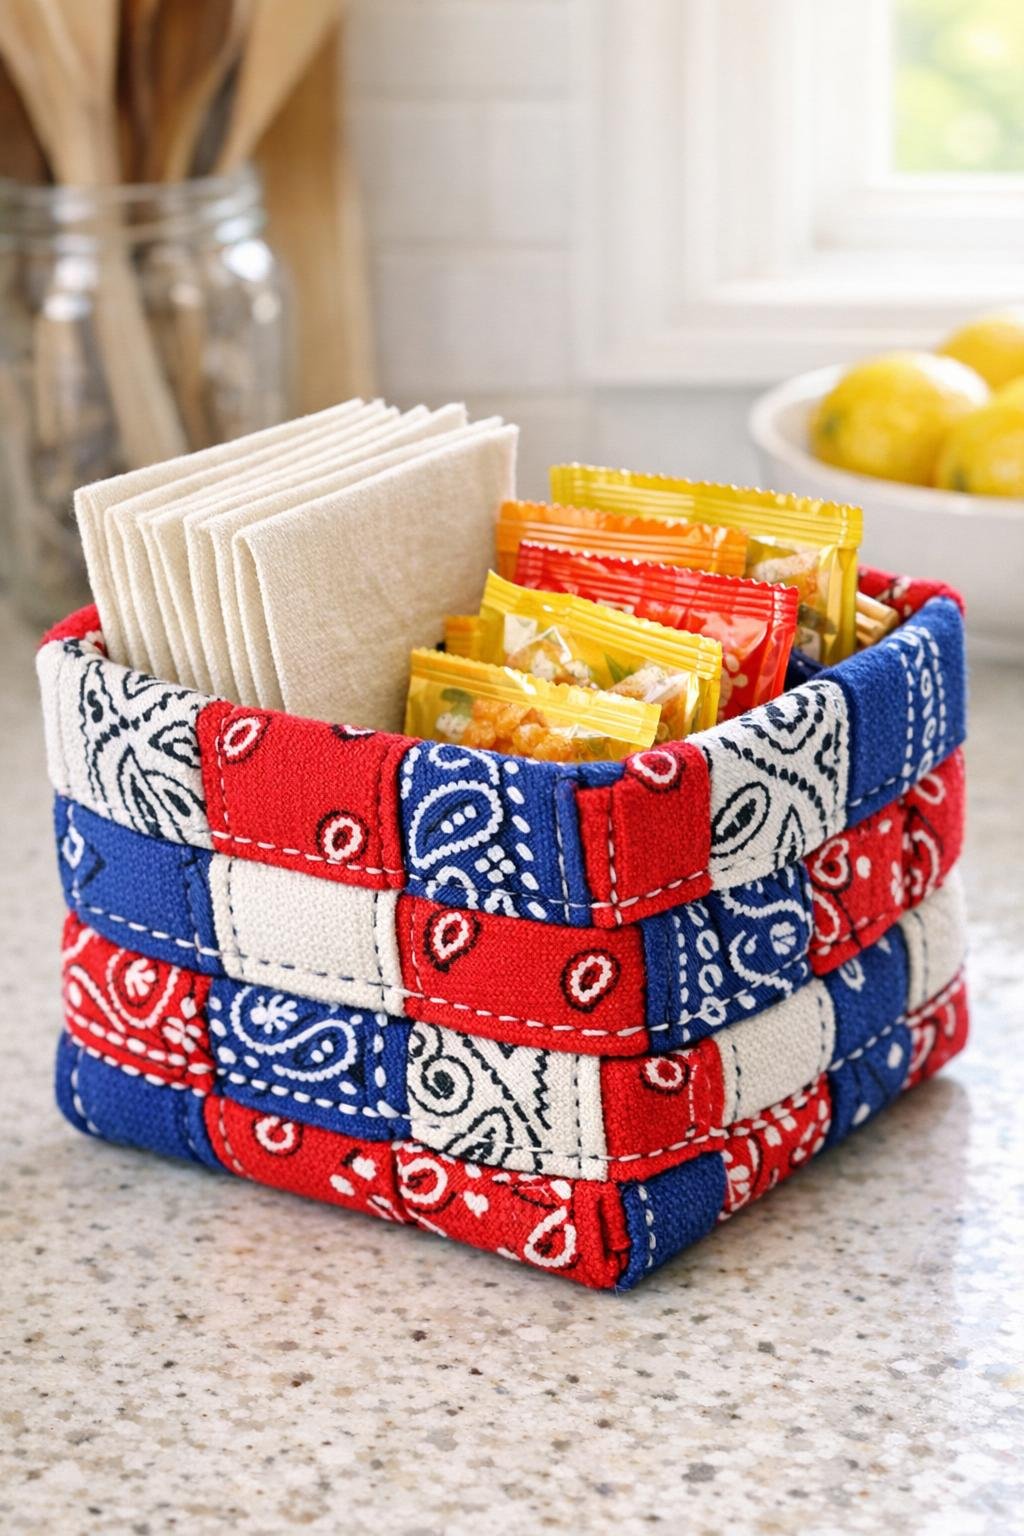
I love a project that turns a forgotten drawer full of fabric odds and ends into something I can actually use, and this little woven storage bin does exactly that. If you have old cotton bandanas that are still sturdy but maybe too faded or mismatched to wear, you can fold and weave them into a soft bin that is perfect for napkins, snack packs, mail, craft supplies, or all those little kitchen items that seem to wander across the counter.
What I especially like about this project is that it uses just 3 bandanas, comes together without any fancy equipment, and gives you a nice, flexible basket with plenty of farmhouse charm. This is a great beginner project if you are comfortable with simple folding and a few hand stitches, and it is also a satisfying weekend make if you enjoy practical upcycling the way I do.
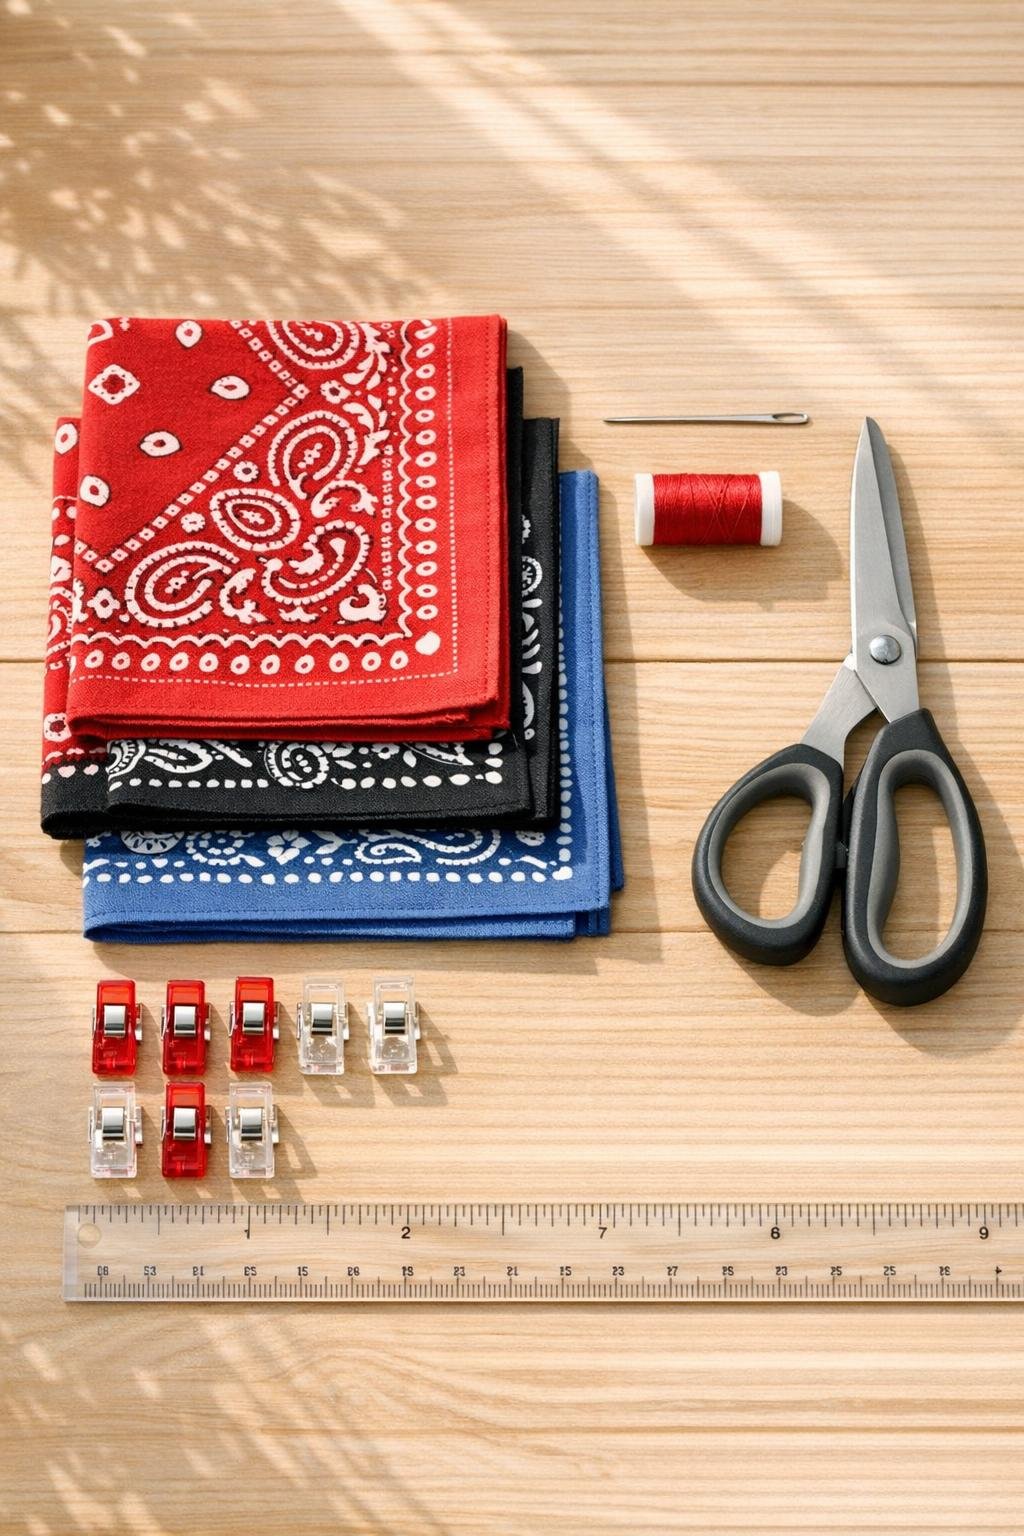
Materials
Instructions
1. Wash, dry, and press the 3 bandanas so they are clean, flat, and easy to fold accurately. Trim off any frayed threads around the edges.
2. Lay the first bandana flat with one corner pointing toward you, then fold the left and right corners into the center so the edges meet. Press the folds with your hands or an iron.
3. Fold the new left and right edges into the center again to make a long, thick strip about 5 inches wide. Fold that strip in half lengthwise one more time so you have a sturdy fabric band about 2 1/2 inches wide.
4. Repeat the same folding method with the other 2 bandanas so you end up with 3 matching fabric strips. Clip each strip in 2 or 3 places to help it hold its shape.
5. Thread your needle with about 24 inches of thread and knot the end. Sew a few small tack stitches along the open long edge near each end of every strip so the folds do not spring open while you weave.
6. Arrange the 3 folded strips in a crisscross pattern, with one strip vertical, one horizontal, and one woven over-under through the center like the start of a basket weave. Slide the strips until the woven middle forms a snug square.
7. Pull the strips gently to tighten the weave, then check that the center square looks even on all 4 sides. Add a couple of hidden stitches at the center intersections to lock the base in place.
8. Fold each loose end upward at the edge of the woven center square to begin shaping the bin walls. Clip the upright sections so the basket shape holds while you work.
9. Overlap neighboring upright ends at each corner by about 1 inch, tucking the raw folded ends neatly inside. Hand-stitch each corner with small whip stitches or ladder stitches from top to bottom.
10. Stitch around the top edge anywhere the folds feel loose, adding a few discreet tacking stitches to keep the rim crisp and stable. If you want a firmer bin, sew an extra line of stitches about 1 inch below the top edge at each side.
11. Set the bin upright and shape it with your hands, squaring the base and smoothing the sides. Adjust the corners until it sits flat and holds its form evenly.
12. Fill the finished bin with lightweight items like snack bags, napkins, tea towels, baby socks, or craft notions. This style is soft-sided, so it works best for tidy storage rather than heavy tools or cans.
Variations & Tips
For picky-eater snack stations: I like using this bin to hold granola bars, fruit pouches, or cracker packs where kids can reach them easily. It makes snack time feel organized without looking too fussy on the counter.
Color mix: Use 3 matching bandanas for a calm, tidy look, or mix 3 different prints for a more playful basket. Red, navy, and cream together give it a classic country feel that I always love in a kitchen.
No-sew shortcut: If you do not want to stitch much, you can use a small amount of fabric glue at the folded ends and corners, then let it dry completely before shaping the bin. I still recommend at least a few hand stitches at the corners for longer wear.
Make it sturdier: Slide a square of thin cardboard or plastic canvas, cut about 4 1/2 inches wide, into the base underneath the woven center if you want more structure. That is especially handy if you plan to use it for rolled washcloths or pantry packets.
Best fabric choice: Thin 100% cotton bandanas fold and weave the easiest. Very slippery, stretchy, or thick fabrics tend to bunch up and make the corners harder to stitch neatly.
Size note: Standard bandanas usually make a small countertop bin. If you have oversized bandanas, you will get taller sides and a roomier basket without changing the method at all.
Gift idea: This is sweet filled with cookies wrapped in wax paper, tea bags, or a jar of homemade mix for a neighbor or teacher. I always think a handmade container makes even a simple little gift feel more thoughtful.