
I love a project that turns something headed for the burn pile into a piece you’ll actually use every day, and this rustic ladder shelf is exactly that kind of build. With a handful of old pallet boards, a few screws, and a little time, you can make a compact 4-shelf unit that works beautifully in a kitchen, entryway, bathroom, or even a cozy corner of the living room.
As a parent, I’m always looking for storage that is practical but still feels warm and welcoming, and this one checks both boxes. It’s a great beginner-friendly woodworking project if you want something simple, useful, and forgiving, especially since rustic pallet wood looks lovely even with a few knots, dings, and imperfections.
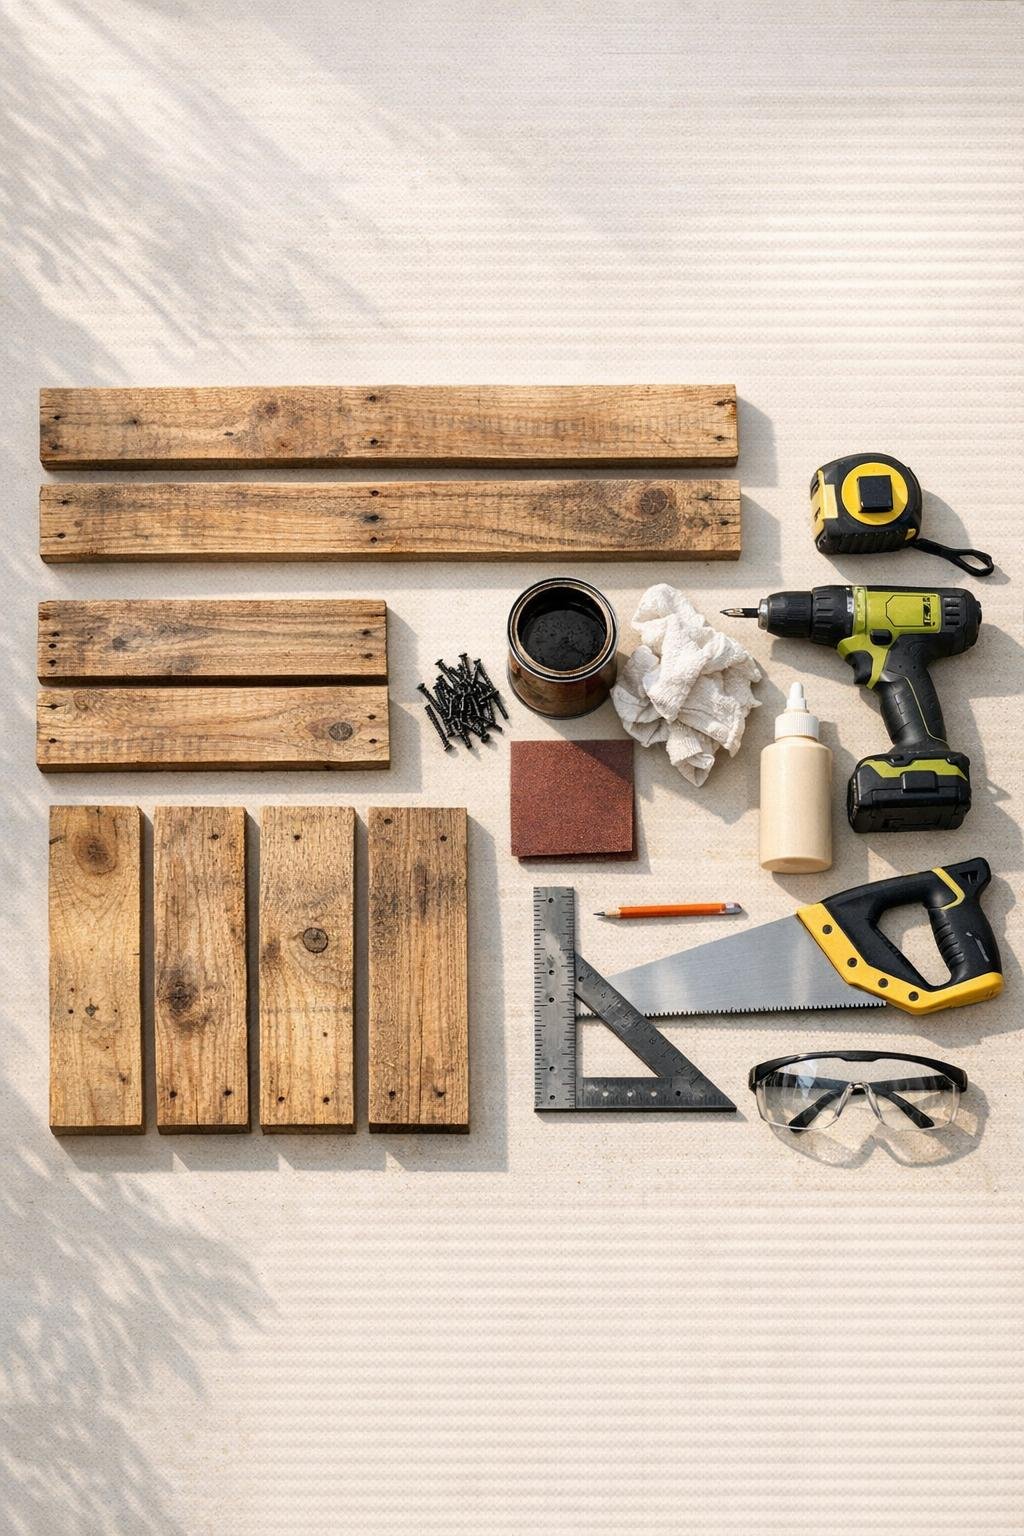
Materials
Instructions
1. Break down your pallet boards and choose the straightest, least cracked pieces for the side rails, shelf supports, and shelves. Pull every nail or staple and give the wood a quick scrub if it’s dusty or dirty.
2. Cut two side rails to 48 inches long, eight support pieces to 8 inches long, and four shelf boards to 18 inches long. Keep your cuts as square as possible so the shelf sits evenly when assembled.
3. Sand every piece first with 80-grit sandpaper, then smooth the touch surfaces with 150-grit. I like to leave a little weathering in the wood because it gives the finished shelf that cozy, lived-in farmhouse look.
4. Lay the two side rails flat on your work surface, wider at the bottom and slightly closer together at the top to create the ladder shape. Aim for about 18 inches between the rails at the bottom and 12 inches between them at the top.
5. Mark shelf locations across both side rails. Space the four shelves evenly, with the lowest shelf about 8 inches from the floor and the top shelf about 6 inches down from the top ends.
6. Attach two support pieces at each shelf mark, one on each side rail, using a little wood glue and two 1 1/4 inch screws per support. Keep the top edges of the supports level with each other so the shelf boards will sit flat.
7. Stand the frame up and double-check that it doesn’t wobble. If one support sits slightly high, sand or reposition it now before adding the shelves.
8. Set each 18-inch shelf board on its pair of supports, add a thin bead of wood glue, and secure each shelf with two 2-inch screws driven down through the top. Work from the bottom shelf upward to help keep everything aligned.
9. Wipe away glue squeeze-out, then apply your stain or clear sealer with a rag and let it dry fully. For family spaces like kitchens or mudrooms, I usually prefer a matte sealer because it keeps the rustic look but makes cleanup easier.
10. Add felt pads to the bottom ends of the side rails and place the finished shelf against a wall on a level floor. Load heavier items on the bottom shelves and lighter décor on top for the safest setup.
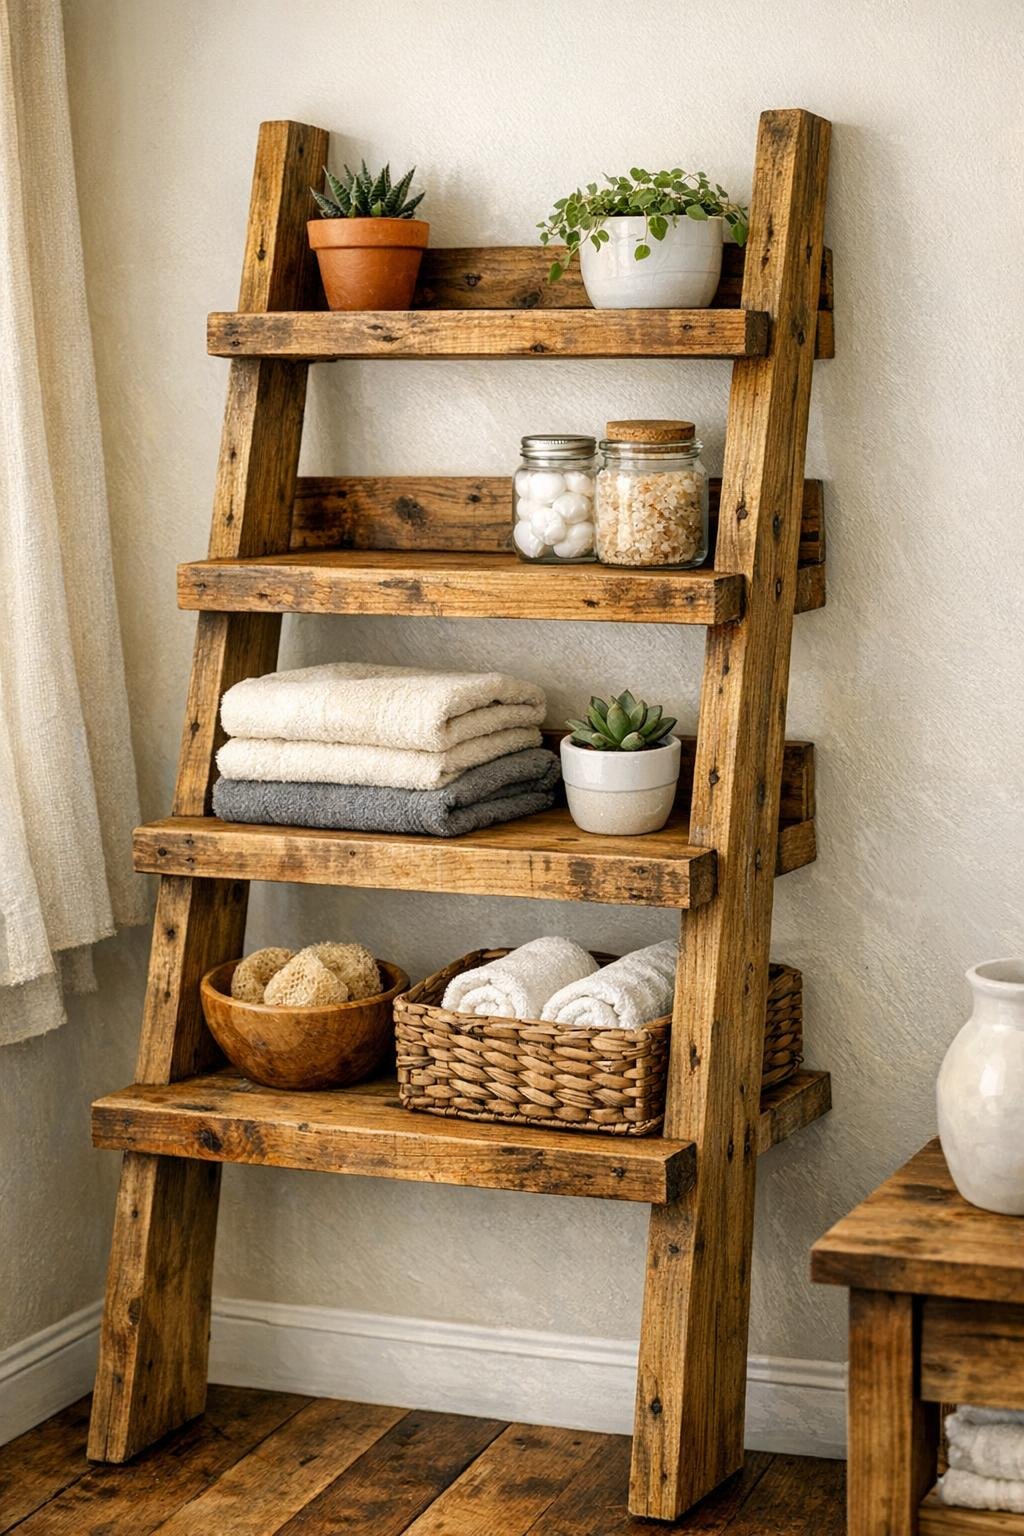
Variations & Tips
For kitchen storage: Use the shelves for spices, small cookbooks, mugs, or baskets of snacks. In my house, a shelf like this is perfect for keeping the little things organized without taking up too much room.
For picky wood pieces: If some pallet boards are rougher or more mismatched than others, save the prettiest boards for the shelf tops and use the more weathered pieces for supports. Rustic projects are very forgiving, which is one reason I love them.
Add extra strength: If you plan to store heavier items like crockery, pantry jars, or larger plants, add a small back cross brace from scrap pallet wood. It helps stiffen the frame without changing the overall look too much.
Finish options: Leave the wood natural for a softer farmhouse feel, use a dark walnut stain for a richer rustic finish, or dry-brush a little white paint over the edges for a gently aged look. I think this is one of those pieces that can easily match almost any room.
Safety tip: Always make sure your pallet wood is clean and suitable for indoor use. Avoid boards that smell strongly, show signs of spills, or seem overly splintered or damaged.
Size adjustment: For a narrower shelf, cut the shelf boards to 14 or 16 inches instead of 18. For a taller unit, lengthen the side rails to 60 inches and keep the shelf spacing even.
Easy family styling: Try using baskets on the lower shelves and lighter decorative items on top. That way the shelf stays useful for daily life, and it still looks tidy even when everyone in the family is in and out of the room.