
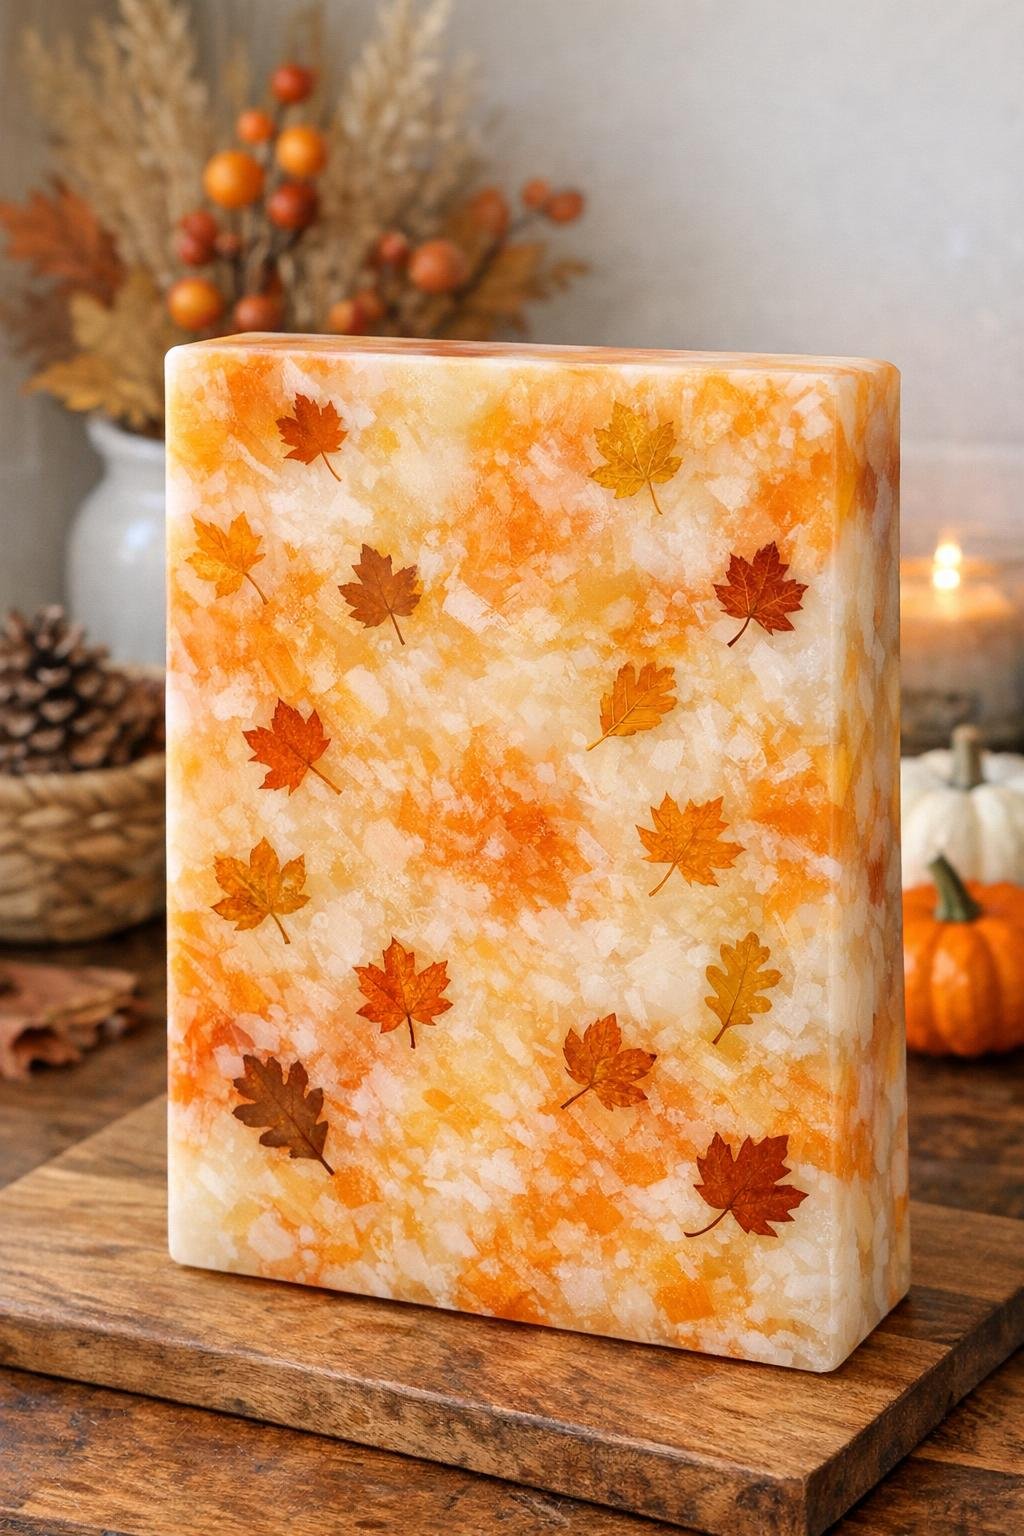
Turning empty milk jugs into a thick autumn harvest board is one of those projects that feels a little surprising the first time you do it. You start with basic household plastic, add one simple “secret” item for color and texture, and end up with a sturdy decorative board that looks much more boutique than homemade. I love projects like this because they use up things I already have around the house, and the finished piece works beautifully on a shelf, layered on a countertop, or as part of a fall centerpiece.
As someone who juggles a full workweek and still wants my home to feel seasonal without spending a fortune, this is exactly my kind of DIY. It’s great for crafters who don’t mind a little careful prep, and it’s especially satisfying if you enjoy upcycling with practical, repeatable steps.
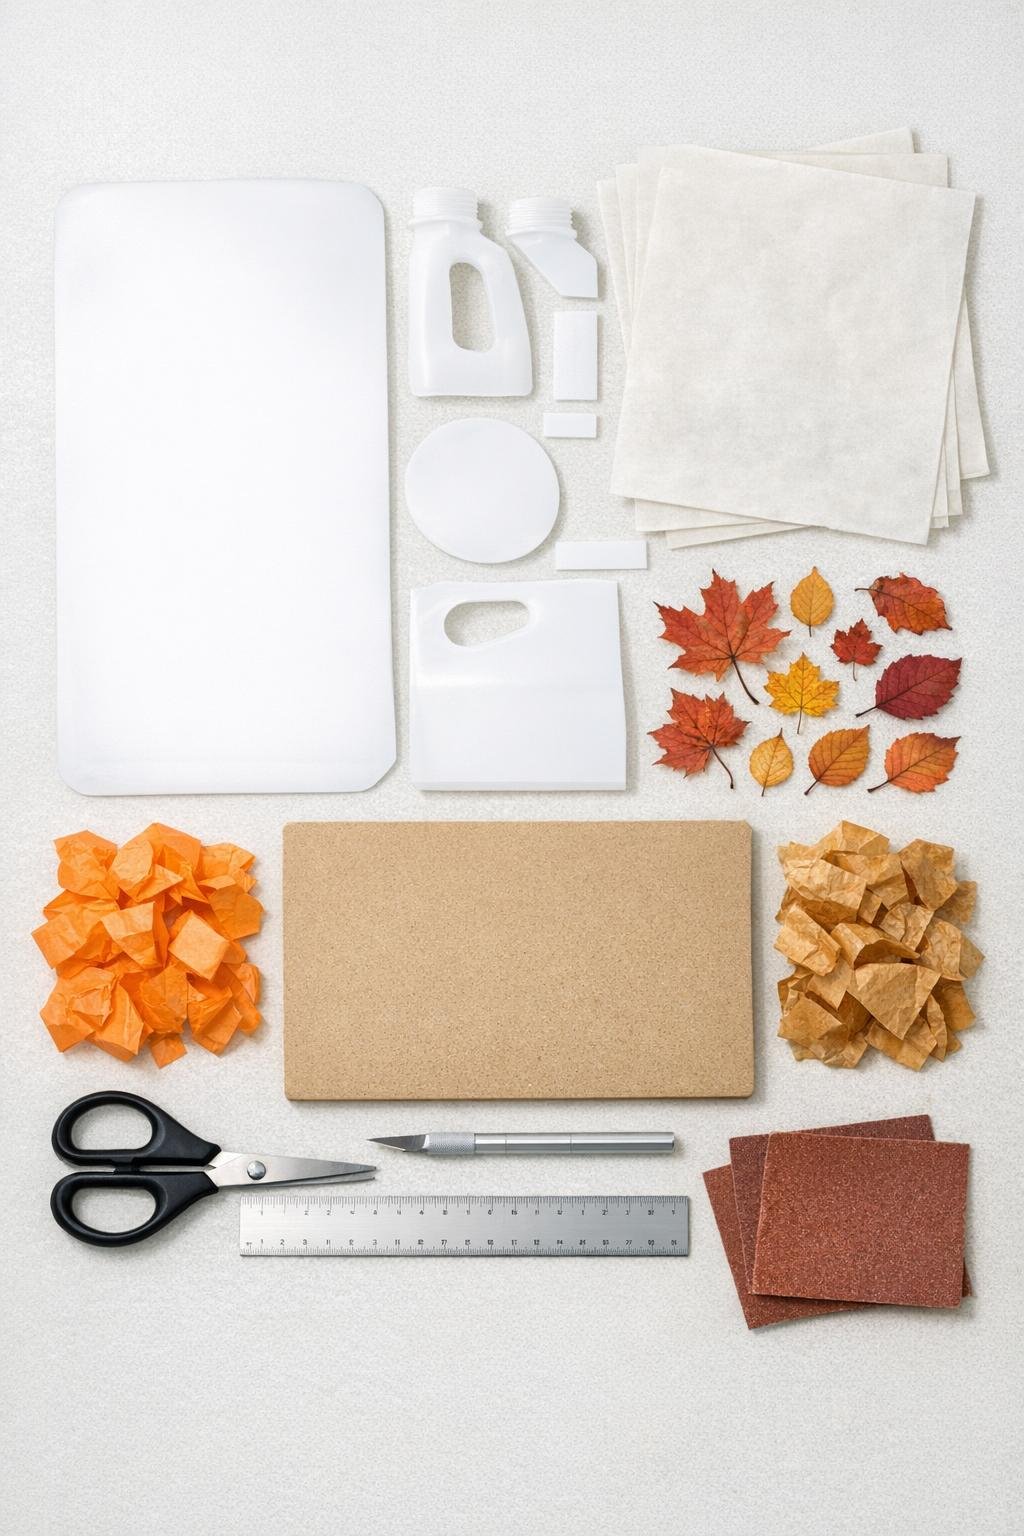
Materials
Instructions
1. Wash the milk jugs with warm water and dish soap, then let them dry completely. Any residue or moisture can interfere with the fuse and leave bubbles or cloudy spots.
2. Cut off the top and bottom of each jug, then slice down the side seam to open the plastic into flat panels. Trim away curved edges, handles, and any printed areas so you’re left with clean, mostly flat white pieces.
3. Preheat a dry household iron to a medium setting with steam turned off, and open a window or work in a well-ventilated area. Keep your work surface heat-safe and dedicate the iron area only to crafting.
4. Place one sheet of parchment on your work surface and layer the milk jug plastic pieces so they slightly overlap into a rectangle larger than 8 x 12 inches. Aim for two to three layers overall to create a thick, board-like result.
5. Scatter the tissue paper pieces lightly between some of the plastic layers, concentrating the orange and gold near the center and corners. This tissue paper is the secret item that gives the board that rich harvest glow without adding much thickness.
6. Tuck the dried flat leaves near the top layer so their shapes will show clearly after fusing, spacing them out for a balanced autumn pattern. Keep every leaf at least 1 inch from the edges to make trimming easier later.
7. Cover the stack with the second sheet of parchment and press with the iron for 10 to 15 seconds at a time, moving slowly across the surface. Lift and reposition instead of dragging hard so the layers stay aligned.
8. Check the stack after each pass and continue ironing until the plastic has softened and fused into one solid sheet with only slight texture remaining. If one area looks thinner, add a small scrap of plastic under the parchment and fuse again.
9. Let the fused sheet cool for 2 minutes, then place the cardboard template on top and trace an 8 x 12-inch board shape. Cut it out carefully with sturdy scissors or a craft knife.
10. Round the corners slightly and smooth the edges first with 120-grit sandpaper, then with 220-grit sandpaper. This step makes the piece look more finished and feel nicer in your hands.
11. If you want a more polished look, buff the surface lightly with a soft cloth and a tiny amount of mineral oil or clear furniture wax. Use just enough to deepen the colors without leaving the board greasy.
12. Display the board upright on a small stand, lean it against a backsplash, or layer it with a framed print and a candle for a simple fall vignette. It’s meant as décor rather than a food-safe cutting surface, which is exactly how I use mine every autumn.
Variations & Tips
Deeper fall color: Add a few more layers of orange and yellow tissue paper, but keep them sparse so the plastic still fuses evenly. Too much paper can create overly raised spots.
More rustic style: Leave the board with slightly uneven marbling and more visible leaf silhouettes for a handmade farmhouse look. I actually prefer this finish because it feels warm and less “perfect.”
Alternative shape: Use the same method to make a pumpkin, oval, or long skinny mantel board instead of a rectangle. Just make your fused sheet larger than the final template before trimming.
Safer ironing setup: Always use parchment above and below the plastic, keep the iron dry, and work with ventilation. I like to set everything up before I start so I’m not scrambling mid-project after a long workday.
Display tip: This board looks especially pretty layered behind a small crock, mini pumpkins, or a candle on the counter. If you’re decorating on a budget like I usually am, one handmade piece like this can carry the whole fall display.