
Turning empty milk jugs into thick harvest-style floor tiles is one of those projects that feels equal parts practical and satisfying. By ironing layers of clean jug plastic between parchment and embedding two simple pantry ingredients for color and texture, you can make a small set of decorative tiles that look surprisingly polished. I like this kind of project because it takes a very ordinary household waste item and gives it a second life in a way that feels intentional, not makeshift.
This tutorial is for anyone who enjoys upcycling, seasonal home décor, or experimenting with simple heat-fused plastics on a small scale. These tiles are best used as decorative accents under a centerpiece, on an entry table, or in a low-traffic display spot rather than as structural flooring. I’m calling for a 3-item set here, which is manageable for a first try and gives you room to play with slightly different harvest patterns.
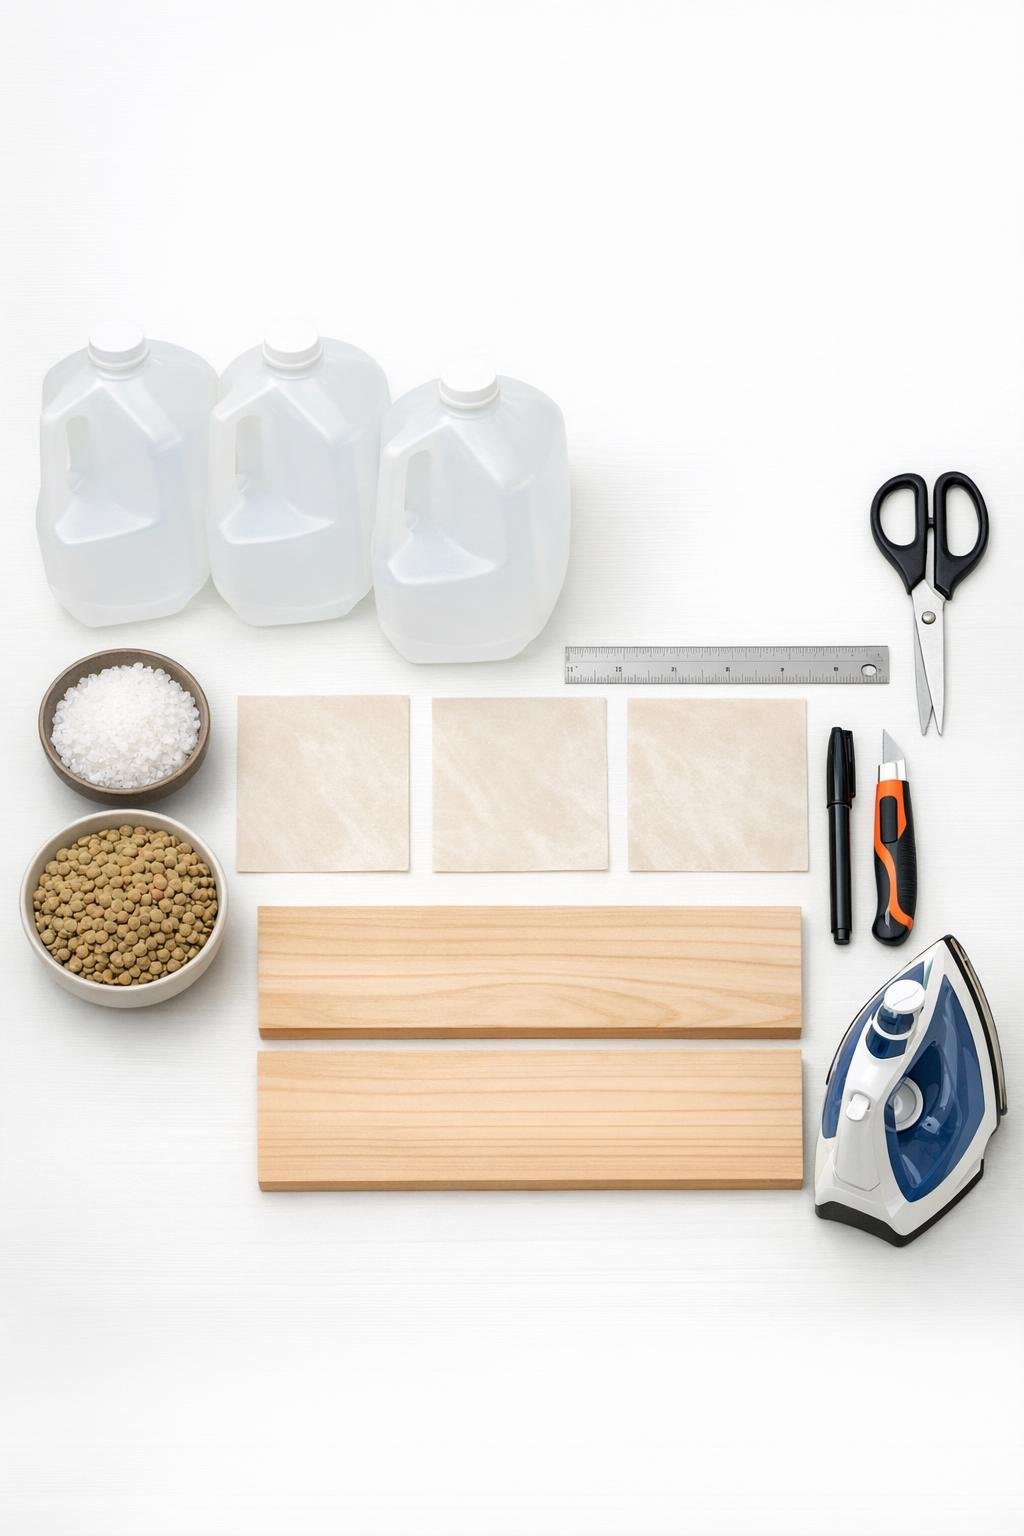
Materials
Instructions
1. Wash the milk jugs thoroughly, remove the caps and labels, and let them dry completely inside and out. Any moisture left in the plastic can create bubbles when heated.
2. Cut away the top and bottom of each jug, then cut down one side seam so each jug opens into a flat sheet. Trim away curved edges and handle sections so you’re left with the flattest panels possible.
3. Use the ruler and marker to measure and mark nine 5 1/2-inch squares on the flat plastic panels, then cut them out. You’ll stack three squares per tile to make 3 thick decorative tiles.
4. Wipe the marked side of each square clean if needed, then sandwich one square between parchment and press it briefly with the warm iron for 5 to 8 seconds to flatten it. Repeat for all nine squares, keeping the iron moving so the plastic softens without scorching.
5. Build the first tile stack on parchment by layering one plastic square, a light sprinkle of coarse salt, a few lentils spaced apart, then a second plastic square. Add another tiny sprinkle of salt, a few more lentils, and finish with the third plastic square on top.
6. Cover the stack with parchment, place a wood board underneath and another on top, and press with the iron for 15 to 20 seconds per area. Work slowly across the whole square until the layers fuse and the tile looks slightly glossy and compressed.
7. While the tile is still warm, set the heavy book or flat weight on top for 2 minutes so it cools evenly and stays flat. Repeat the layering and fusing process to make the remaining two tiles.
8. Trim any uneven edges with the craft knife and ruler once the tiles are fully cool. Lightly sand the edges with 220-grit sandpaper so they feel smooth to the touch.
9. Test the finished tiles on a flat surface and rotate them until the embedded lentils create a pleasing harvest pattern across the set. If desired, give each tile one final very brief press between fresh parchment to even out the surface.
Variations & Tips
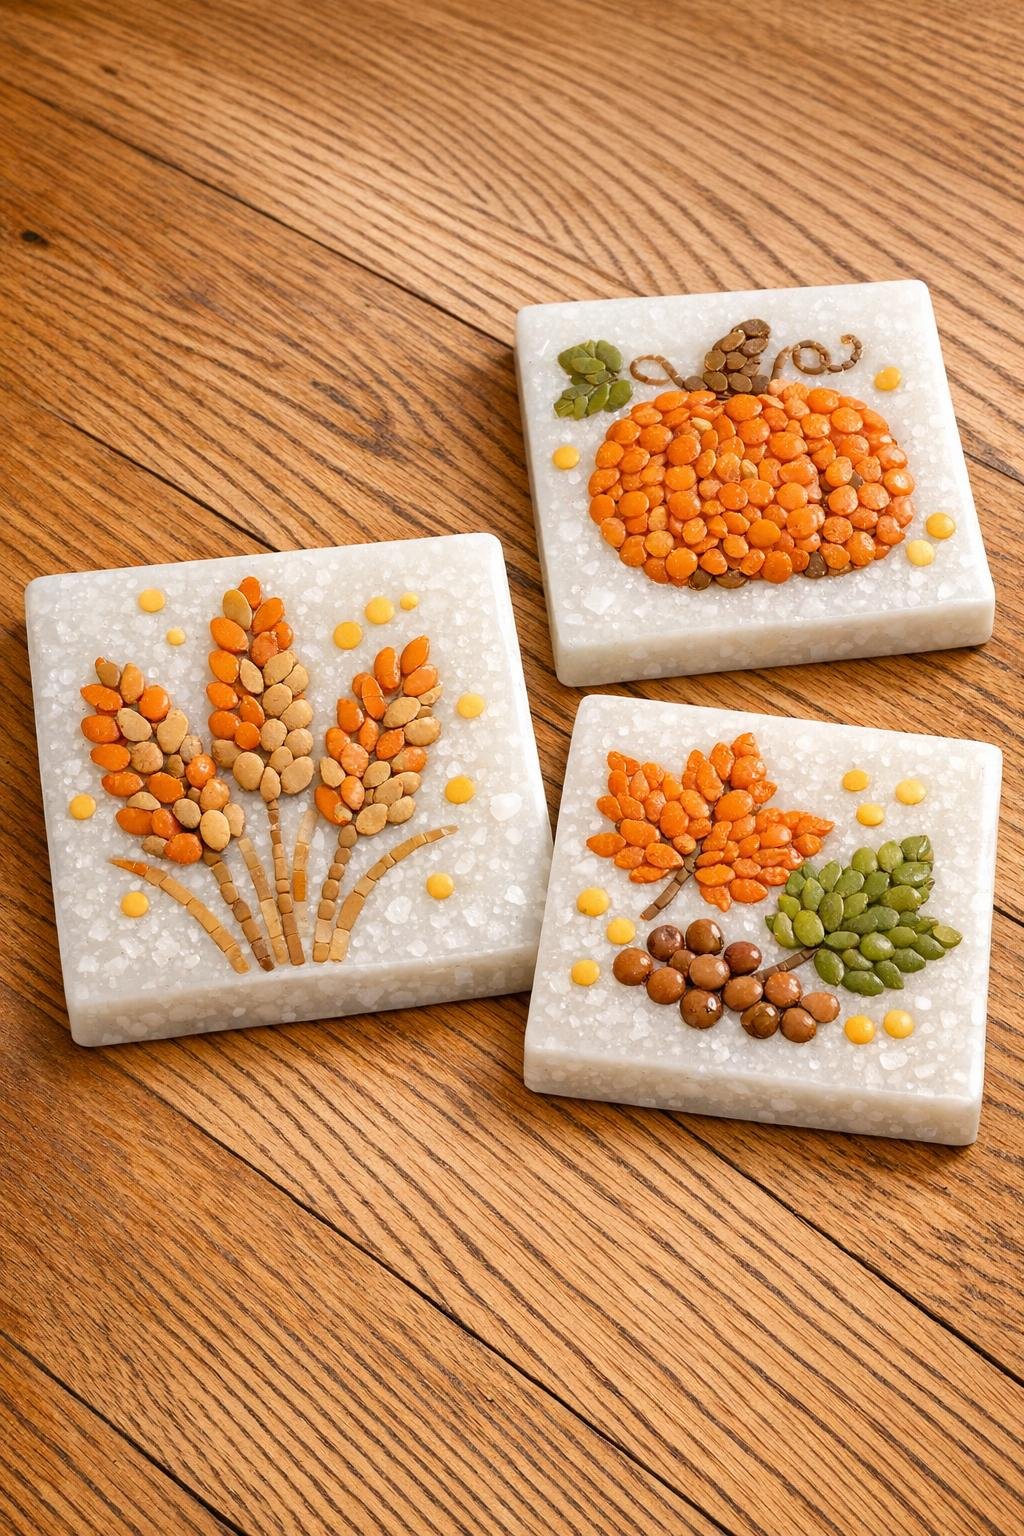
For deeper color: Brown lentils give a soft natural look, but red lentils can create a warmer harvest palette. Keep the amount sparse so the plastic layers still fuse securely.
About the salt: The coarse salt acts as a textural inclusion and can leave a speckled look after fusing. I use it lightly, because too much can keep the layers from bonding well.
Size adjustment: If you want coaster-sized or trivet-sized pieces instead, cut 4-inch or 6-inch squares and keep the same three-layer method. Smaller tiles are often easier for beginners to fuse evenly.
Heat control: Every iron runs a bit differently, which is something I’ve learned from plenty of kitchen experiments and craft tests alike. Start with shorter pressing times, check the plastic, and add heat gradually rather than trying to fully melt it in one pass.
Best use: These are decorative tiles, not load-bearing floor materials for daily foot traffic. I like using them under a basket of mini pumpkins, beneath a planter with a saucer, or as a seasonal tabletop accent near an entryway.
Smoother finish: Fresh parchment for the final press often gives the cleanest surface. If one side picks up too much texture from reused parchment, flip the tile and do a quick final press between new sheets.