
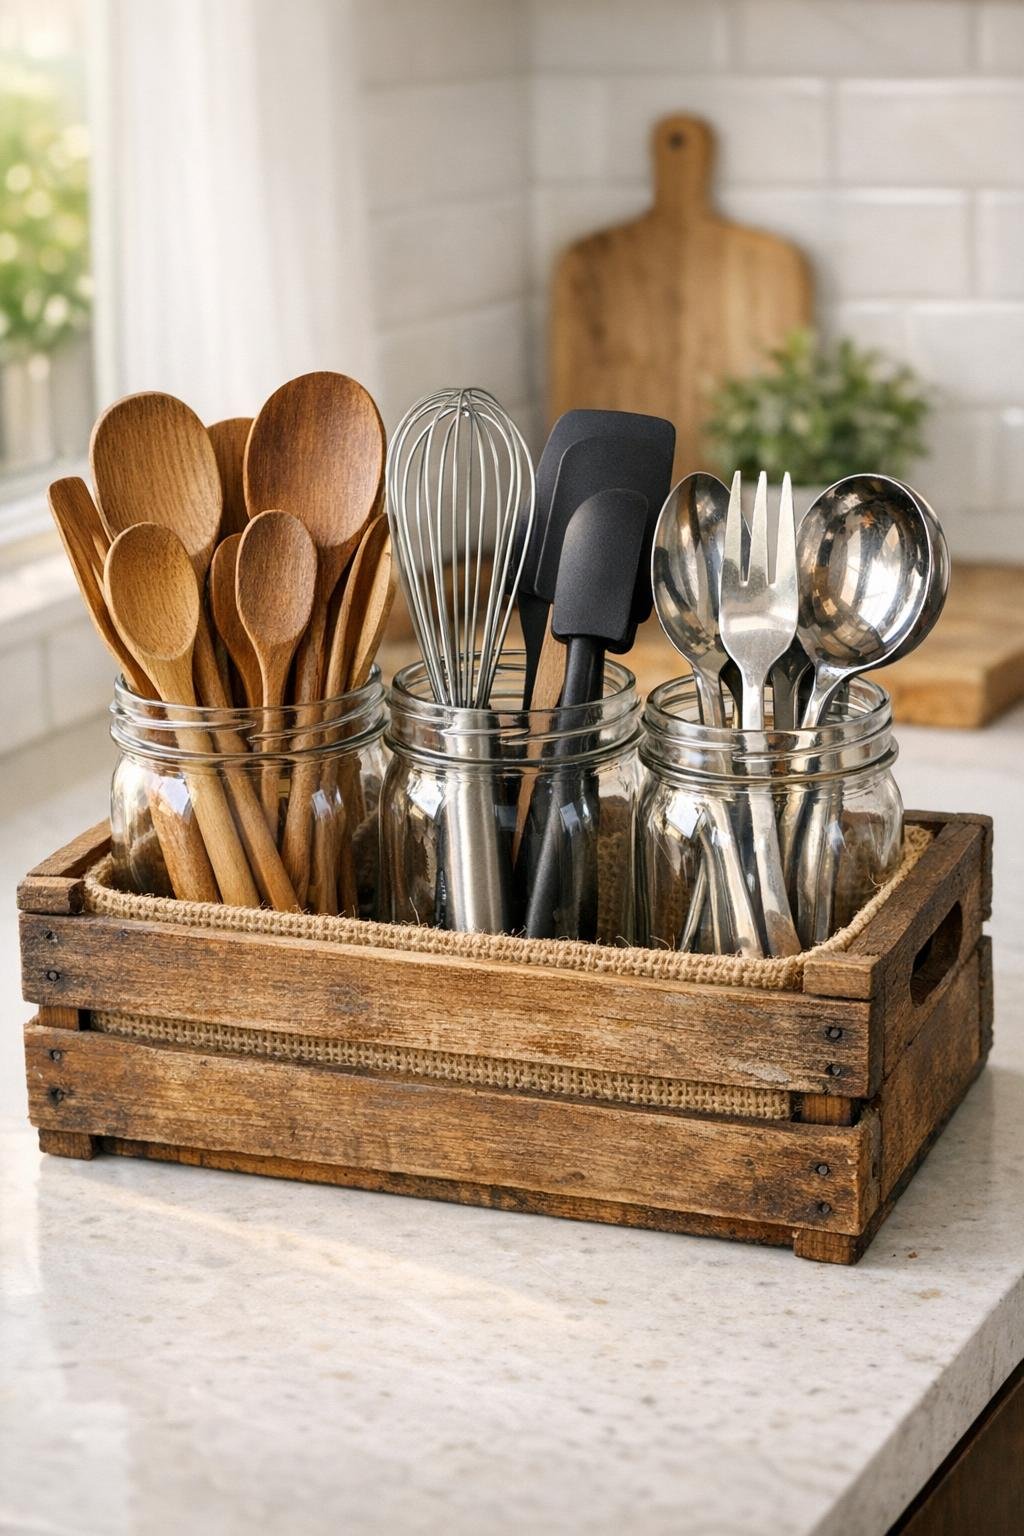
This utensil caddy is one of those simple kitchen projects that looks charming on the counter and makes everyday cooking feel a little more put together. By setting clear mason jars inside a small wooden wine crate and adding a soft burlap lining, you get an organizer that keeps spatulas, wooden spoons, whisks, and serving tools easy to grab without taking up much space.
I love projects like this because they come together quickly, use easy-to-find supplies, and add warmth to a hardworking kitchen. If you cook for family the way I do, you know how helpful it is to keep the most-used tools right where you need them. This is a great beginner DIY, and it also makes a thoughtful handmade gift for anyone setting up a kitchen or refreshing a coffee bar.
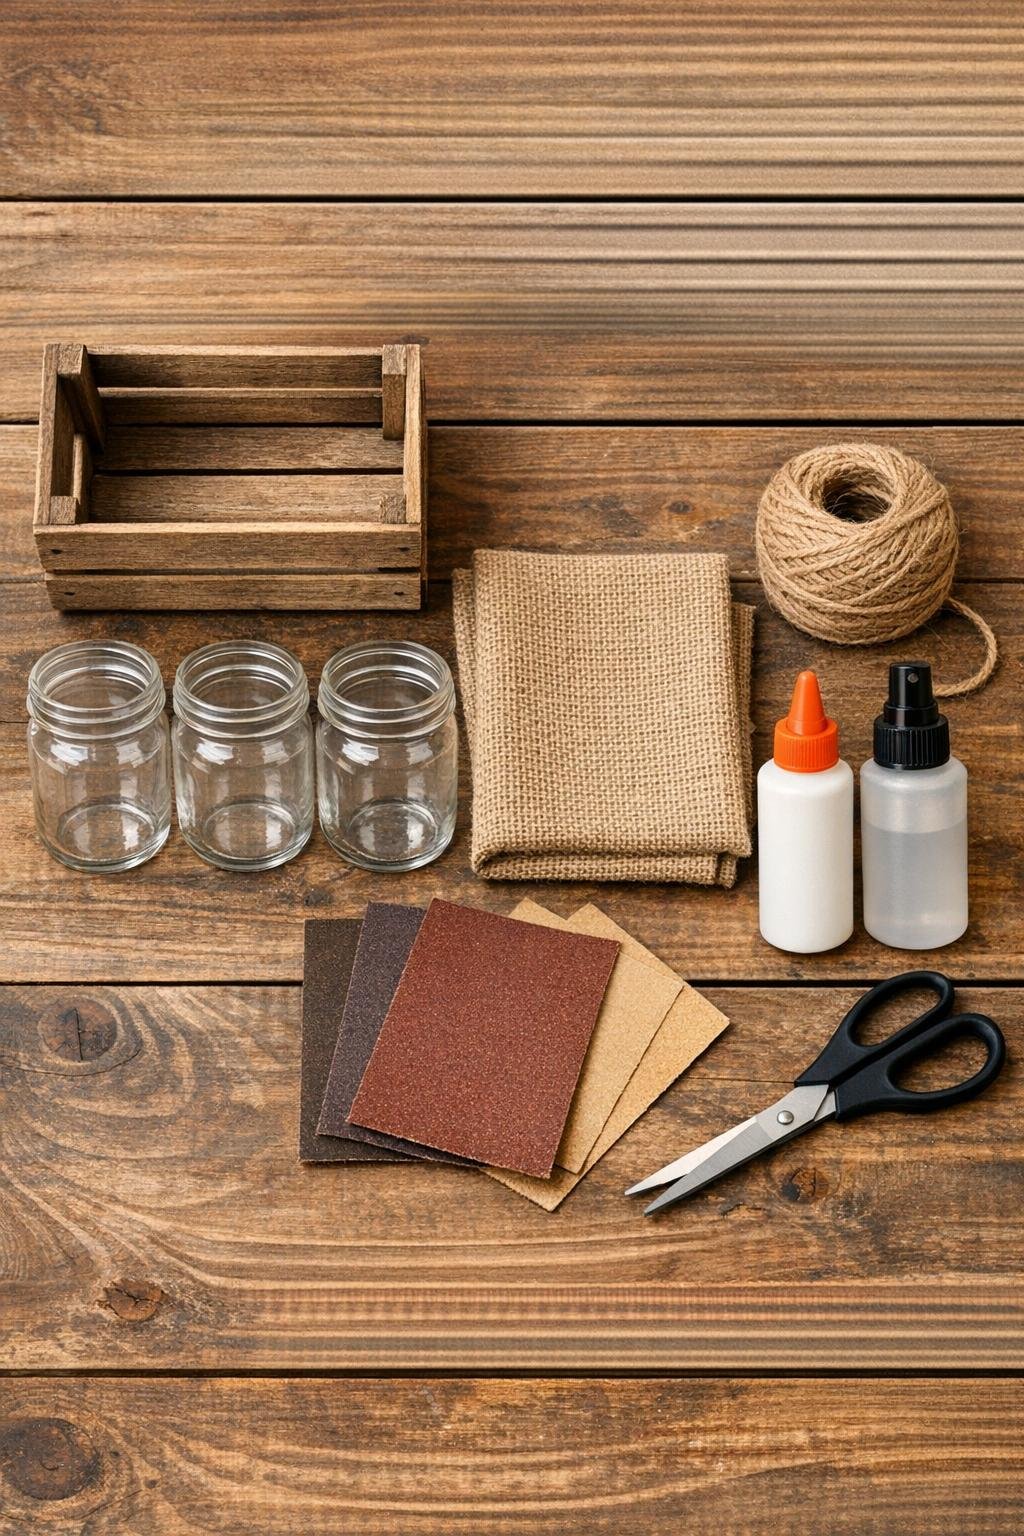
Materials
1 small wooden wine crate, about 12 inches long x 8 inches wide x 6 inches high
Instructions
1. Check that your mason jars fit inside the wine crate in a single row or snug grouped arrangement, and adjust the placement before doing anything else.
2. Sand the crate lightly with 120-grit sandpaper to smooth rough edges, then go over it again with 220-grit for a softer finish.
3. Wipe away all dust with a clean cloth so the inside and outside of the crate are clean and ready for the next step.
4. Apply a thin coat of clear matte sealer or furniture wax to the crate, then let it dry fully according to the product directions.
5. Cut the burlap so it fits along the bottom and slightly up the inside walls of the crate, leaving just enough extra to soften the edges.
6. Add small dabs of wood glue to the bottom corners of the crate and press the burlap into place so it stays put without looking stiff.
7. Set the mason jars into the crate on top of the burlap, spacing them evenly so they sit flat and do not wobble.
8. Wrap jute twine around one side handle or around the crate ends for a simple decorative touch, then tie a neat knot or bow.
9. Stick felt pads underneath the crate corners to protect your countertop and make the caddy easier to slide when needed.
10. Fill the jars with utensils, grouping similar tools together like wooden spoons in one jar and measuring tools or whisks in another.
Variations & Tips
For picky kitchen organizers: If you like everything extra tidy, assign each jar a purpose such as baking tools, everyday cooking utensils, serving pieces, and measuring tools. That makes cleanup faster, especially on busy weeknights.
Smaller counter version: Use 3 pint-size mason jars instead of 4 quart jars if you have a narrow counter or want a lighter caddy to move from counter to table.
Farmhouse style: Dry-brush the crate with a little white or soft gray paint before sealing it if you want a more cottage-style look.
Easy cleaning tip: Do not glue the jars into the crate. Keeping them loose means you can lift them out and wash them whenever flour dust, crumbs, or cooking splatters build up.
Gift idea: This makes a sweet housewarming gift if you tuck a few wooden spoons, a whisk, and a handwritten recipe card into the jars.
Burlap substitute: If burlap is too rough for your taste, use a piece of cotton canvas or a neutral tea towel cut to size for a softer liner.