
I love a project that turns something headed for the recycling bin into something you’d be happy to set out on a kitchen counter or bathroom shelf. These DIY vintage-style apothecary jars use old glass mayo jars, a little spray paint, and simple knobs to create a charming set of four storage jars that look far more expensive than they are. They’re perfect for holding wrapped candies, cotton balls, bath salts, clothespins, or little baking odds and ends.
As a mom, I’m always looking for easy ways to make everyday spaces feel a little more special without spending much money. This is the kind of afternoon project that feels satisfying right away, and it’s beginner-friendly too. If you can clean a jar, use glue, and spray paint safely outdoors, you can make these.
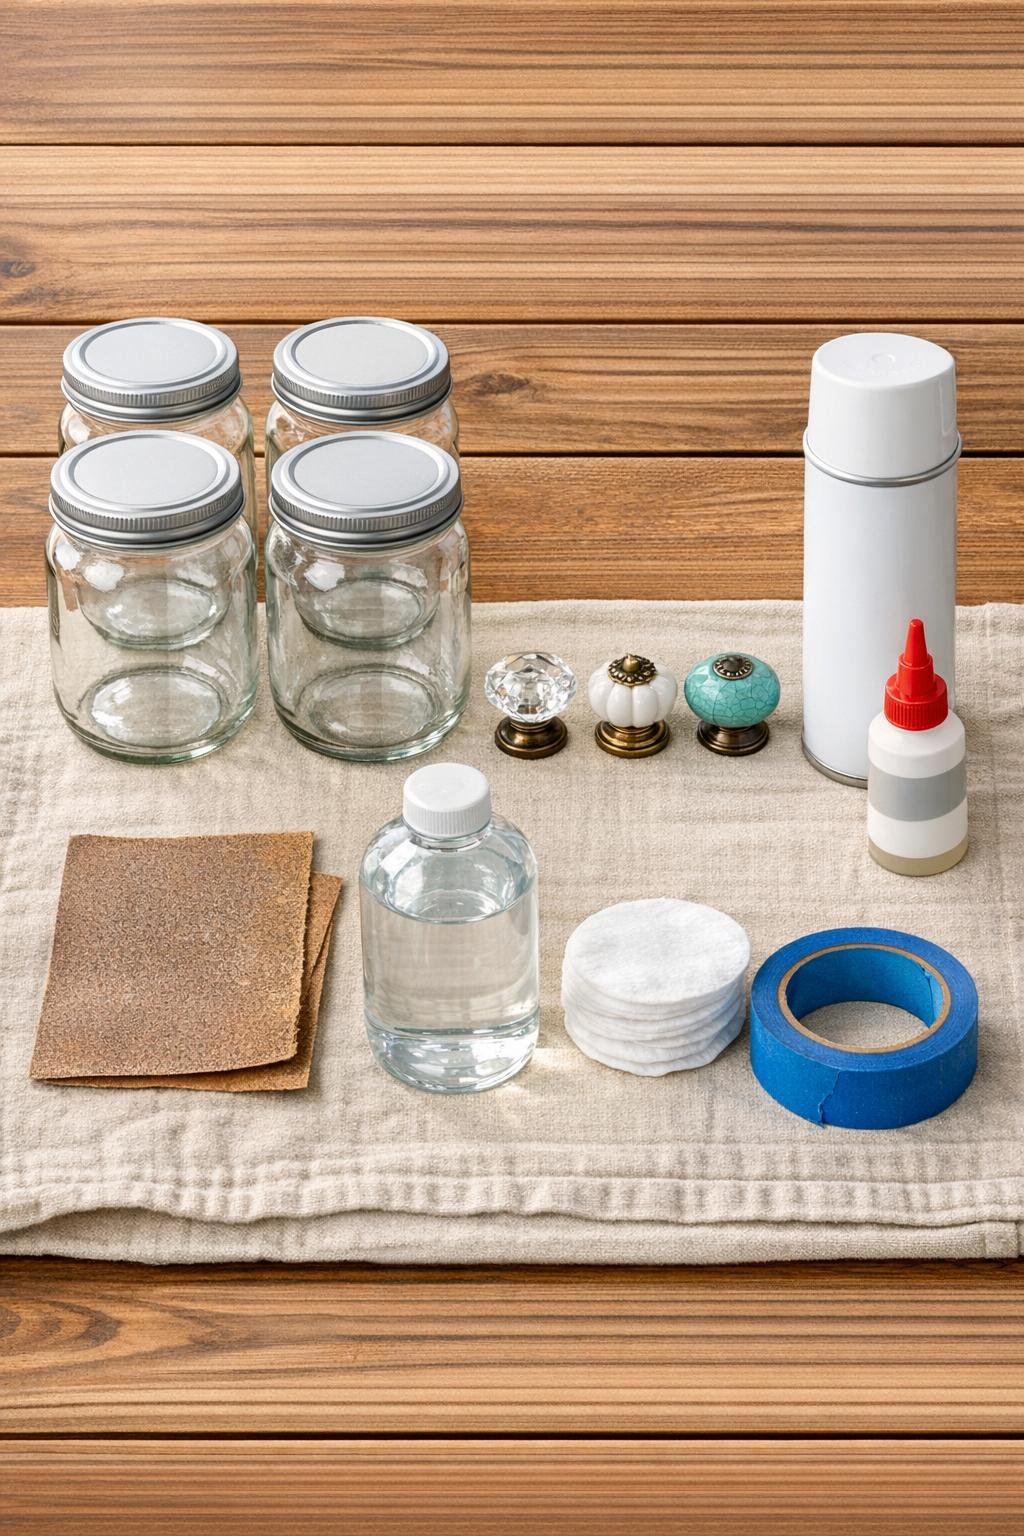
Materials
4 empty glass mayonnaise jars, 24 to 32 ounces each, labels removed
Instructions
1. Wash the four mayo jars and lids in hot soapy water, then remove any labels and sticky residue completely. Let everything dry fully before you start.
2. Wipe the lids and the tops of the knobs with rubbing alcohol to remove grease and dust. This helps the paint and glue hold much better.
3. Lightly sand the top of each lid where the knob will be attached, then sand the base of each knob if it has a slick finish. Brush away the sanding dust with a dry cloth.
4. Set the lids and knobs on a drop cloth outdoors or in a very well-ventilated area. Spray paint them in light, even coats, waiting a few minutes between coats until you have full coverage.
5. Let the painted pieces dry according to the spray paint directions, then add a second coat if needed for an even vintage look. If you want a worn finish, lightly sand the edges after the paint cures.
6. Place a generous dab of strong adhesive in the center of one lid and press one knob firmly into place. Repeat with the remaining three lids, checking that each knob sits centered and straight.
7. Allow the glue to cure fully based on the adhesive instructions before handling the lids. Don’t rush this step or the knobs can shift loose later.
8. Screw the finished lids onto the clean glass jars and inspect the set from all angles. If desired, add a tiny bit more distressing around the lid edges for an older apothecary feel.
9. Fill the jars with lightweight household items, wrapped treats, or bathroom essentials, and display them as a set of four. I like grouping them on a tray so they look intentional and easy to move when I’m cleaning.
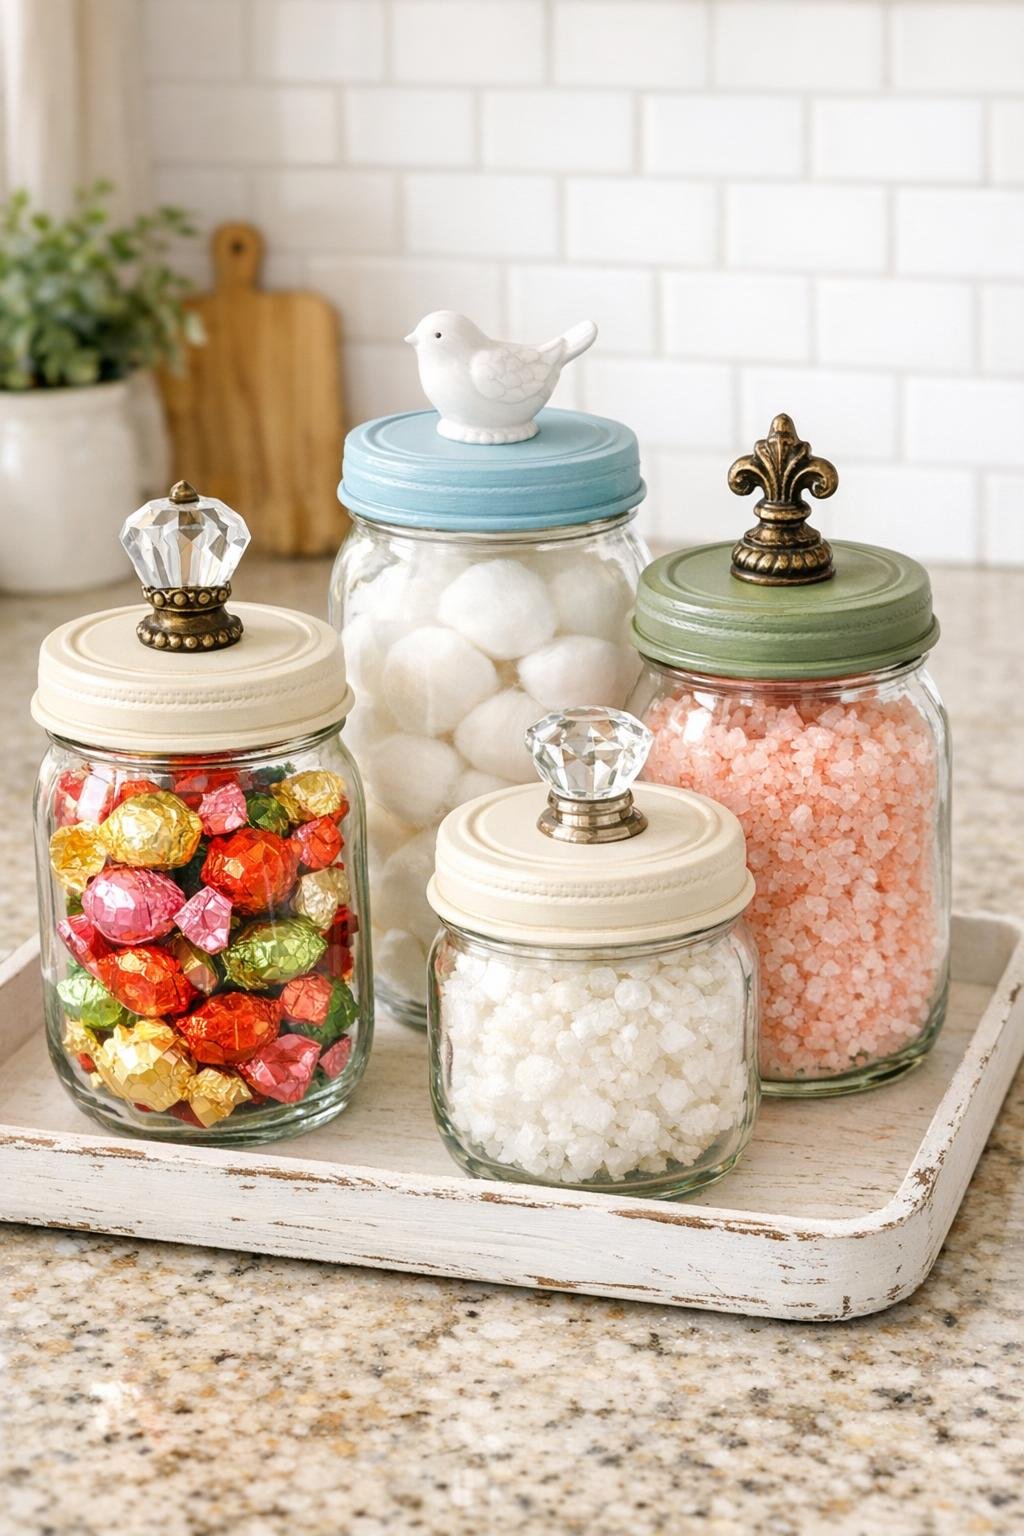
Variations & Tips
Paint Finish: Matte white gives a soft farmhouse look, black feels more classic, and aged bronze or brushed gold leans more antique. I usually choose a finish that matches nearby hardware so the jars blend right in.
For Picky Decor Styles: If your family likes things simple, use plain round wood or metal knobs. If you want more personality, try glass-look crystal knobs for that true vintage apothecary feel.
Best Fillers: These jars look especially pretty with items that have some color or texture, like lemon candies, clothespins, rolled ribbon, bath bombs, or tea bags. I’d avoid very heavy contents unless your knobs are attached with extra-strong adhesive and fully cured.
Easy Distressing: For an older look, lightly rub the lid edges and knob ridges with sandpaper after the paint dries. A little goes a long way, and I think stopping early always looks more natural.
Kid-Friendly Use: If you’re making these for a family bathroom or playroom, fill them with safe lightweight items like hair ties, crayons, or sticker packs instead of breakable or sharp contents. It’s a nice way to make organization feel a little more fun.
Adhesive Tip: If your knobs have screws attached, you can remove them first if possible for a flatter gluing surface. The more contact the knob base has with the lid, the sturdier the finished jar will be.