
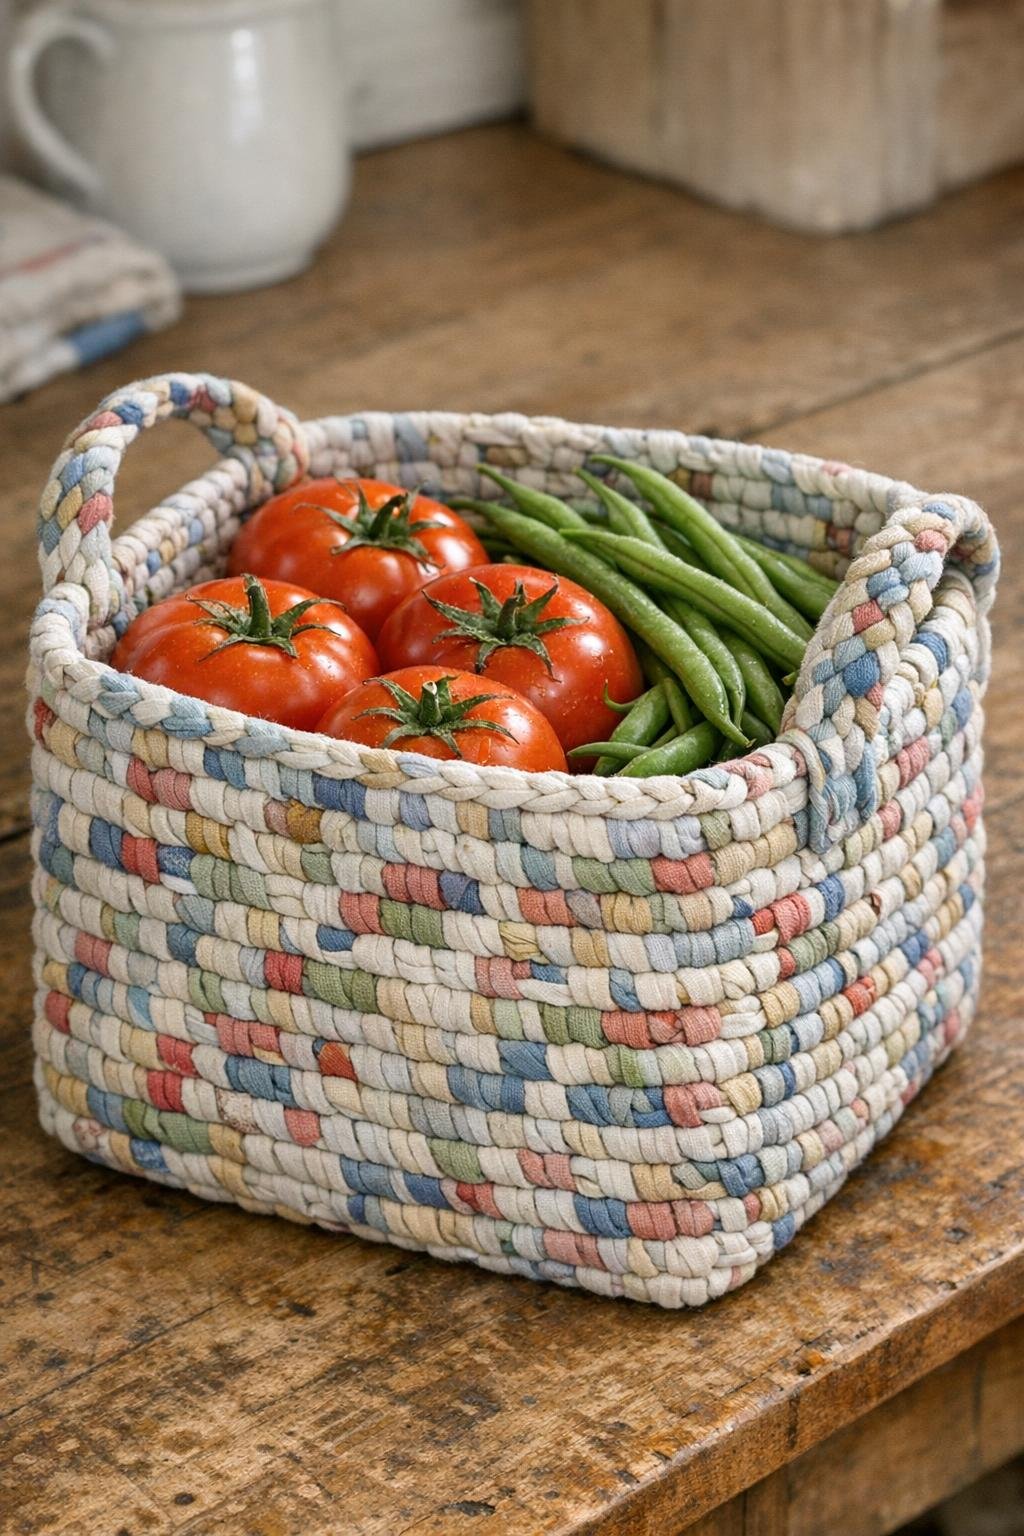
I have always had a soft spot for useful things made from what most folks would toss aside, and this little woven harvest basket is exactly that kind of project. If you have a few old cotton pillowcases tucked in a rag bag or linen closet, you can turn them into a sturdy, soft-sided basket that is just right for gathering tomatoes, holding yarn, corralling onions on the pantry shelf, or setting by the door for gloves and hats.
Out here, we learned long ago not to waste good fabric if there was still life in it. My mother saved feed sacks, my grandmother braided rag rugs through the winter, and I still get a little thrill from making something practical with my own hands. This project is simple enough for a beginner, but satisfying for any maker who enjoys upcycling and a bit of easy weaving.
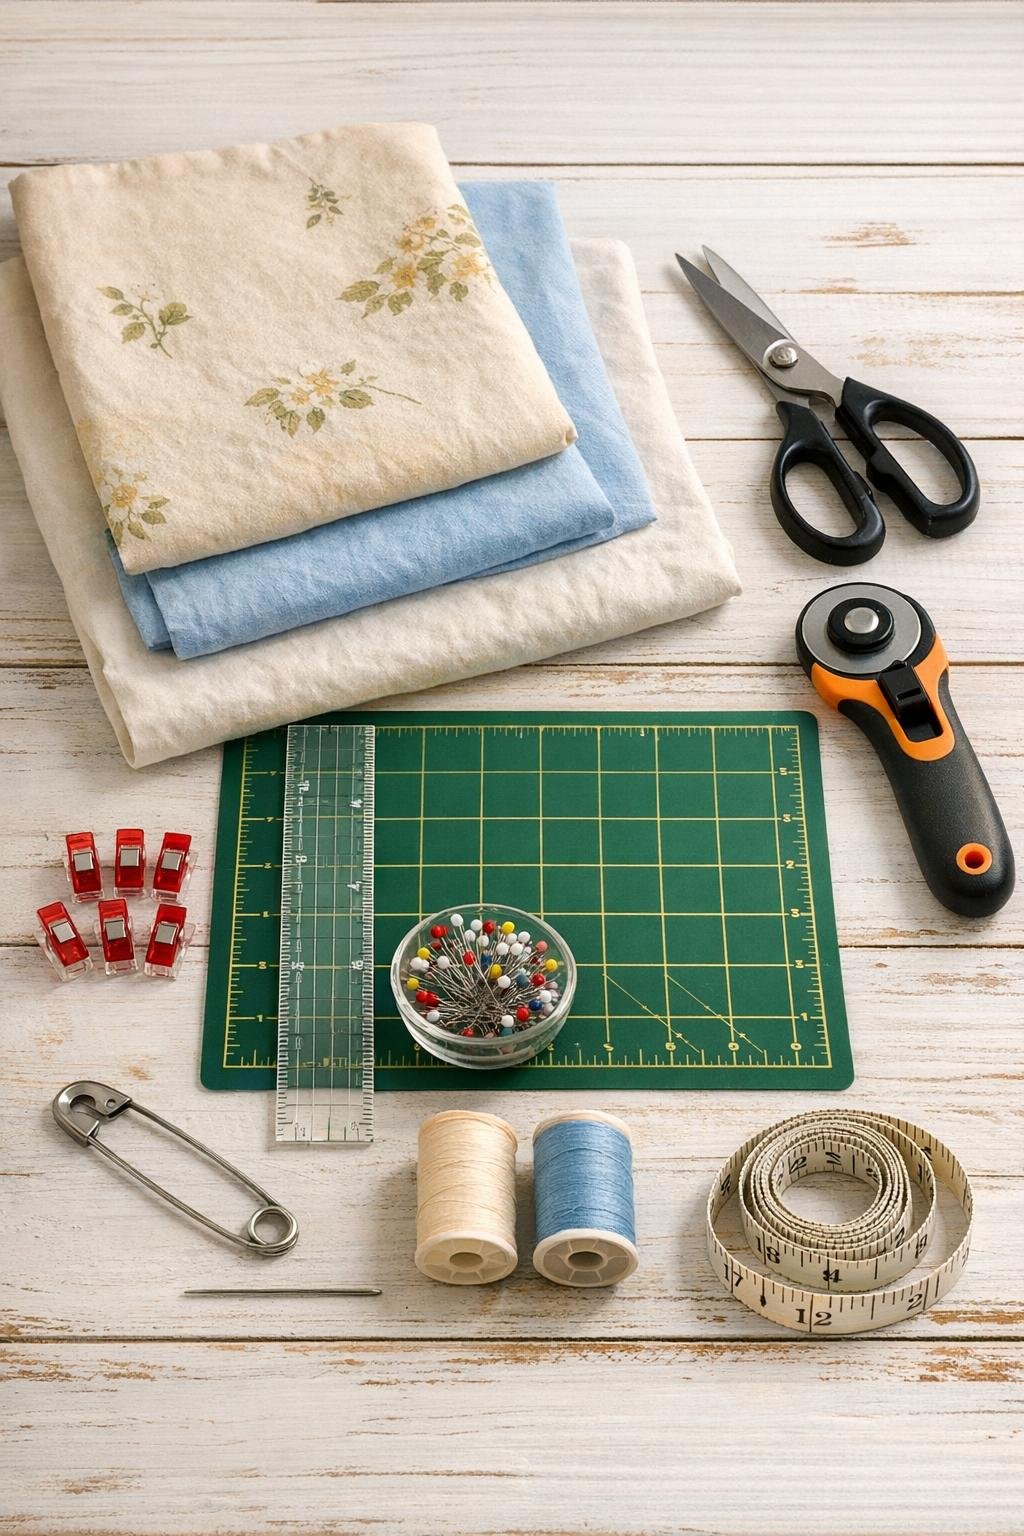
Materials
Instructions
1. Wash, dry, and iron the pillowcases so the fabric is clean, flat, and easy to cut. Trim away hems, side seams, and worn spots so you are left with smooth usable fabric.
2. Cut the fabric into 18 strips that are 2 1/2 inches wide and about 24 to 30 inches long. You will use 12 strips for the basket body and 6 strips for the rim and handles.
3. Join shorter strips end to end by placing two ends right sides together, stitching across with a 1/4-inch seam, and pressing the seam open. Make 12 long strips about 36 inches each for weaving, and 6 long strips about 30 inches each for finishing.
4. Fold each strip in half lengthwise with wrong sides together and press, then fold the raw edges into the center and press again to make sturdy flat bands about 1 1/4 inches wide. Stitch close to both long edges on every strip to keep them from twisting.
5. Lay 6 strips vertically side by side and clip their top ends together. Weave 6 more strips horizontally over and under to form a tight square center, adjusting until you have an even woven panel.
6. Center the weave so the base measures about 8 x 8 inches, then pin or clip the outer edges to hold the pattern in place. Sew around the perimeter of that woven square, 1/4 inch from the edge, catching all the strips to secure the basket bottom.
7. Fold the strips upward along all four sides of the stitched base to begin forming the basket walls. Reweave any loose sections by hand so the sides sit upright and the corners look balanced.
8. At each corner, overlap the neighboring vertical strips neatly and stitch them together by hand or machine to shape the basket into a soft square. Keep the walls about 6 inches high and trim off any extra length that extends more than 1 inch above the rim.
9. Wrap one finishing strip around each side of the top rim, folding the ends under 1/2 inch for a clean finish. Stitch the rim bands in place through all layers to strengthen the basket opening.
10. Make 2 handles by folding 2 finishing strips in half lengthwise, pressing, and stitching along both long edges. Sew one handle to each pair of opposite sides, placing the ends 3 inches apart and stitching a reinforced box at each attachment point.
11. Use the last 4 finishing strips to cover raw edges inside the basket where needed, or braid two of them together and stitch them over the rim for extra strength and decoration. Go over any loose seams by hand so the basket feels secure when lifted.
12. Give the whole basket a final press with steam, shape the corners with your hands, and fill it lightly to help it settle into form. Once it cools, it is ready for gathering garden produce or storing household odds and ends.
Variations & Tips
For a sturdier basket: Slip a piece of heavy interfacing or a cut square of leftover denim between the woven layers at the base before stitching the bottom edge. That gives the basket more backbone for apples, potatoes, or larger garden pickings.
For a softer country look: Mix floral, striped, and plain pillowcases together instead of matching them. I think these rag-style projects look especially sweet when the fabrics clearly had a former life.
If your pillowcases are thin: Make narrower strips and double them before folding, or stitch two strips together side by side. Older cotton can vary quite a bit, and a little extra layering helps the basket hold its shape.
For a rounder basket shape: Start with a smaller woven square base, then ease the sides upward without making sharp corners. This works nicely for bread, napkins, or knitting supplies.
Best uses: Because this is fabric, I use it for dry produce, cloth napkins, sewing notions, or pantry storage rather than muddy vegetables straight from the garden. If you do use it for harvest, line it with a tea towel that can be washed afterward.
My favorite finishing touch: A little hand stitching at the corners in a contrasting thread can add charm without much fuss. It reminds me of the sort of mending my grandmother did—plain, strong, and prettier than folks gave it credit for.