
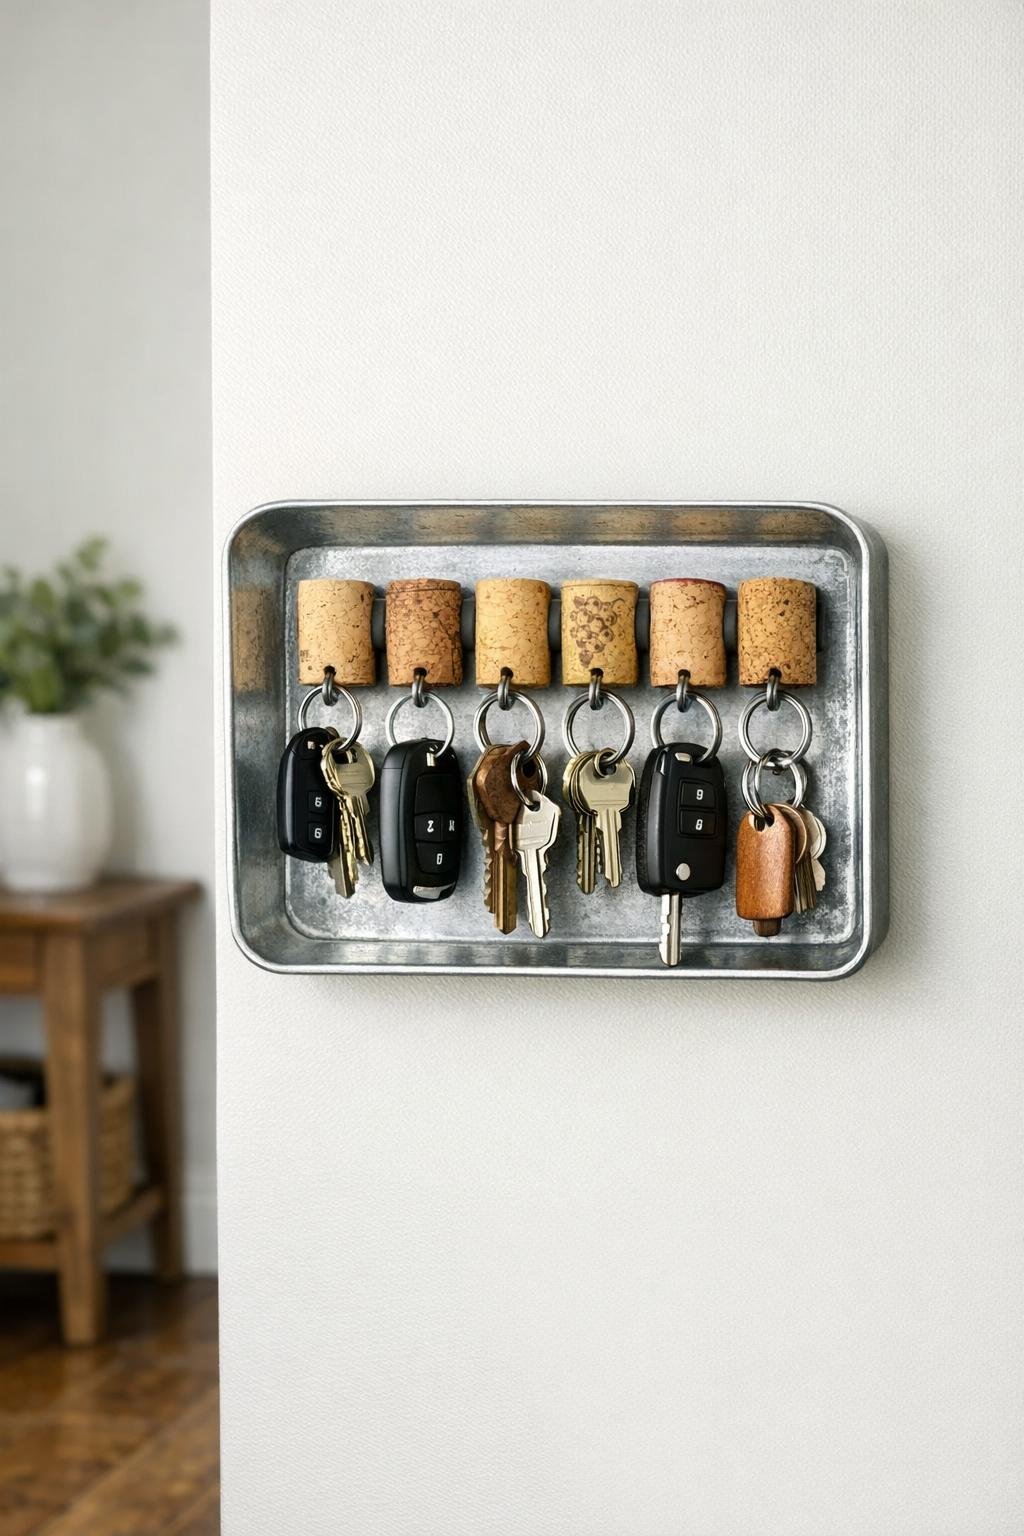
If you’re forever setting your keys down in a different spot, this little entryway project is such a satisfying fix. I love DIYs that use simple materials and turn them into something practical, and this key station does exactly that by turning wine corks into magnetic key holders on a small metal tray.
This is a great project for beginners, renters, or anyone who wants a tidy landing spot by the door without building anything complicated. I’m always looking for ways to make our home feel organized and welcoming for family and guests, and this one has become one of those small details people notice right away.
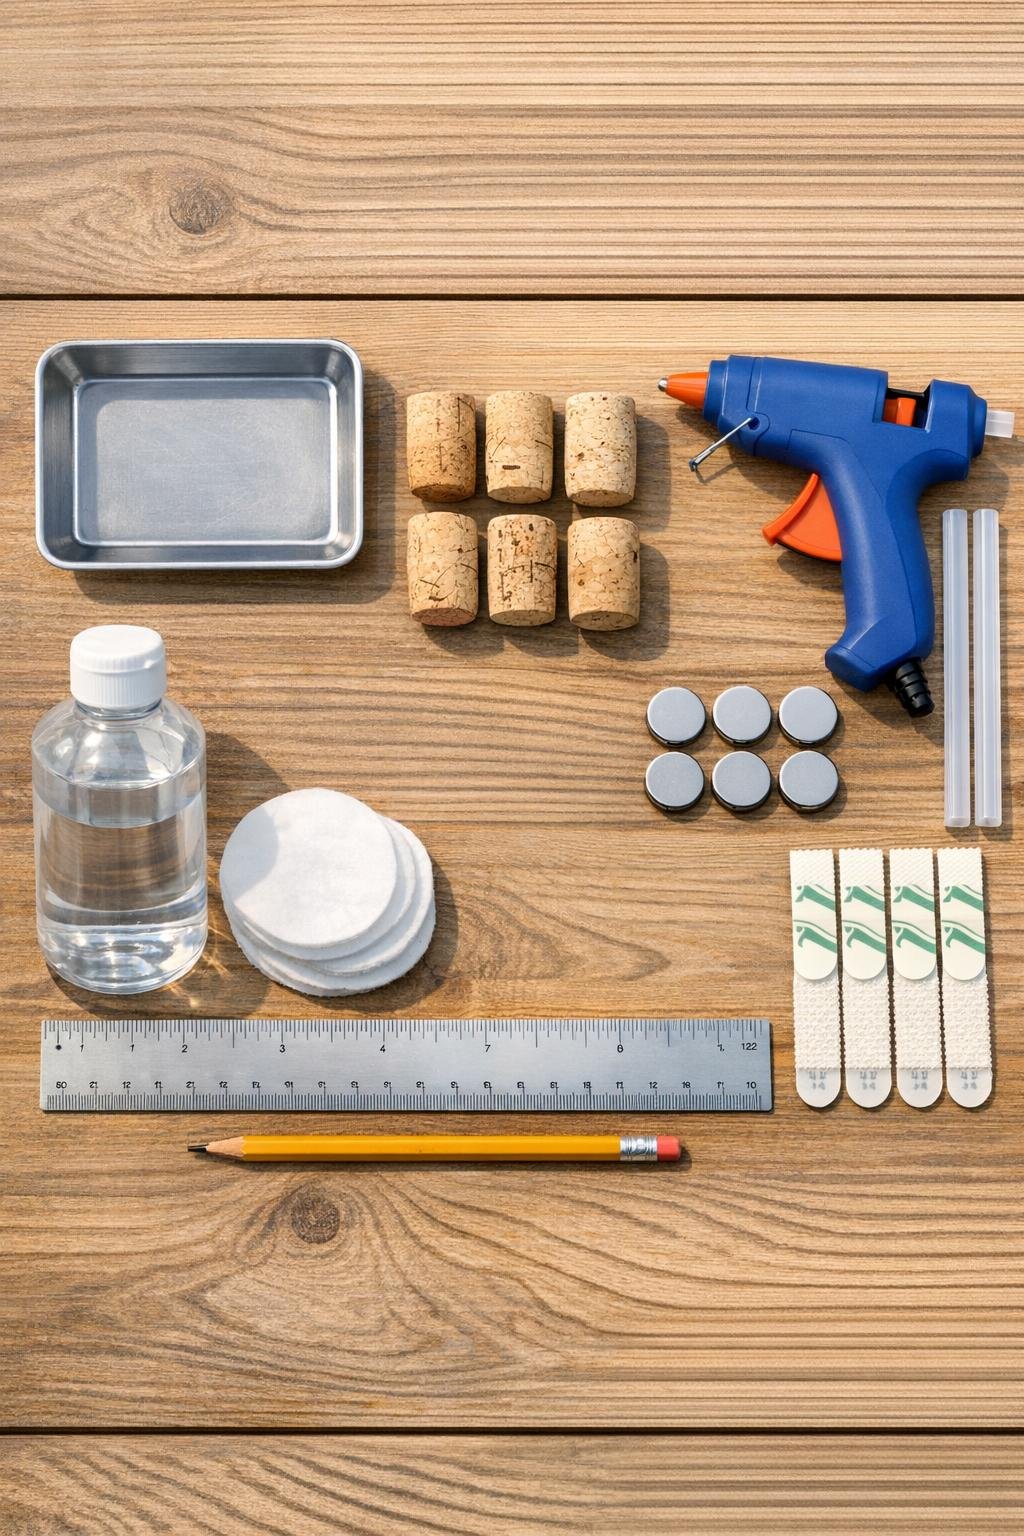
Materials
Instructions
1. Wash and dry the metal tray so the surface is free of dust and grease. Wipe the inside of the tray with rubbing alcohol and let it dry completely.
2. Wipe one flat end of each wine cork with rubbing alcohol too, since glue holds better on a clean surface. Set the corks aside for a few minutes until fully dry.
3. Lay the tray flat and decide how many cork magnets you want across it. I like spacing 6 corks evenly in two rows of 3 so there’s room for several sets of keys without crowding.
4. Use the ruler to check that the corks are evenly spaced, then make tiny placement marks on the tray if needed. Keep at least 1 inch between cork centers so key rings can hang comfortably.
5. Heat up the glue gun, then apply a generous circle of hot glue to one flat end of a cork. Press a magnet firmly onto the glue and hold it steady for 20 to 30 seconds.
6. Repeat with the remaining corks, attaching one magnet to each cork. Let all of them cool fully so the glue hardens before moving them.
7. Place each magnetic cork onto the marked spots inside the metal tray. The magnets will grip the tray, and you can slide the corks slightly until the arrangement looks straight.
8. Test each cork by hanging a key ring over it to make sure the magnet stays secure against the tray. If one shifts, remove it and add a little more glue behind the magnet before testing again.
9. Attach the wall mounting strips to the back of the tray according to the package directions. Press the tray onto the wall near your entryway at a height that’s easy for everyone in the house to reach.
10. Wait the recommended time for the mounting strips to set, then hang your keys on the corks. Give the tray a gentle tug and test the key weight one more time before using it daily.
Variations & Tips
Add a catchall function: Use a tray with a shallow lip so the bottom can also hold mail, coins, or a spare house key. That little extra storage makes this especially handy by a busy family door.
Try a different layout: If you only need space for two or three sets of keys, make one simple row. For a larger household, use a bigger tray and space 8 corks in two rows.
Use matching corks: Natural corks give the prettiest finished look when they’re close in size and color. If your saved corks are mixed, trim off any ragged ends with a craft knife before gluing the magnets on.
Make it renter-friendly: Removable mounting strips are my favorite option for this project because they avoid wall damage. Just be sure the tray and key weight stay within the strip rating.
Help picky organizers: In my house, people are much more likely to use an organizer if it’s simple. Give each family member their own cork position so everyone knows exactly where their keys belong.
Upgrade the finish: If you want a more polished entryway look, spray-paint the metal tray before assembling the project. Let it cure completely before adding the corks so the magnets grip a clean, hard surface.