
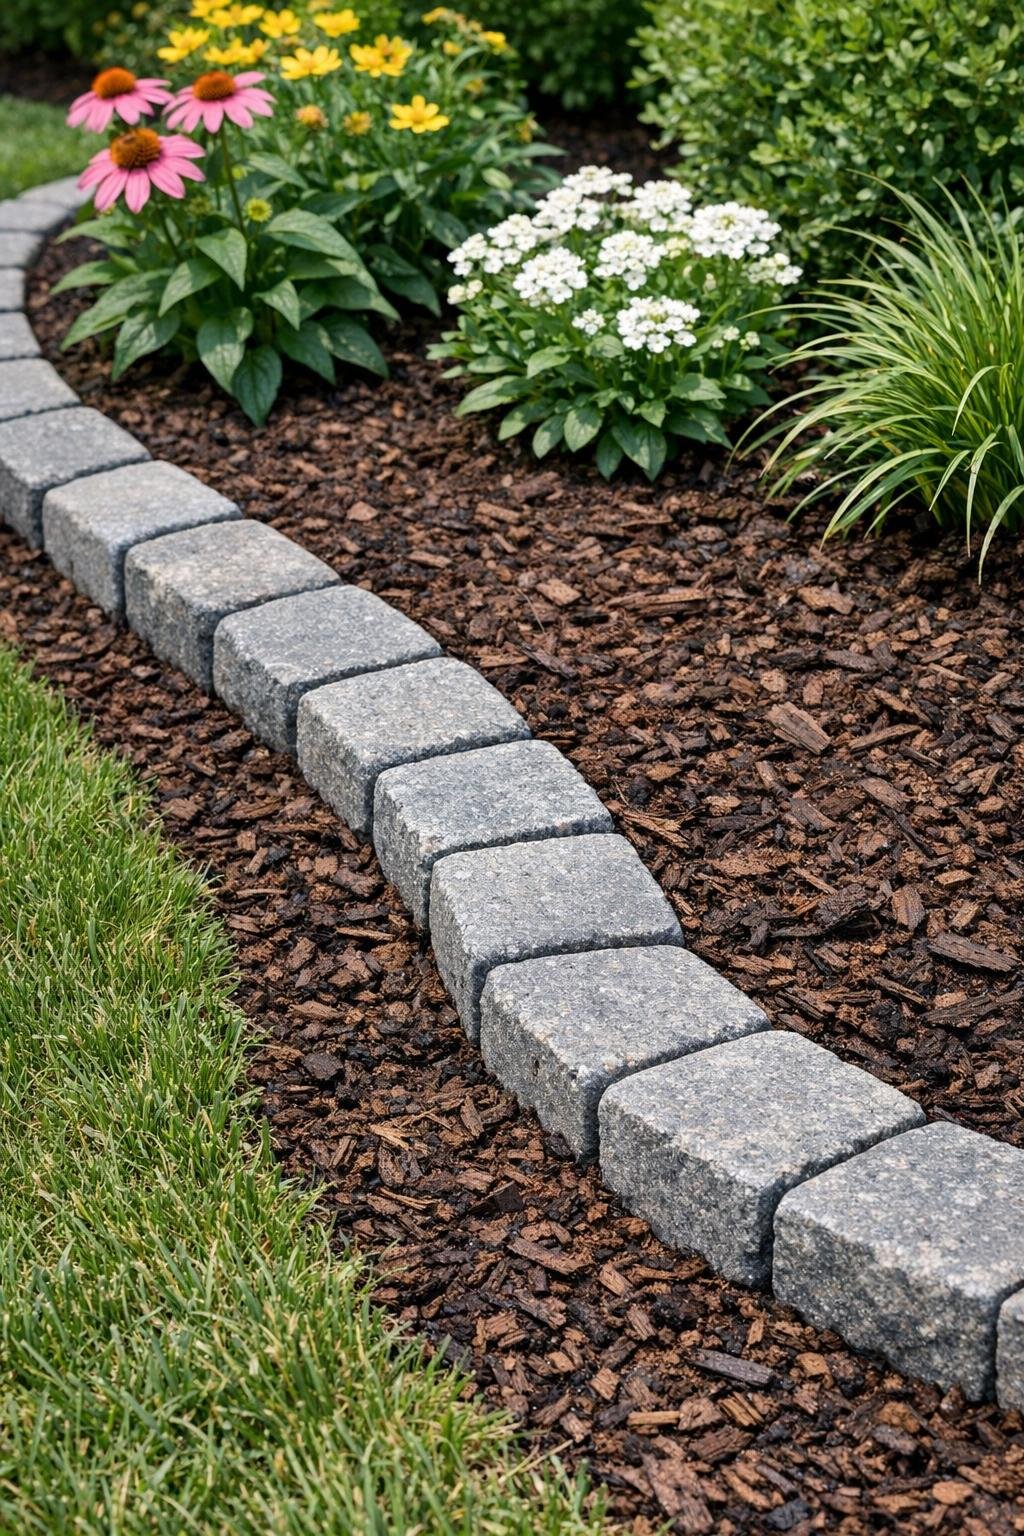
A simple stone-and-mulch border is one of those garden projects that looks far more polished than the effort it takes. By embedding grey stone pavers directly into dark brown mulch, you get a clean, charming edge that helps define beds, paths, or a small feature planting without the fuss of mortar or heavy construction.
I like this kind of project because it suits real-life gardens: a little imperfect, easy to maintain, and sturdy enough to hold its shape through the season. If you want a border that feels neat but still natural, this is an approachable weekend DIY that works especially well for beginners.
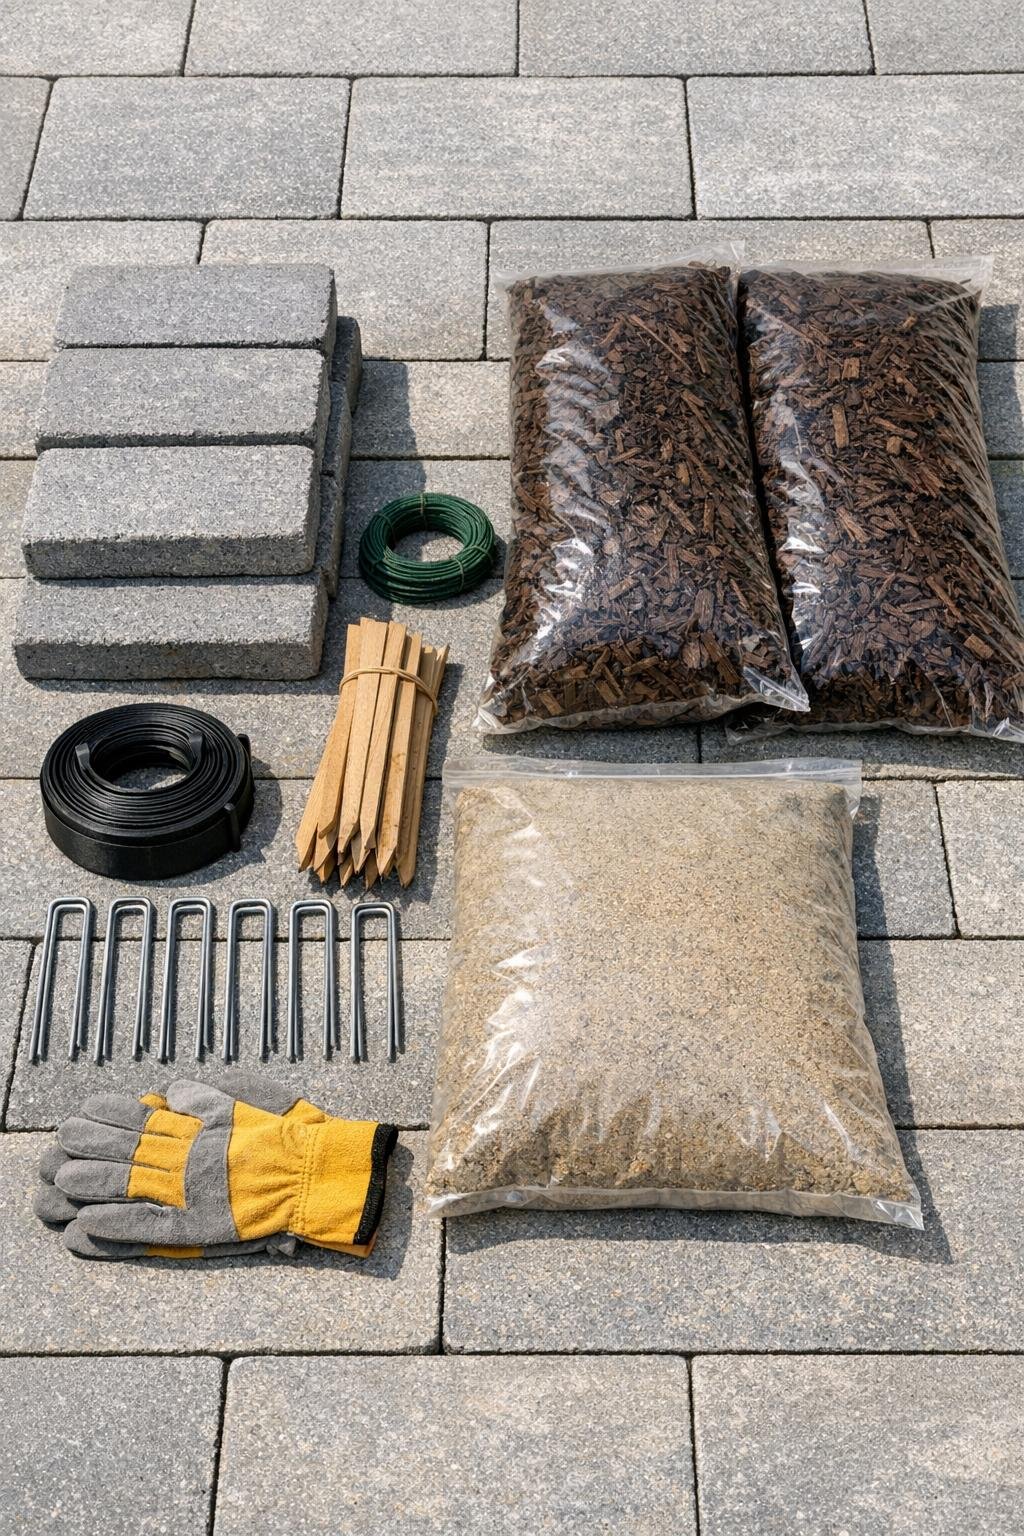
Materials
Instructions
1. Mark the shape of your border with mason line and stakes, or use flour to sketch a gentle curve directly on the ground. Step back and check the line from a few angles before you dig.
2. Clear away weeds, grass, and loose debris along the marked border, making the strip about 14 inches wide so you have room for the pavers and mulch. Smooth the soil surface with your hand or rake.
3. Dig a shallow trench where the pavers will sit, about 2 1/2 inches deep and slightly wider than the pavers. Keep the bottom as level as you can so the finished border looks even.
4. Pour a 1-inch layer of leveling sand into the trench and spread it evenly. Tamp it down firmly and check that the base follows the curve without high or low spots.
5. Set the grey stone pavers one by one into the sand, pressing each down so the top sits just above the surrounding soil. Place them tightly together for a formal look or leave a 1/2-inch gap for a softer, more relaxed border.
6. Adjust each paver by adding or removing a little sand underneath until the tops look aligned. This is the step that makes the border feel intentional, so take your time here.
7. Roll out landscape fabric behind the paver line on the bed side, trimming it to fit and securing it with fabric pins. Overlap seams by at least 4 inches if you need more than one strip.
8. Fill the bed area with dark brown mulch, spreading it 2 to 3 inches deep so it comes up around the embedded pavers without burying their top surface. Brush stray mulch off the stones as you go.
9. Backfill the outer edge with soil if needed and press everything gently into place so the pavers feel stable. Water the surrounding soil lightly to help settle the border.
10. Walk the full length of the border and make final adjustments to spacing, height, and mulch depth. Once it looks balanced, the border is finished and ready to frame the rest of your planting.
Variations & Tips
Softer cottage look: Space the pavers slightly apart and tuck a little creeping thyme or low ground cover between them for a more relaxed border.
More formal layout: Keep the pavers tightly butted together in a straight or very gentle curved line if you want a crisp edge near a front walkway.
Drainage tip: If your soil holds water, add an extra 1/2 inch of sand under the pavers so they stay more stable through wet weather and freeze-thaw cycles.
Mulch choice: I prefer dark brown mulch here because it makes grey stone stand out beautifully, but black mulch gives a sharper contrast and shredded cedar offers a lighter, more natural look.
Maintenance: Check the border once or twice a season and reset any pavers that shift; catching small movement early is much easier than rebuilding a whole section later.
Budget option: Use salvaged concrete pavers or leftover patio stones if they are close in thickness, which helps the finished border stay level and visually cohesive.