
I love a project that looks boutique-store cute but starts with two inexpensive craft aisle finds, and this little harvest tabletop tree is exactly that. By wrapping wooden bead garlands around a simple dowel rod, you get a warm, textured fall piece that works beautifully on an entry table, porch console, or even tucked beside a front door inside the house where it feels festive without taking up much space.
As someone who is usually squeezing creative projects in between work and figuring out dinner, I really appreciate décor that comes together fast and still looks polished. This one is perfect if you like neutral fall decorating, farmhouse style, or just want a seasonal accent that doesn’t scream orange plastic pumpkins. It’s simple, beginner-friendly, and easy to customize with ribbon, faux leaves, or a different base.
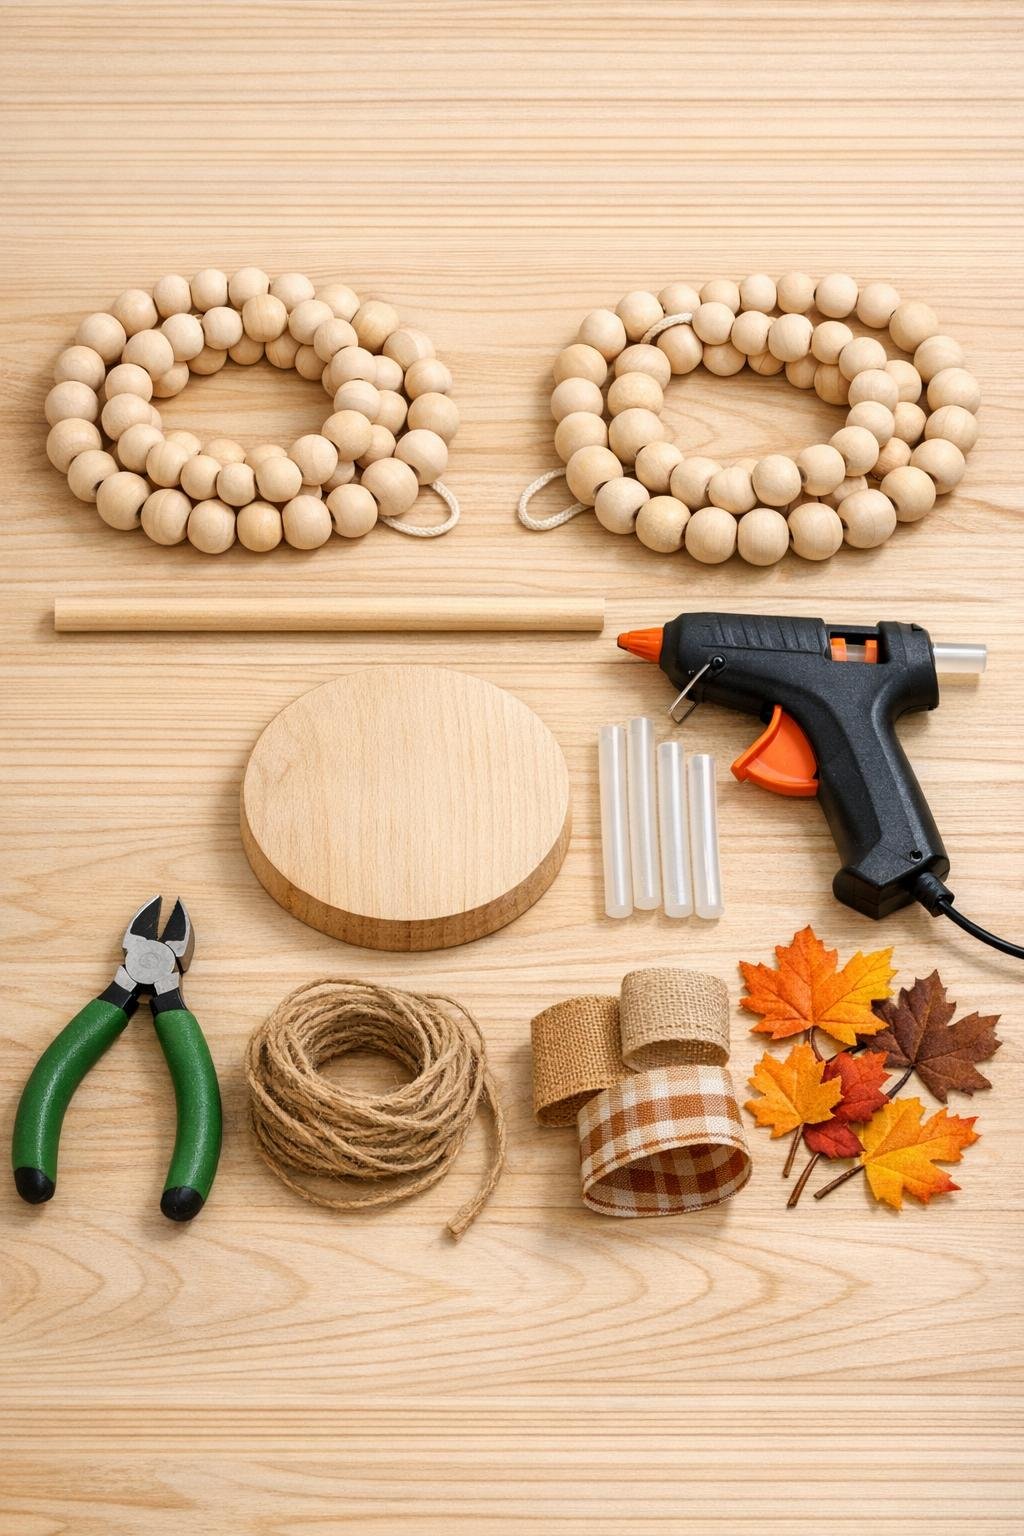
Materials
2 wooden bead garlands, 36 inches long each, natural finish
Instructions
1. Mark the center of the wood base, then glue the 12-inch dowel rod upright into the middle. Hold it steady until the glue grips, and add a little extra glue or wood filler around the base of the dowel if you want a sturdier finish.
2. Let the base set for a few minutes so the dowel stands straight without shifting. If the rod leans at all, adjust it now before you start wrapping the beads.
3. Start one wooden bead garland near the top of the dowel, leaving about 1 inch bare at the very tip. Add a dot of hot glue to anchor the string, then begin winding the garland downward in a loose spiral.
4. Keep wrapping the beads wider as you move down, creating a tree shape with a narrow top and fuller bottom. Add a small dot of hot glue every few inches to hold the spiral in place and keep the spacing even.
5. Attach the second bead garland where the first one ends and continue wrapping until you reach the bottom of the tree. Stop when the lowest row sits just above the wood base so the shape looks clean and balanced.
6. Trim or tuck any excess string from the garland ends, then glue the end securely at the back of the tree. Press it in place for a few seconds so it doesn’t spring loose.
7. Tie the jute twine or ribbon into a small bow and glue it near the top or front of the tree for a harvest touch. If you want more color, tuck in a few faux fall leaves near the base or along one side.
8. Add felt to the bottom of the base if you’re placing it on a painted table or entry cabinet. Set the finished tree on your front entry table, porch console, or shelf and fluff the embellishments until it looks just right.
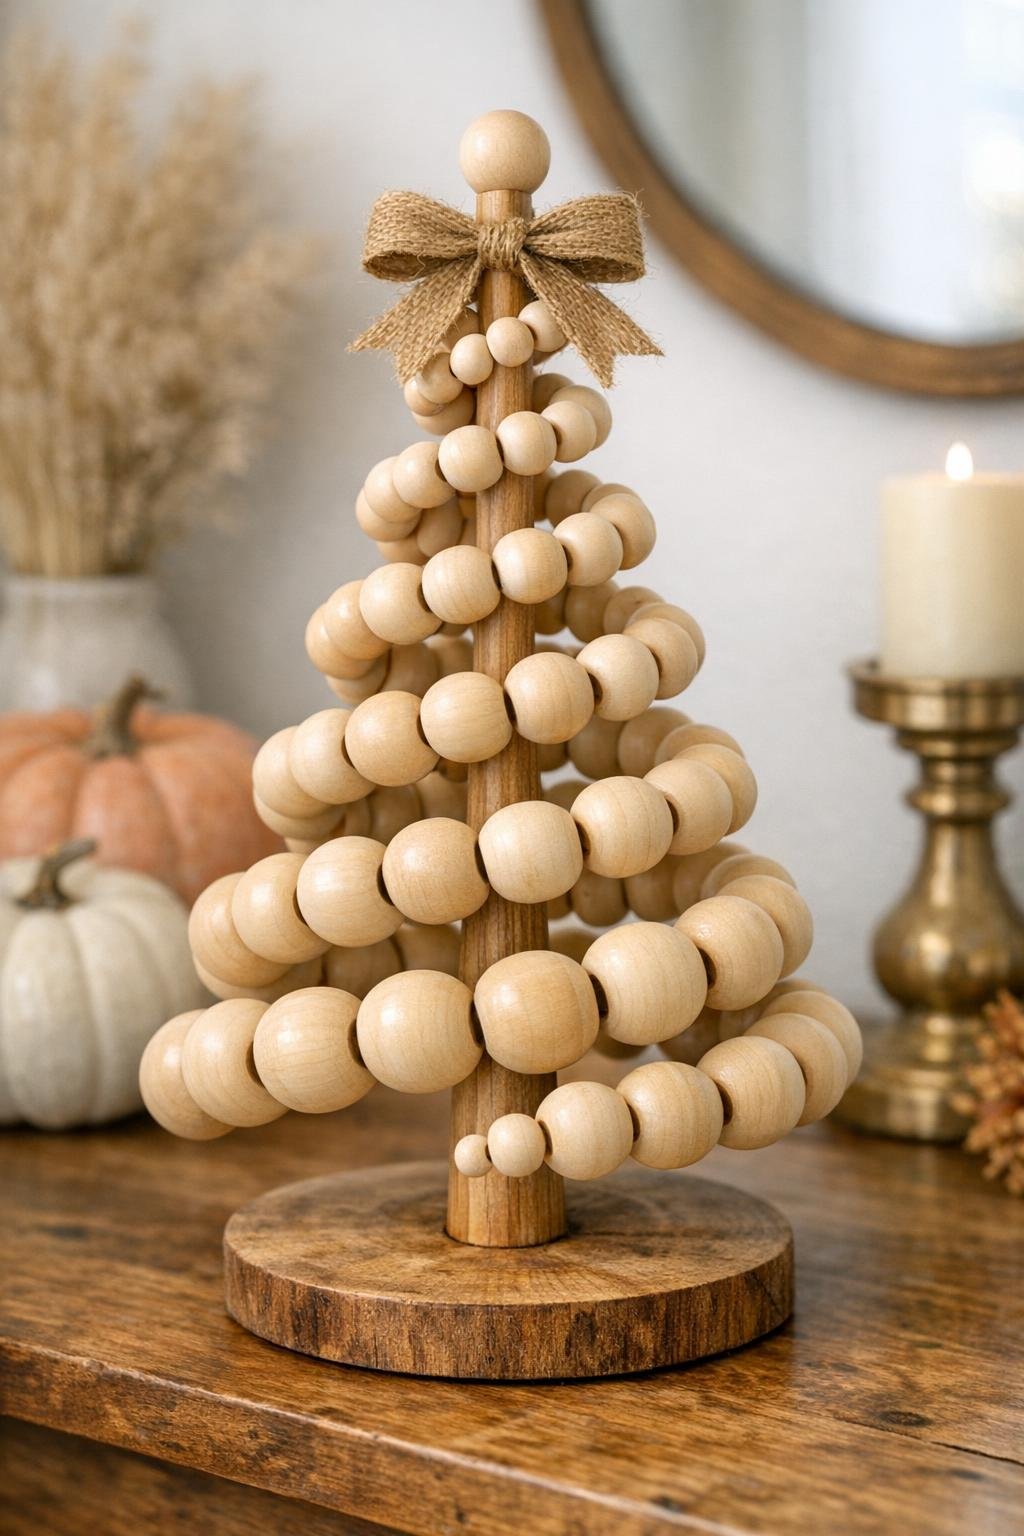
Variations & Tips
Make it taller: Use a 16-inch dowel rod and one additional bead garland if you want more height for a larger entry table or covered porch display.
Keep it neutral: I love leaving the beads unfinished for a soft, natural harvest look, especially if your fall décor leans more cozy than colorful.
Add more fall color: Glue in mini faux maple leaves, tiny berry sprigs, or a strip of burlap ribbon around the base for a fuller autumn style.
Use a different base: A scrap wood block, a chunky candle holder, or a small thrifted pedestal can all work as long as the dowel can be secured straight.
Check your spacing: The prettiest result comes from keeping the bead rows evenly spread as you spiral downward, so I like to pause every few wraps and look at it from a few feet away.
Make a set: If you have a little extra time, make two or three in different heights. That’s usually my favorite trick when decorating an entryway because grouped pieces instantly look more intentional.