
I love a project that looks boutique-store expensive but starts with things I can gather on a weekend, and this rustic harvest wreath is exactly that. By bleaching brown pine cones with bleach, warm water, and a little white vinegar, you get that soft weathered look that makes a simple wreath feel polished and seasonal without being overly themed.
This is a great project for anyone who wants fall décor that can stay up well past Halloween. I especially like it for busy households, because it uses just three main design elements on the wreath itself: bleached pine cones, a grapevine wreath base, and a wired ribbon hanger or bow. It comes together quickly once the cones are dry, and it adds that cozy harvest touch to a front door, mantel, or kitchen wall.
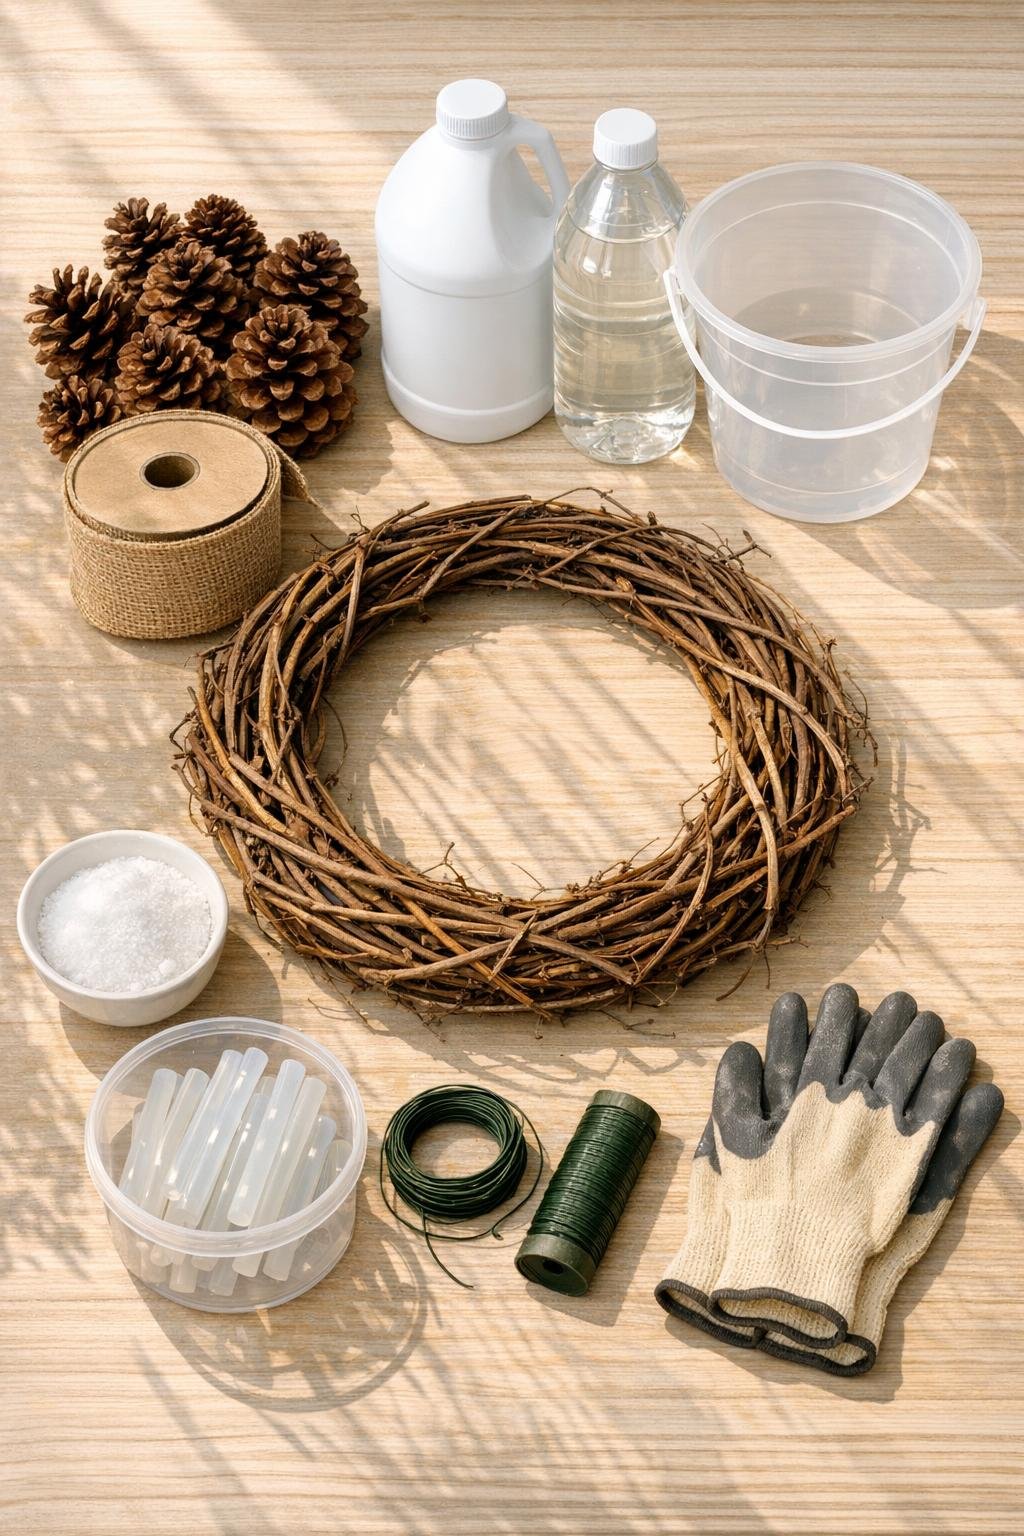
Materials
Instructions
1. Put on gloves and place the pine cones in a plastic bucket. In a separate container, mix the warm water, bleach, white vinegar, and salt, then pour it over the pine cones until they are fully submerged.
2. Set an old plate or tray on top of the pine cones to keep them underwater, and let them soak for 8 to 24 hours. The longer they soak, the lighter and more weathered they will look.
3. Remove the pine cones from the solution and rinse them lightly with cool water. Lay them on a towel or baking rack and let them dry completely for 24 to 48 hours so they open back up.
4. Once the pine cones are fully dry, sort them by size and set aside the prettiest ones for the front center of the wreath. This little step makes the finished wreath look much more balanced and intentional.
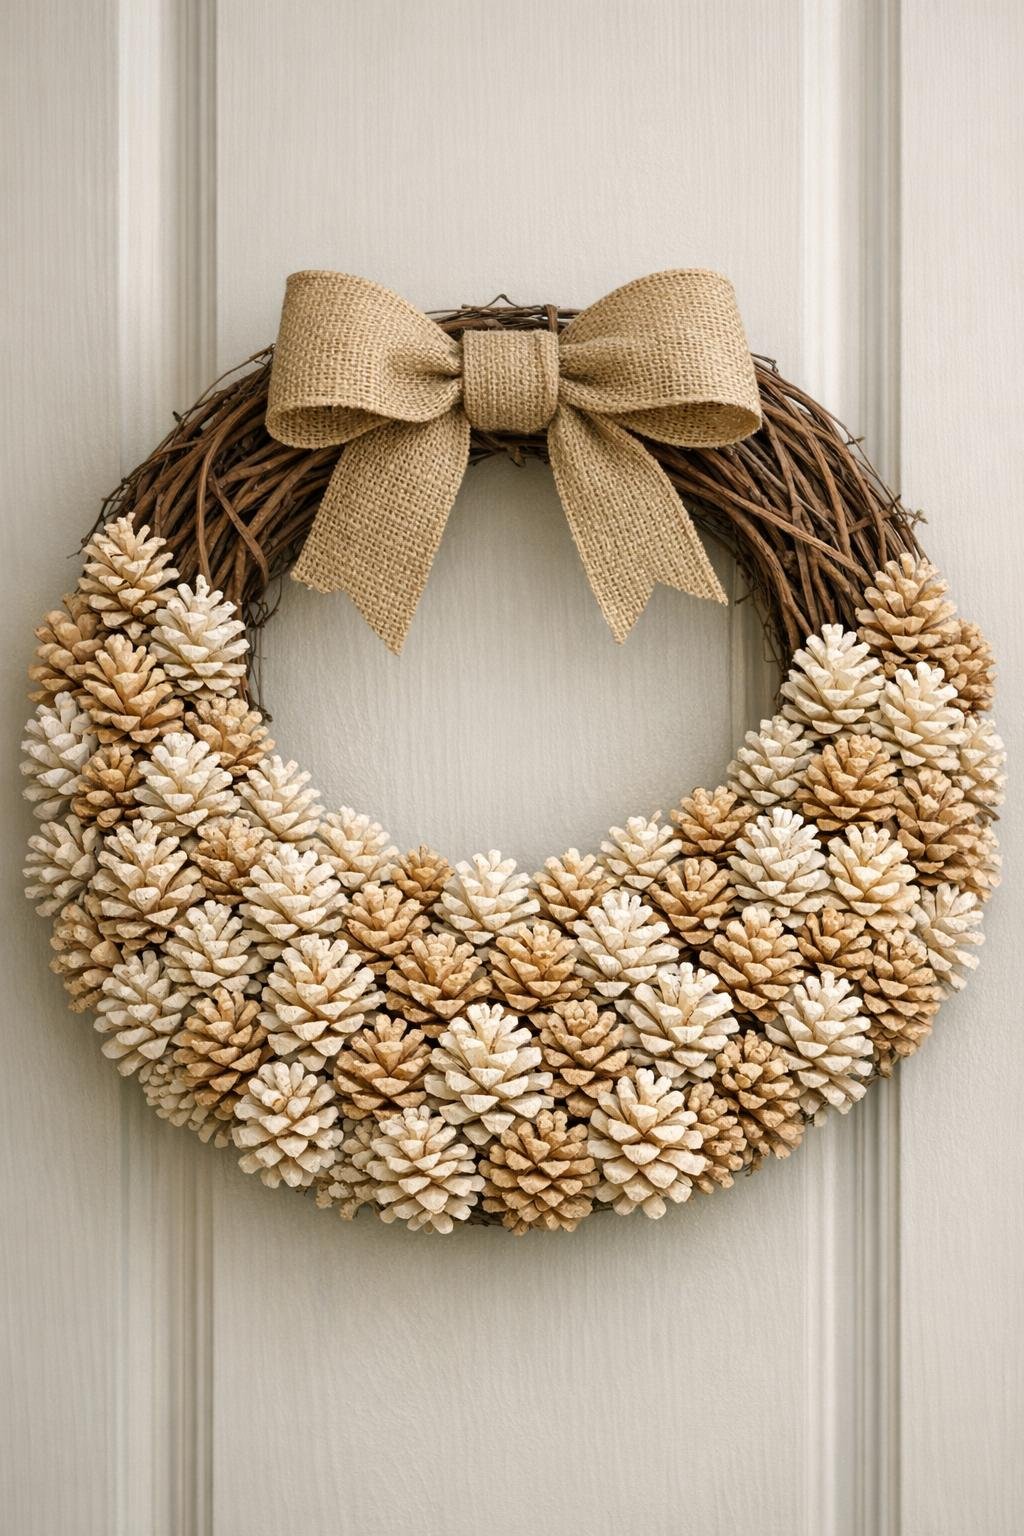
5. Warm up the hot glue gun and place the grapevine wreath form flat on your work surface. Dry-fit the pine cones around the wreath first, aiming for full coverage on the lower two-thirds and lighter coverage near the top.
6. Glue the largest pine cones onto the wreath first, spacing them evenly around the bottom and sides. Press each one into the grapevine for a few seconds so the glue grabs securely.
7. Fill in with the medium and smaller pine cones, tucking them into gaps and slightly overlapping them for a fuller look. Keep the top area a little more open so the wreath still has an airy, natural shape.
8. Cut the ribbon and tie it into a simple bow or loop it for a hanger at the top of the wreath. Secure it with floral wire threaded through the grapevine, then add a small dot of hot glue if needed to keep it from shifting.
9. Check the wreath from a hanging position and add one or two extra pine cones anywhere it looks sparse. Let all glue cool completely before hanging the wreath on a door or wall.
Variations & Tips
For a fuller wreath: Use 30 to 36 pine cones instead of 24 and cover nearly the entire grapevine form. I like this version for a bigger front door where delicate details can get lost from the curb.
For a softer color: If your pine cones still look darker than you want after drying, soak them a bit longer next time rather than adding more bleach. I have learned the hard way that patience works better than trying to rush the color change.
For easier prep: Bleach and dry the pine cones a day or two ahead of assembly. That is usually how I fit projects like this into a busy week, and it makes the actual wreath-building feel quick and low-stress.
For a different ribbon look: Swap the burlap ribbon for dark brown velvet, cream linen, or burnt orange wired ribbon. Keeping the ribbon simple helps the bleached pine cones stay the star.
For indoor use: This wreath is beautiful over a mantel or on a pantry door if you want harvest décor inside the house. If you hang it outdoors, place it in a somewhat sheltered spot to help the glue and ribbon last longer.
Safety tip: Always mix and use bleach in a well-ventilated area and wear gloves while handling the soaking solution. Do not use a metal container, and keep the materials away from kids and pets during the bleaching process.