
If you’ve ever rinsed out a clear deli lid and thought, “This feels too sturdy to toss,” this is one of my favorite little weekend projects. These garden markers start with something super ordinary, but there’s one important detail you absolutely have to get right first: only clear plastic stamped with the recycling number 6 will shrink properly. Check the triangle before you do anything else, because #1 and #5 containers will not work for this project.
I love this craft because it uses a couple of basic kitchen-drawer items, takes almost no setup, and is easy to squeeze in after dinner on a weeknight. If you like practical DIYs that help organize your herbs, seedlings, or patio pots without buying a pack of generic markers, this one is for you.
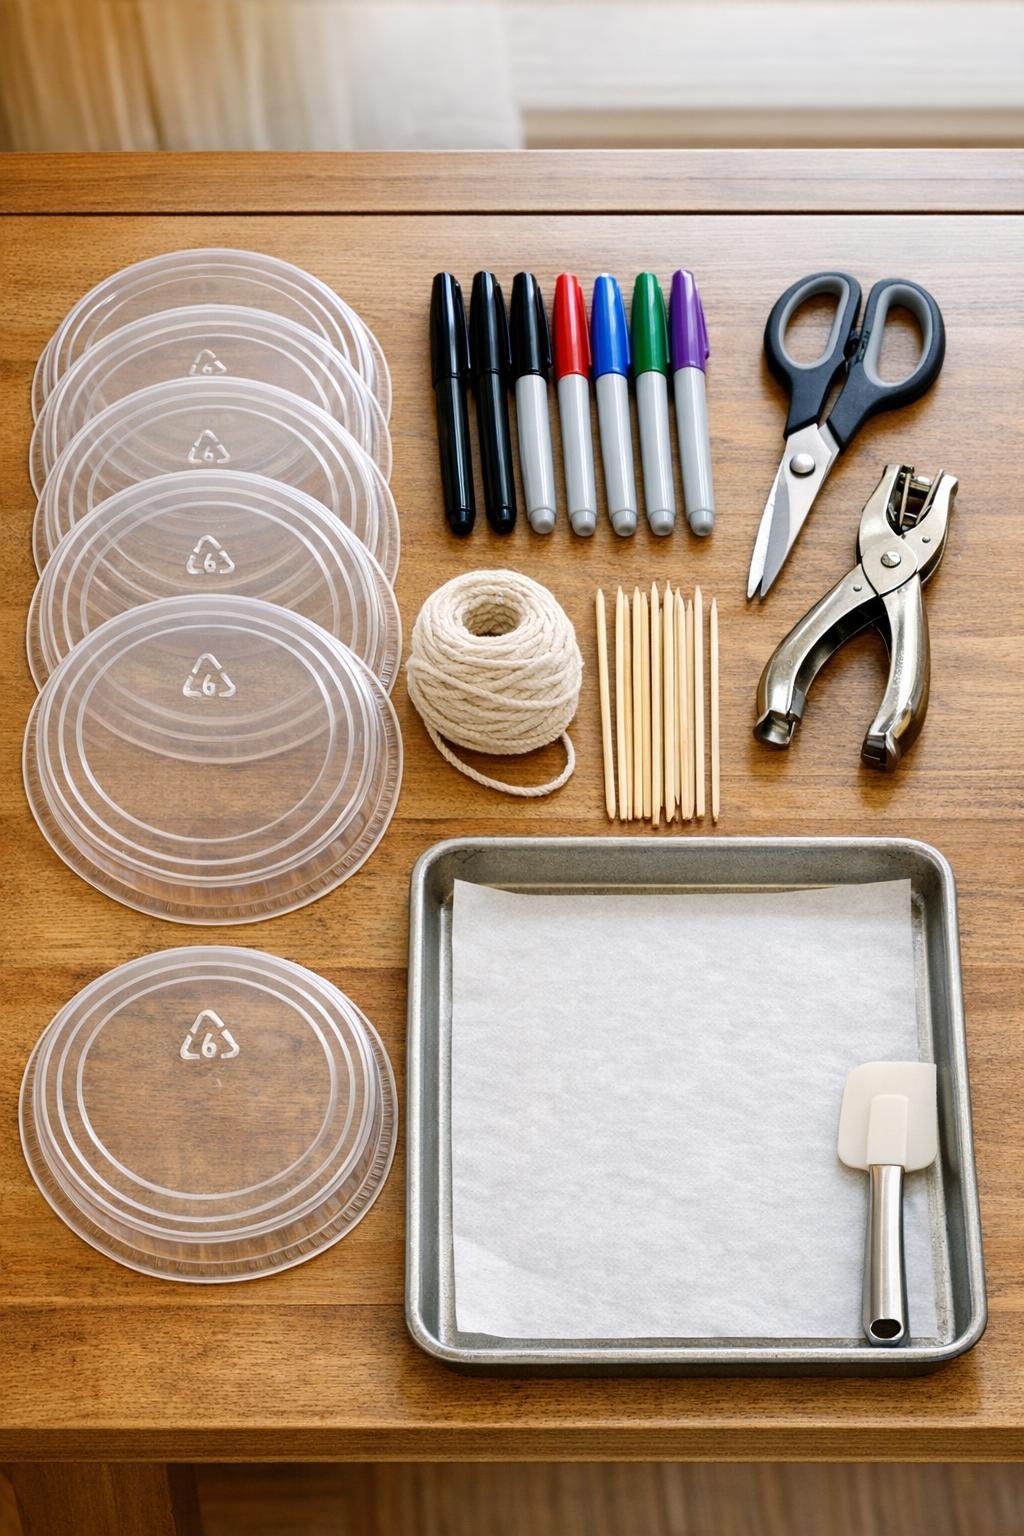
Materials
3 to 5 clear plastic deli lids stamped with recycling number 6 polystyrene
Instructions
1. Wash and dry the deli lids, then check each recycling triangle carefully to confirm it is #6 polystyrene. Do not use #1 or #5 plastic, and do not microwave the pieces.
2. Preheat your oven to 325 F and line a metal baking sheet with parchment paper. Open a window or turn on your kitchen vent so the area stays well ventilated.
3. Cut the lids into simple marker shapes such as rectangles, ovals, or leaf forms about 3 times larger than you want the finished tags to be. The plastic will shrink to roughly one-third of its original size.
4. Use the permanent markers to label and decorate each piece while it is still flat. Keep your lettering bold and simple so it stays easy to read after shrinking.
5. Punch any hanging holes now, before baking, placing each hole about 1/4 inch from the edge. If you want stake-style markers only, you can skip the hole and tape or tie the finished piece to a skewer later.
6. Arrange the pieces on the parchment-lined baking sheet with space between them, then place the sheet in the oven. Bake for 1 to 3 minutes at 325 F without exceeding the temperature.
7. Watch through the oven window as the plastic curls dramatically and then settles back down. Remove the pan as soon as the pieces are flat again.
8. Let the pieces sit for a few seconds, then press gently with a small spatula if any tag needs help flattening while still warm. Once cooled, they will be thick, rigid, and much smaller.
9. Tie the finished tags onto wooden skewers or thread them with twine, depending on how you want to use them. Place them in herb pots, seed trays, garden beds, or wrap them onto gifts as reusable tags.
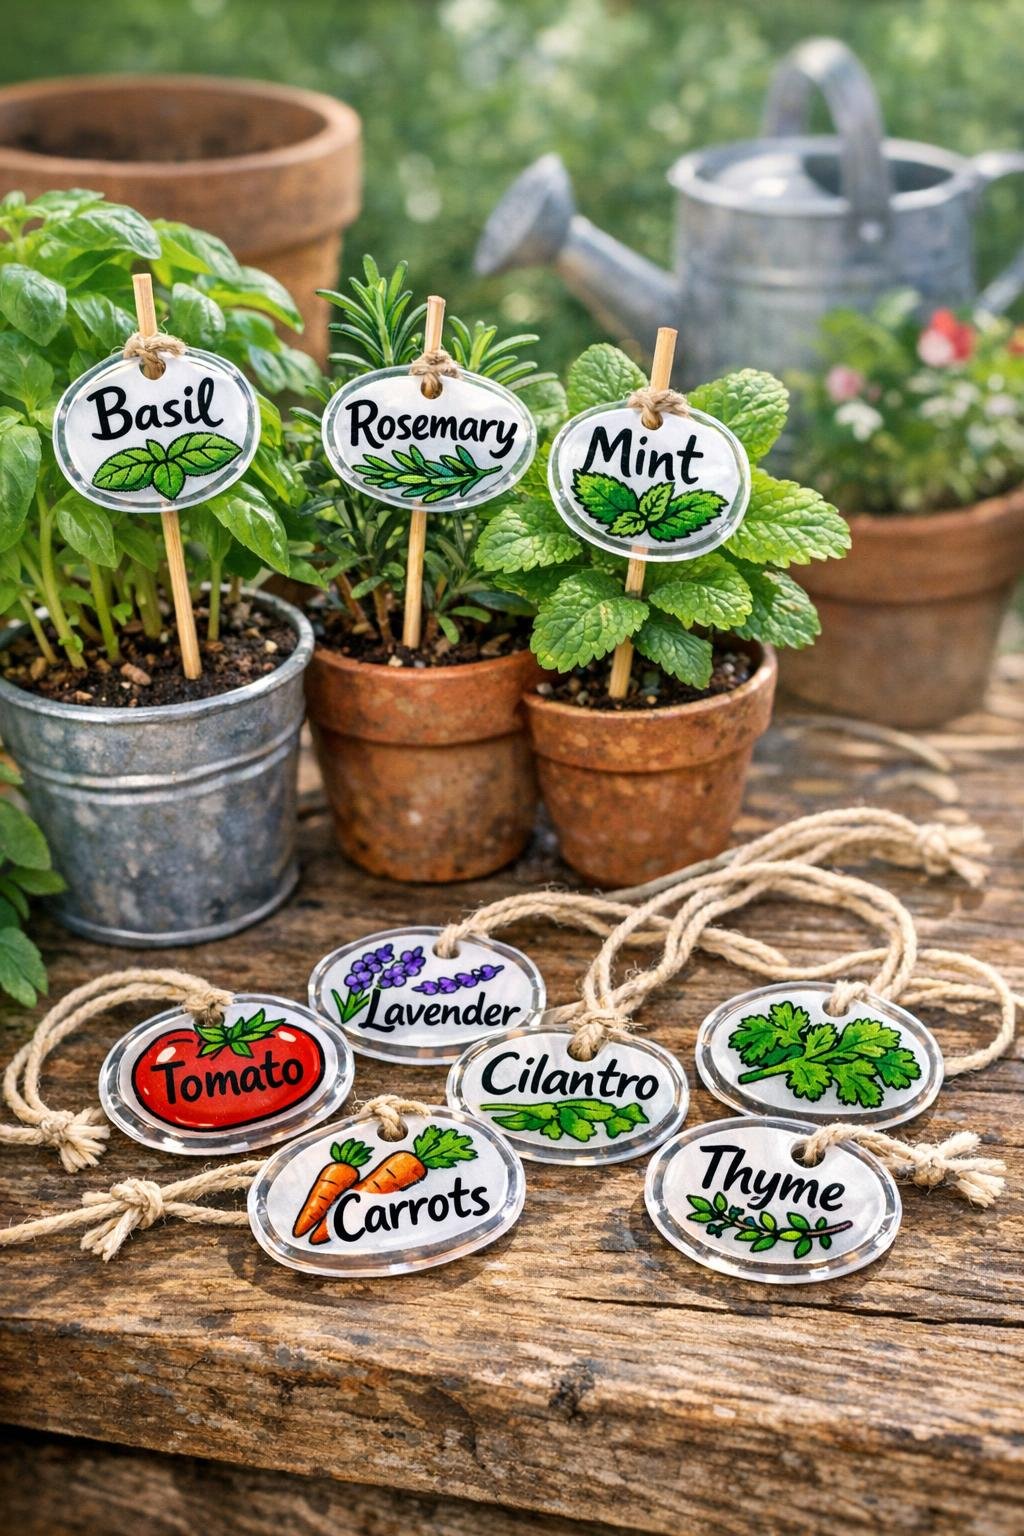
Variations & Tips
Best plastic tip: If the lid is not marked with a recycling number 6, set it aside for another use. This project really depends on #6 polystyrene, and trying random clear plastics is the fastest way to waste time.
Make-ahead prep: I like to cut and decorate a whole batch at once, then bake them together when I’m already in the kitchen. It makes this feel like a low-effort add-on instead of a separate project.
Marker advice: Permanent marker works best for both labeling and simple illustrations. Dark outlines and solid shapes tend to read more clearly after the pieces shrink.
Shape idea: Long rectangles work well for vegetable starts, while round or leaf-shaped tags are especially cute for gift tags and potted herbs. Just remember to start about 3 times larger than your target size.
Flattening fix: If one piece comes out slightly wavy, press it gently right away while it is still warm. Work quickly but lightly so you do not smear the marker.
Safety note: Keep the oven at 325 F, ventilate the kitchen, and bake only for the short time needed. Do not exceed the temperature, and do not microwave the plastic.
Ways to use them: These are great as garden markers on skewers, hanging plant tags tied with twine, or even small gift tags for homemade treats and seedlings. I’ve started keeping a little stack in a drawer because they’re surprisingly handy.