
If you have a pile of empty wine bottles and a flower bed that needs a cleaner edge, this is one of those satisfying garden projects that looks far fancier than the work involved. A bottle garden border is simply a row of glass bottles buried neck-down along the edge of a bed, and it adds structure, color, and a bit of personality without needing lumber, stone, or complicated tools.
I love projects like this because they make use of what you already have, and they come together in an afternoon. This is a good beginner garden DIY for anyone who wants decorative edging with a little charm, especially if you enjoy upcycling and don’t mind a bit of digging.
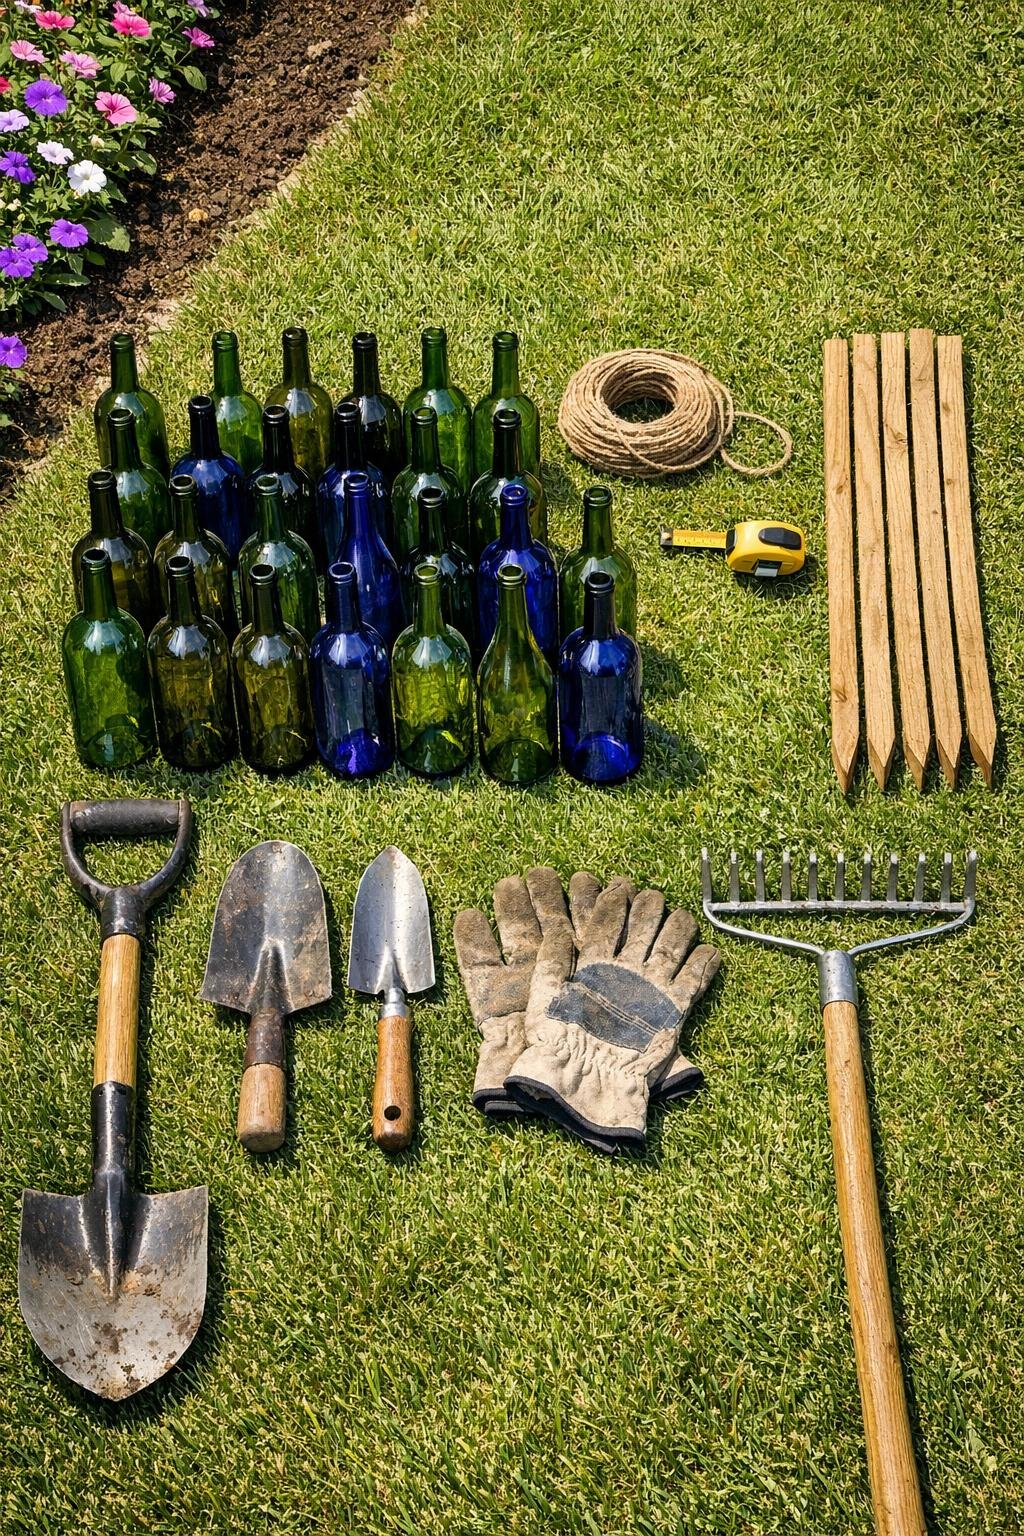
Materials
Instructions
1. Rinse all 30 bottles well and let them dry completely. Soaking the labels off is optional, but bare glass will show the color more clearly once the border is in place.
2. Measure the section of flower bed where you want the border and set a stake at each end. If your edge curves, add extra stakes every 2 to 3 feet to help guide the line.
3. Tie garden string between the stakes to mark the front edge and help keep bottle height consistent. If you prefer a more relaxed look, plan a gentle wave pattern instead of a perfectly level line.
4. Dig a narrow trench along the string line, making it deep enough to bury about one-third to one-half of each bottle. Keep the trench just wide enough for bottle necks and shoulders so the bottles will sit snugly.
5. Start at one end and place the first bottle neck-down into the trench. Press soil around it lightly so it stands upright while you position the next bottle.
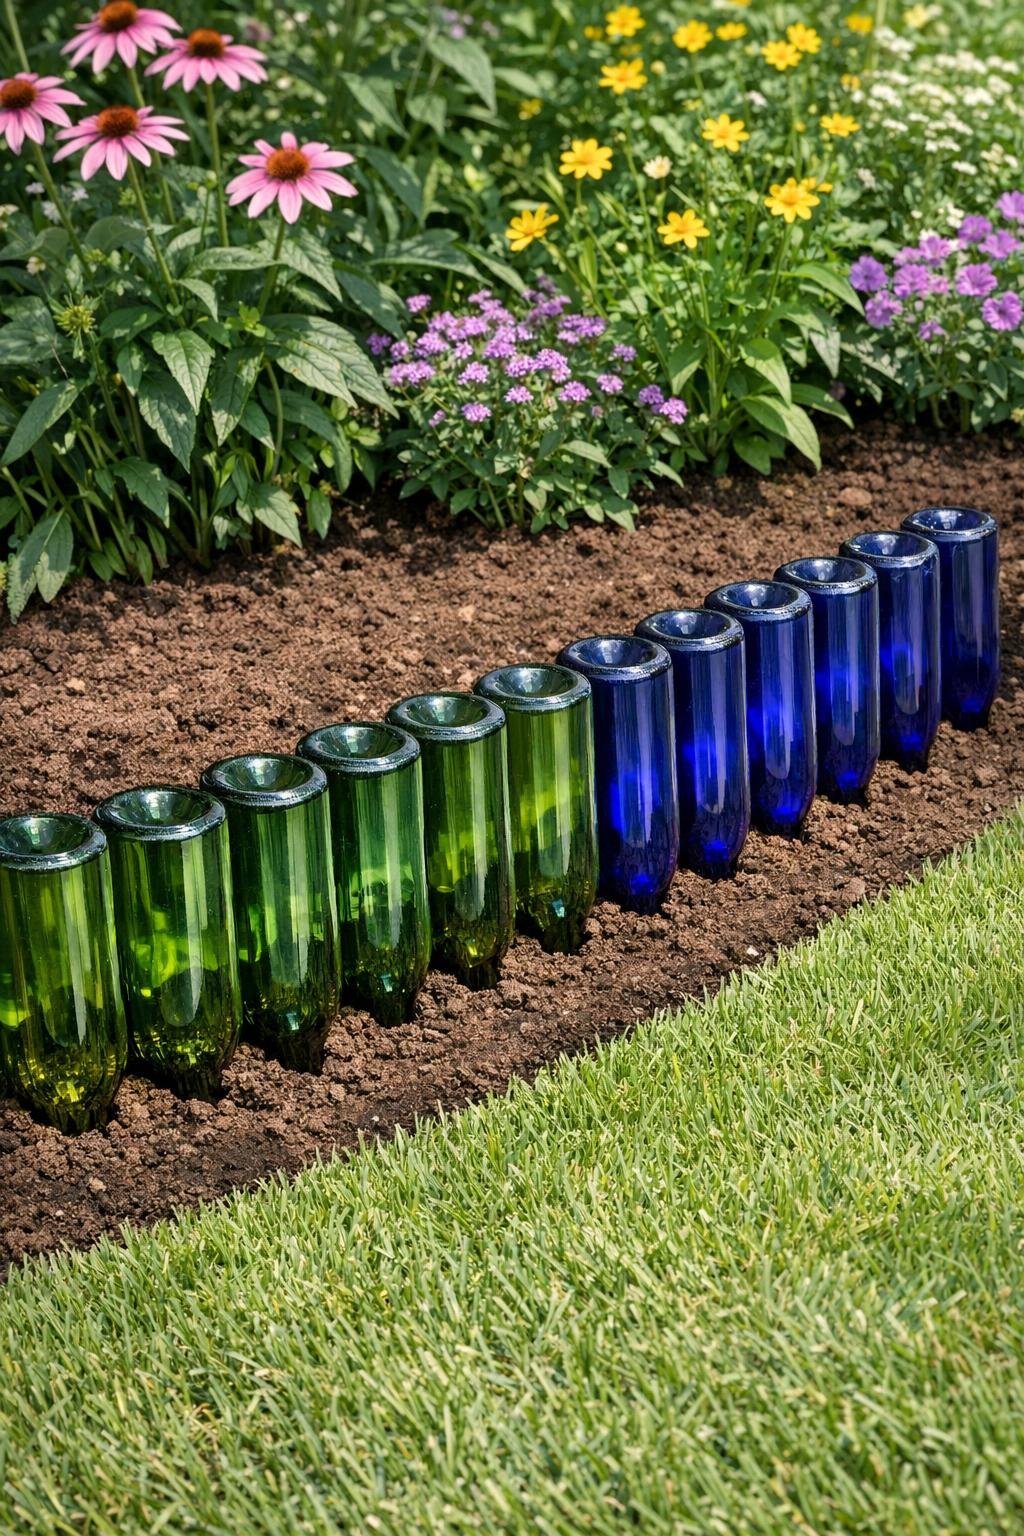
6. Set the rest of the bottles shoulder to shoulder, keeping them close together with very little gap. Check often against the string line so the exposed bottoms stay at a consistent height, unless you’re intentionally shaping soft rises and dips.
7. Group bottle colors together if you want a stronger visual effect, such as a section of greens followed by a section of blues. Rearranging before backfilling is much easier than changing it later.
8. Backfill the trench with the removed soil, adding a little at a time around the necks of the bottles. Firm the soil with your hands or the back of the trowel as you go so each bottle feels steady.
9. Tamp the soil firmly all along the border, then use the rake to smooth the bed side and the lawn side. Give each bottle a gentle wiggle test and straighten any that feel loose.
10. Step back and check the whole line from a few angles, adjusting height or spacing before the soil fully settles. Once you’re happy with it, water the surrounding soil lightly to help everything settle into place.
Variations & Tips
Color grouping: If you have mixed bottles, sort them before you dig. I like placing similar shades together because the color reads more clearly than if every bottle is mixed in randomly.
Uniform height: A string line is the easiest way to keep the bottle bottoms even. If you enjoy a more cottage-style garden, vary the heights deliberately in gentle waves so it looks planned rather than accidental.
For picky perfectionists: This is one of those projects where an extra five minutes of adjusting makes a big difference. I always tell my family that neat spacing is what makes recycled materials look intentional instead of tossed together.
Winter upkeep: In cold climates, frost heave can tilt bottles over winter. Just straighten them and re-tamp the soil in spring before the garden really gets going.
Mowing safely: Keep string trimmers well away from the glass, and mow with the discharge facing away from the border. That little habit helps protect both the bottles and your mower area.
Know its purpose: This edging is decorative, not a retaining wall. It works best where you want a pretty visual border, not where you need to hold back heavy soil.