
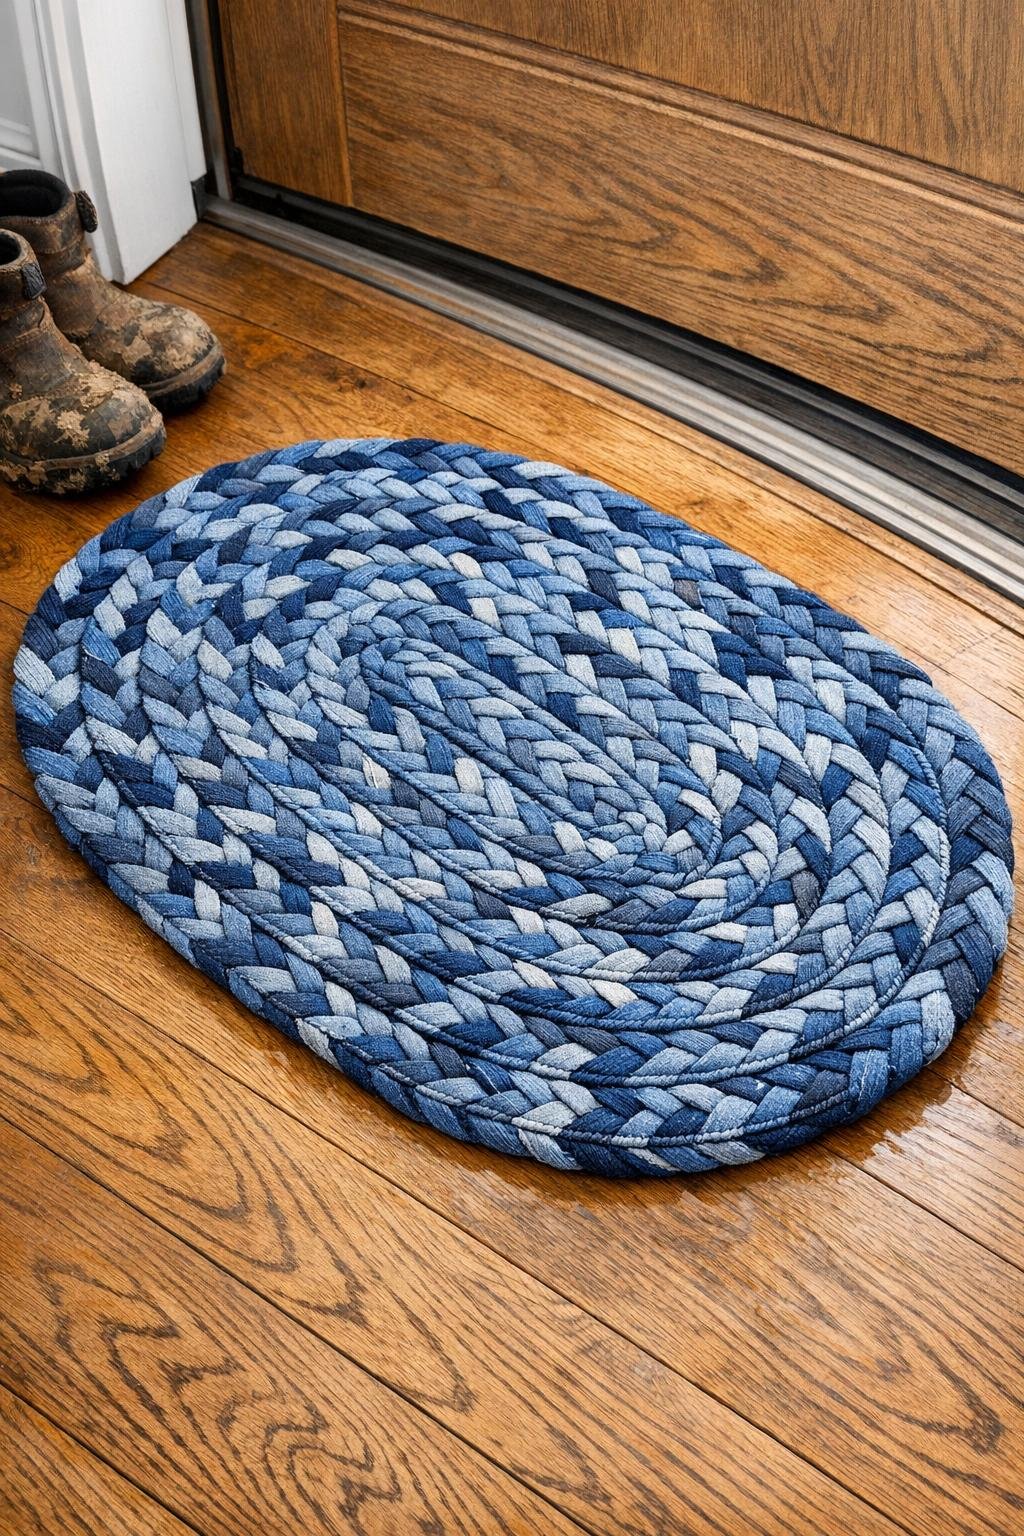
I love a project that turns a pile of “maybe I should save these” jeans into something I’ll actually use every day, and this braided denim boot mat does exactly that. If you have a few worn-out pairs stacked in a closet, this is a satisfying way to give them a second life with just a couple of basic sewing-basket supplies and a little patience.
This is a great project for anyone who doesn’t mind repetitive, hands-on making. I’ll be honest: a boot-tray-size mat is not a one-hour craft. It usually takes me 3 to 4 pairs of jeans and several evenings of cutting, joining, braiding, and coiling. But the payoff is worth it because the finished mat is sturdy, washable, and genuinely useful for catching muddy boots by the door.
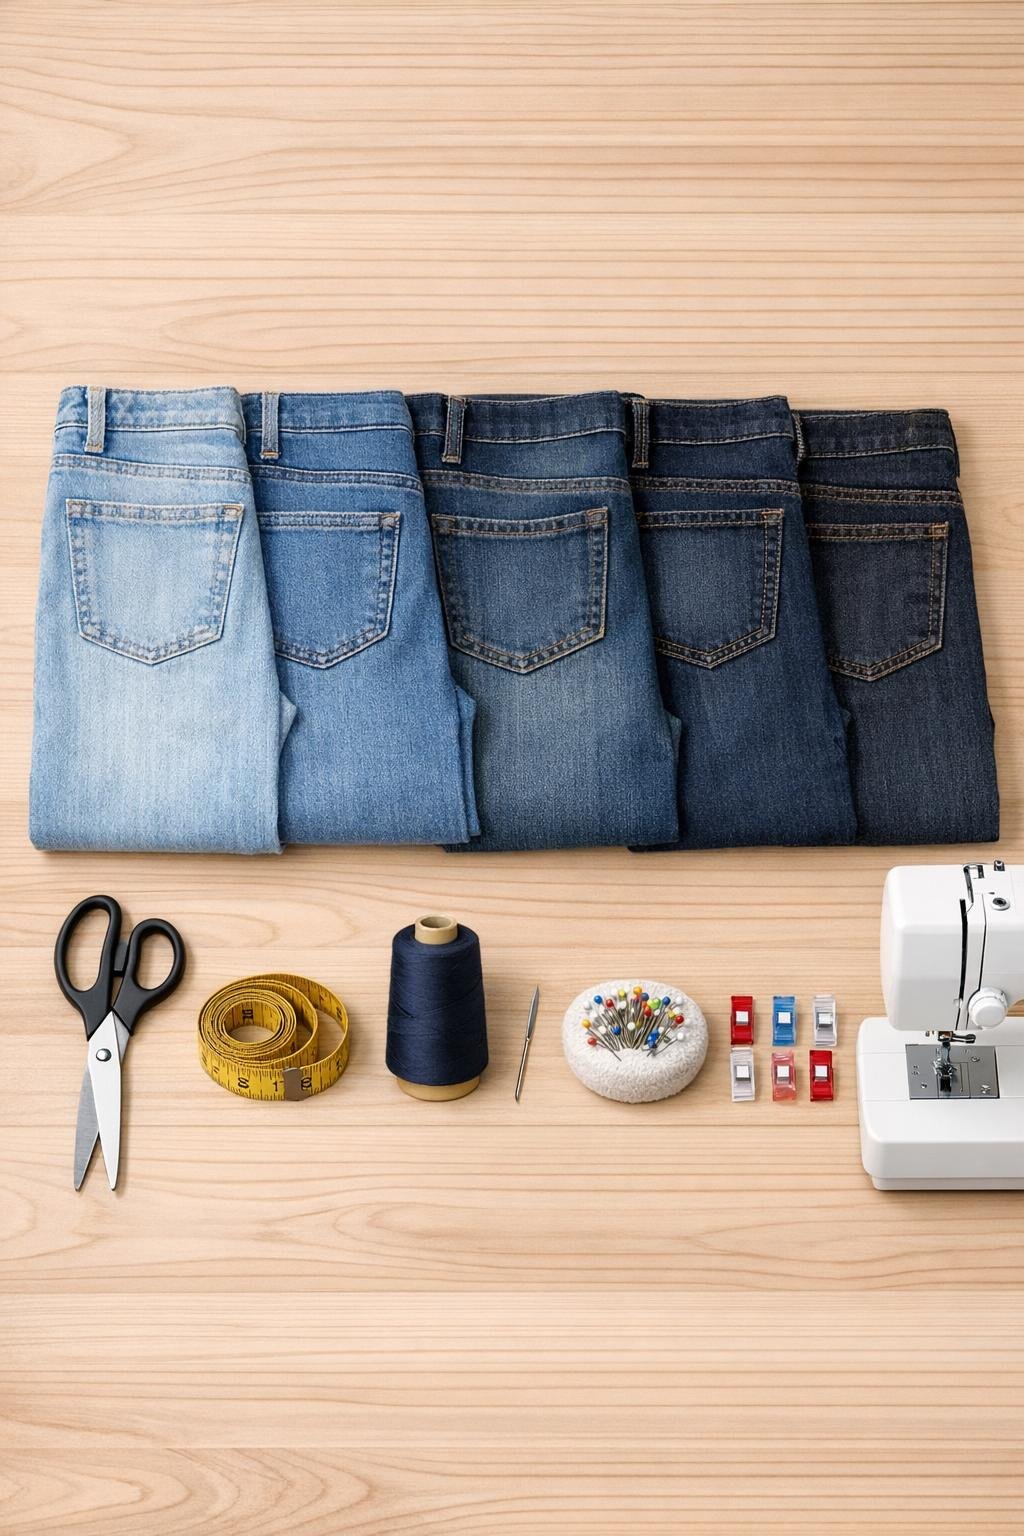
Materials
3 to 4 pairs old adult jeans, mixed light and dark washes, cleaned and dried
Instructions
1. Wash and dry the jeans, then cut off thick hems, waistbands, and bulky inseams so you’re left with flatter denim sections from each leg.
2. Cut each leg into 3-inch-wide strips running down the length of the leg, keeping the strips as long as possible for easier braiding later.
3. Join strips end to end until you have three long denim lengths by either sewing a quick straight seam with a 1/2-inch overlap or cutting small slits near the ends and using an interlocking slit-knot.
4. Roll each long strip into a loose bundle so it doesn’t tangle, then clip the three strip ends together at one end to start your braid neatly.
5. Braid the three denim strands tightly and evenly, smoothing twisted sections as you go and adding more joined strips whenever a strand runs short.
6. Keep braiding until you have a long, continuous braid sized for your mat; for a boot-tray-size oval, expect to use 3 to 4 pairs of jeans and spend several evenings finishing the braid.
7. Thread a hand needle with heavy-duty thread or set up your machine with a wide zigzag stitch, then curl the first 8 to 10 inches of braid into a tight flat spiral to form the center.
8. Stitch through neighboring edges of the braid to secure the center coil, keeping the spiral flat instead of stacked.
9. Continue wrapping the braid around the center, stitching neighboring coils together every 1 inch so the mat stays solid and doesn’t gap open.
10. Shape the mat into an oval by stitching one side a little longer before curving around the ends, adjusting the coil gently as you work to keep both long sides balanced.
11. Check often that the mat is lying flat, and if it starts to cup, loosen your curve slightly; if it starts to ruffle, pull the braid in a bit tighter on the next round.
12. When the mat reaches your desired size, trim the braid end to a blunt finish, fold the raw end under by 1 inch, and stitch it firmly to the previous coil.
13. Add a few extra reinforcing stitches around the outer edge and any joined-strip spots that feel bulky, then clip loose threads.
14. Shake out the mat and, if needed, steam or press it lightly under a pressing cloth so it settles flatter before using it by the door.
Variations & Tips
Mix your washes: I like combining light, medium, and dark denim because it gives the braid a striped spiral look that makes the finished mat feel extra polished without any extra work.
Use the slit-knot method for speed: If you don’t want to sew every strip join, cut a small slit near each strip end and interlock them. It saves time, though the joins can look a little more rustic.
Hand sewing is completely workable: If you don’t have a machine, you can stitch the coils together by hand with heavy-duty thread. I’ve done this while watching TV, and it’s slow but very manageable.
Make a smaller first mat: If this is your first braided rug-style project, start with a small mudroom mat or plant mat before committing to a full boot-tray size. The technique is the same, just easier to finish.
Watch the bulk: Avoid using waistbands, belt loops, and thick felled seams in the braid because they create hard lumps that make coiling and stitching much harder.
Wash with care: A finished denim mat can be shaken out, spot cleaned, or machine washed if your stitching is secure. I’d air-dry it flat so it keeps its shape nicely.
Match the mat to your entry: For a longer runner-style version, keep braiding and extend the oval gradually. For a round mat, simply keep the spiral even instead of stretching the sides into an oval.