
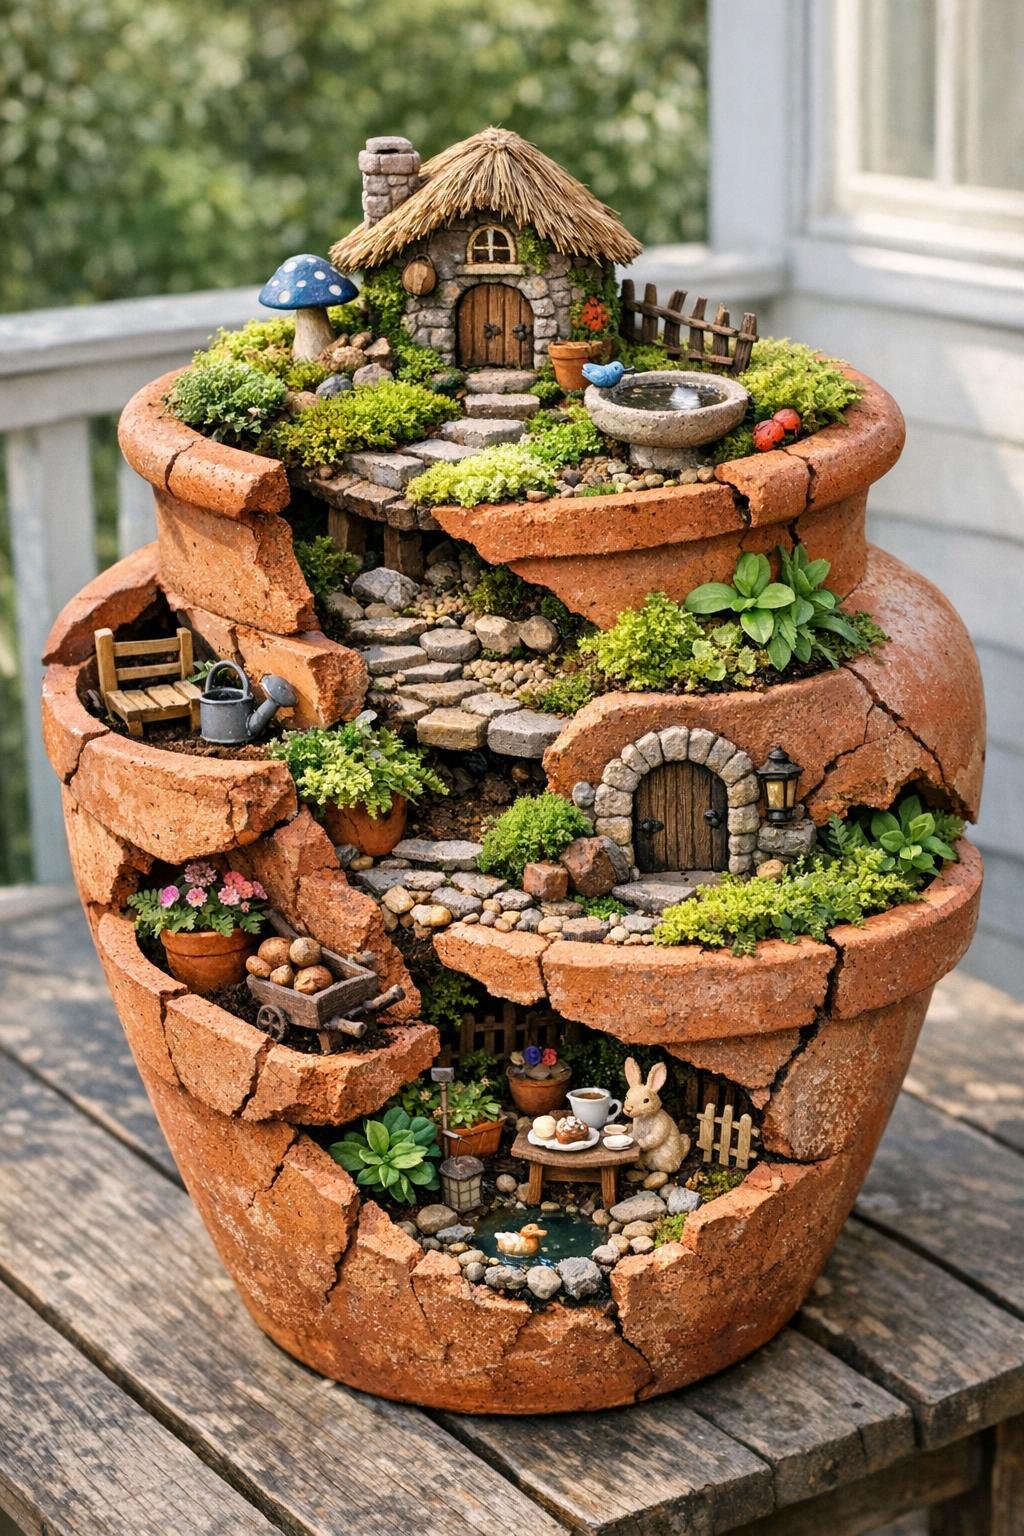
Cracked clay strawberry pots are one of those things I used to set aside in the garage, thinking I’d deal with them later. Then I saw one turned into the sweetest little fairy garden planter, and it completely changed how I look at broken pots. Instead of tossing them, you can stack the pieces into a tiny storybook-style garden that looks charming on a porch, patio table, or tucked into a flower bed.
This is a wonderful weekend project if you want something simple, affordable, and family-friendly. I especially love that it only takes three main items to build the base of the project, and then you can dress it up as much or as little as you like. If you’ve got kids who like tiny things, or you just enjoy adding a bit of whimsy to your outdoor space, this one is a delight.
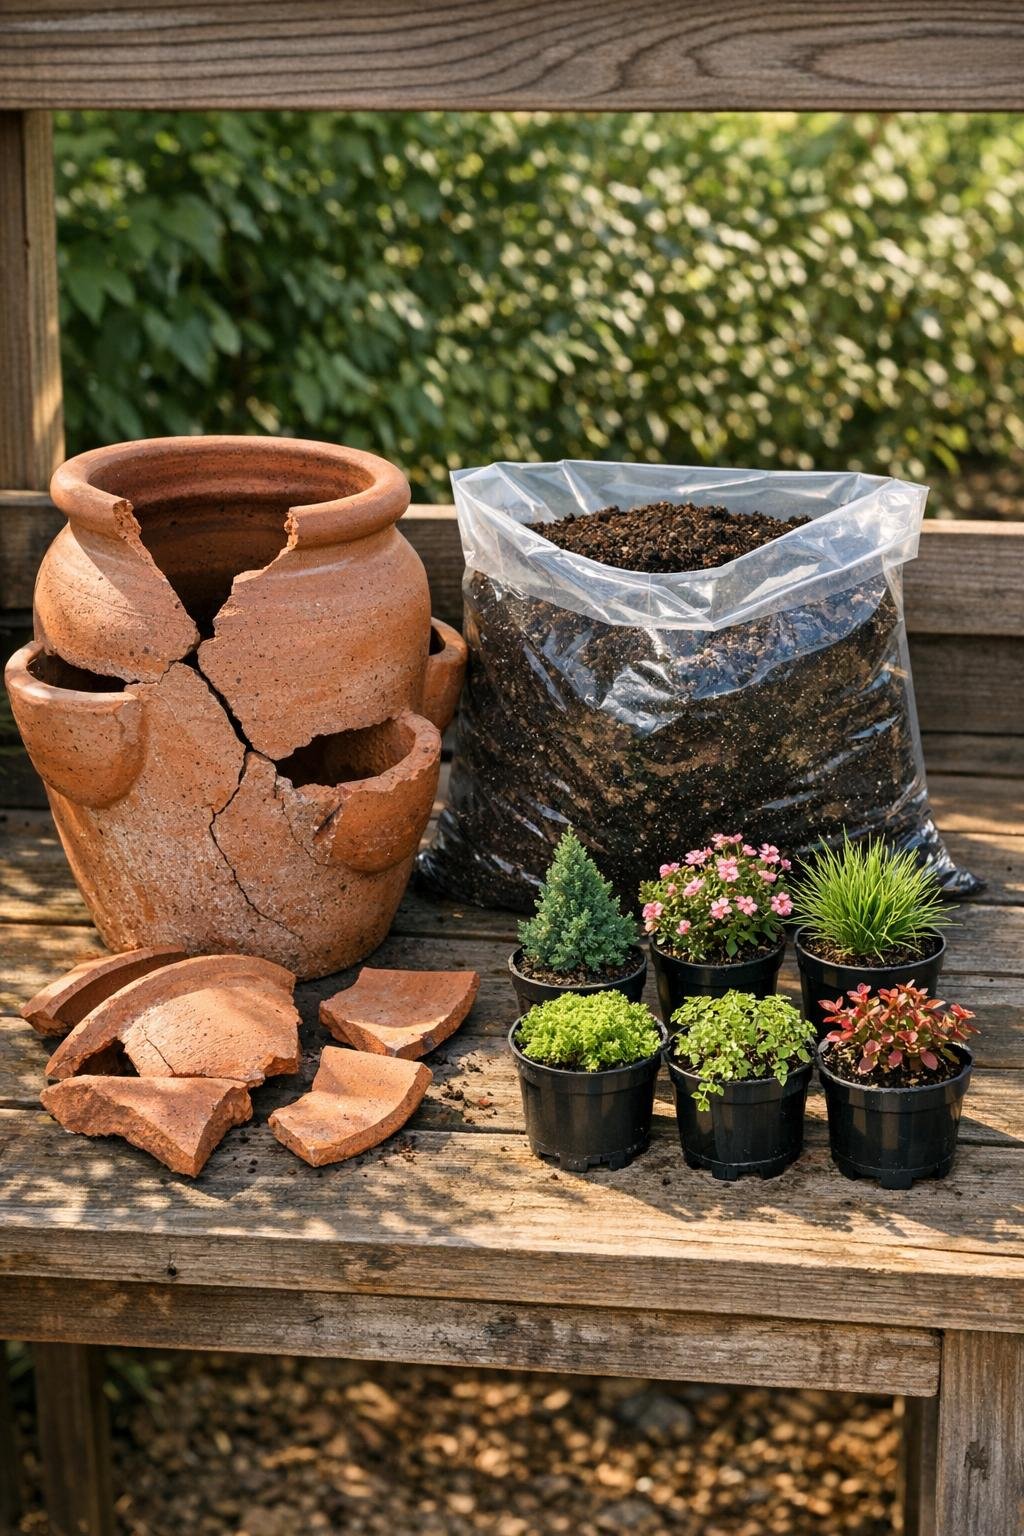
Materials
Instructions
1. Brush loose dirt from the cracked strawberry pot and check that it is still sturdy enough to hold soil once filled. If a piece wiggles but still nests securely in place, keep it for the layered fairy garden look.
2. Add 1 cup of pea gravel to the bottom of the pot if you’re using it, then pour in enough potting mix to cover the base by 2 inches. Set the pot on a saucer or in its final display spot before filling, because it gets heavy fast.
3. Nest the larger cracked pieces into the broken openings at a slight upward angle to create little ledges and planting pockets. Press potting soil behind each piece so it stays supported.
4. Plant the side pockets first, using the smallest plants in the lower and middle openings. Gently tuck the roots into the soil and firm them in place so the plants don’t slide out.
5. Fill the top of the pot with more potting mix, leaving 1 inch of space below the rim. Plant the tallest or fullest plant at the top to create the main focal point.
6. Tuck bits of preserved moss over any bare soil to soften the look and help the planter feel like a tiny landscape. Leave a few open spaces where you want to place miniature accessories.
7. Add your fairy garden pieces, placing the tiny house near the top or on one of the clay ledges, then nestle in the bench and pebble path below. Keep the arrangement balanced so every side of the planter has a little interest.
8. Water the planter lightly with a small watering can or cup, just enough to settle the roots without flooding the pockets. Let excess moisture drain fully before moving it.
9. Place the finished planter in bright indirect light or gentle morning sun, depending on the plants you chose. Check it every few days, because small pocket plantings dry out faster than regular pots.
Variations & Tips
For picky plant preferences: If you’re like me and want easy-care options, stick with all succulents for a lower-water planter, or use creeping thyme, sedum, and moss for a softer cottage look.
If the pot is very broken: Use the largest intact section as the back, then build the display facing forward like a little stage set. It still looks lovely even if the planter only has one “good” side.
Add a family touch: My kids always liked helping choose the tiny accessories, so consider adding a miniature bridge, mushrooms, or a small animal figure to make the garden feel personal.
Best watering tip: Water slowly at the top and let moisture work its way down. A gentle pour is much better than a strong spray, which can dislodge the soil in the side pockets.
Seasonal variation: Swap in tiny pansies or violas in spring, heat-tolerant succulents in summer, and little ornamental accents like mini pumpkins nearby in fall to keep the display feeling fresh.
Display tip: These look especially sweet near an entryway, on a patio dining table, or beside a kitchen window outdoors where you’ll actually notice the details and enjoy them every day.