
Old window screens are one of those things I used to drag to the curb without a second thought. Then I saw them turned into the sweetest vintage-style memo boards, and it immediately clicked for me: they already have the perfect built-in grid for photos, notes, recipes, and little reminders that somehow still end up scattered all over my kitchen counters.
This is a great upcycling project if you like home décor that feels charming but still useful. I especially love it for busy households, home offices, mudrooms, or kitchens, because you can make a set of four and use them for everything from mail and meal planning to kids’ artwork and grocery lists.
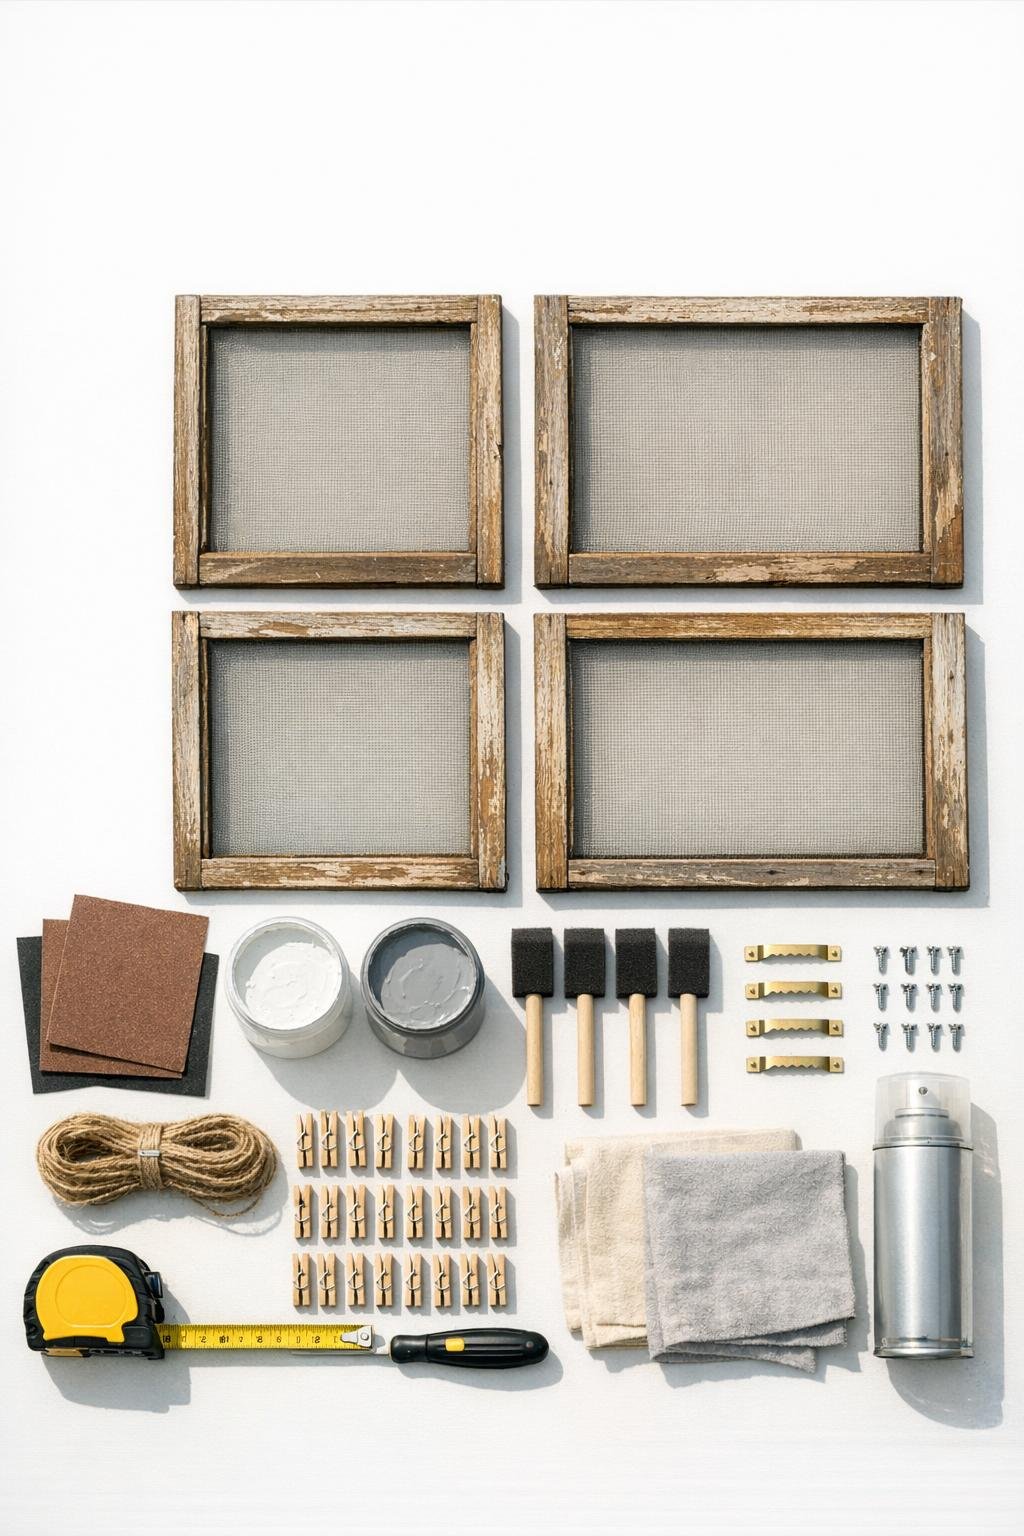
Materials
4 old window screens, approximately 14 x 20 inches each
Instructions
1. Lay down your drop cloth and inspect all four window screens for loose corners, torn mesh, or splinters. Tighten anything wobbly and trim away any dangerously sharp bits before you start.
2. Sand the wooden frames first with 120-grit sandpaper to remove flaking finish and rough spots, then go over them lightly with 220-grit for a smoother surface. Wipe away all dust with a damp lint-free cloth.
3. Brush on a thin coat of white chalk paint over each frame, working with the grain and avoiding heavy buildup along the mesh edges. Let the first coat dry completely before deciding if you want a second coat.
4. Dry brush a little light gray paint over edges and raised areas to give the frames a softly aged look. I like to keep this part uneven so the finish feels vintage instead of too perfect.
5. Once the paint is dry, sand a few edges lightly with 220-grit sandpaper if you want more distressing. Wipe off the dust, then brush on a thin coat of clear matte sealer and let it dry fully.
6. Turn each screen over and attach one sawtooth hanger at the top center using 4 small screws per frame. Check that each hanger is straight so the memo boards will hang evenly.
7. Cut three 12-inch lengths of jute twine for each screen, for a total of 12 pieces. Stretch them across the back side of the frame horizontally, spacing them evenly, and staple each end securely into the wood.
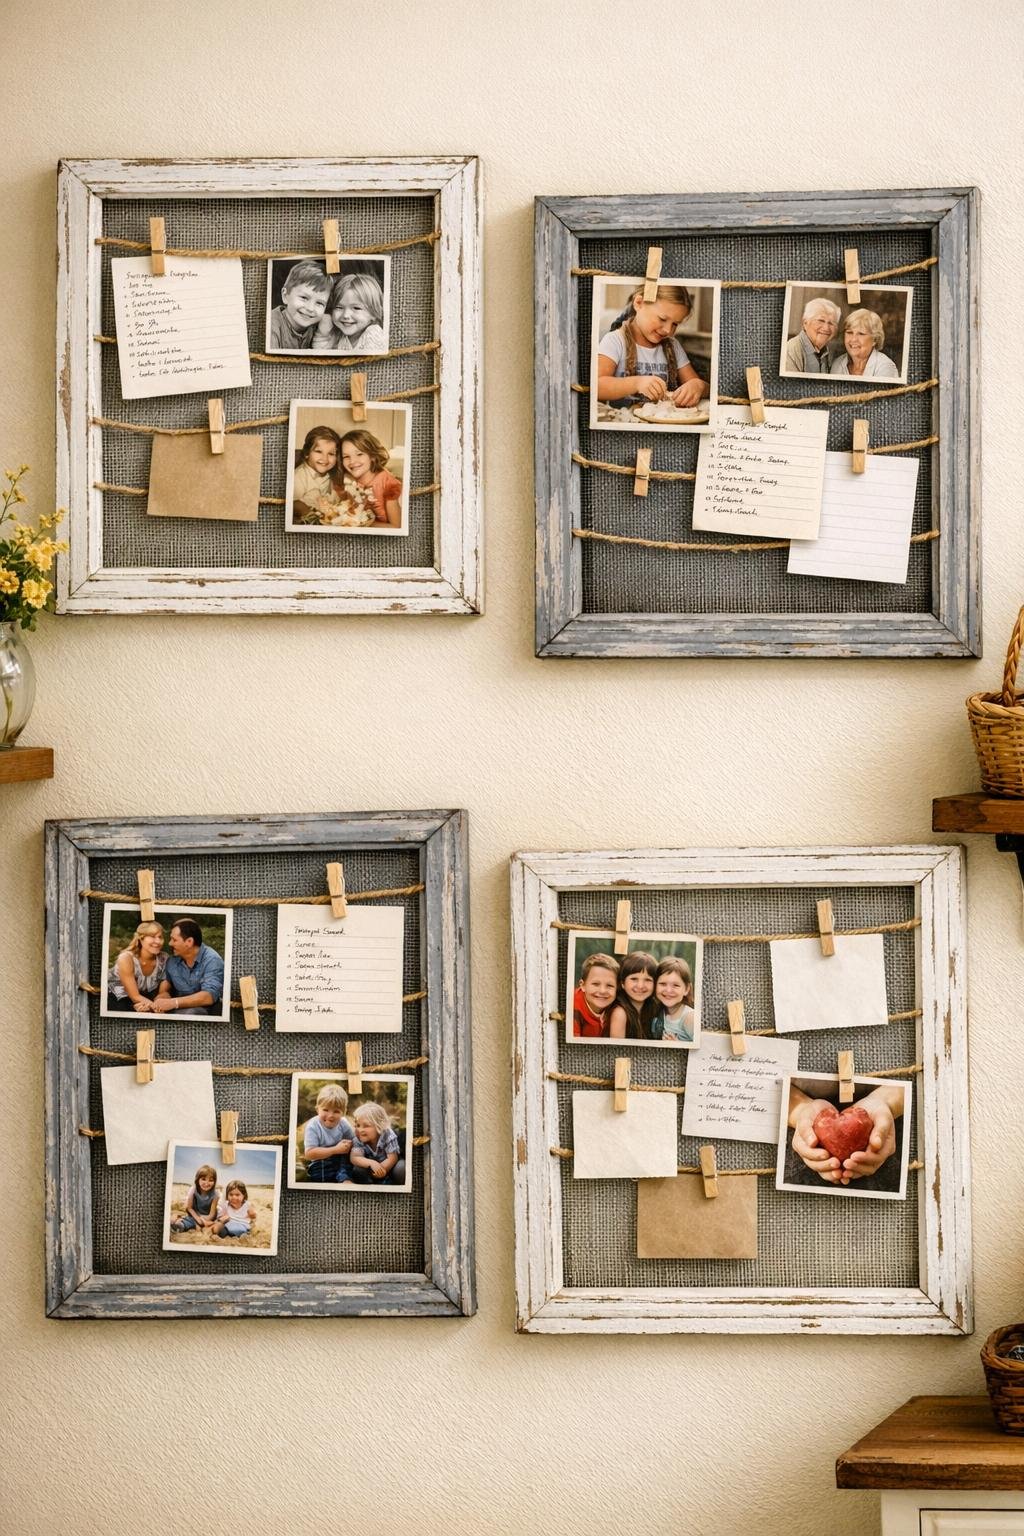
8. Clip mini clothespins onto the screen mesh and twine, about 10 per board, adjusting the layout so each one has room for notes or photos. If the mesh is sturdy, you can use both the wire grid and the twine as clipping points.
9. Hang the four memo boards together as a set or use them in different rooms. Fill them with recipe cards, family photos, appointment reminders, or grocery lists.
Variations & Tips
Use one color only: If you want a cleaner farmhouse look, skip the gray dry brushing and paint the frames a single soft white or cream.
Try a kitchen station setup: I love using one board for weekly meals, one for coupons, one for invitations, and one for all the random paper clutter that seems to multiply overnight.
Swap the twine: Ribbon, thin wire, or narrow fabric strips can replace jute if you want a softer or more polished finish.
Make them easier to clip: If your screen mesh is bent or fragile, rely more on the horizontal twine lines so the clips slide on and off without stressing the old mesh.
Keep the vintage charm: Don’t over-sand or over-paint the frames. A little age and imperfection is what makes this project feel special.
Plan before hanging: Lay the four boards on the floor first to test your spacing. I usually leave 2 to 3 inches between each one so the set looks connected without feeling crowded.