
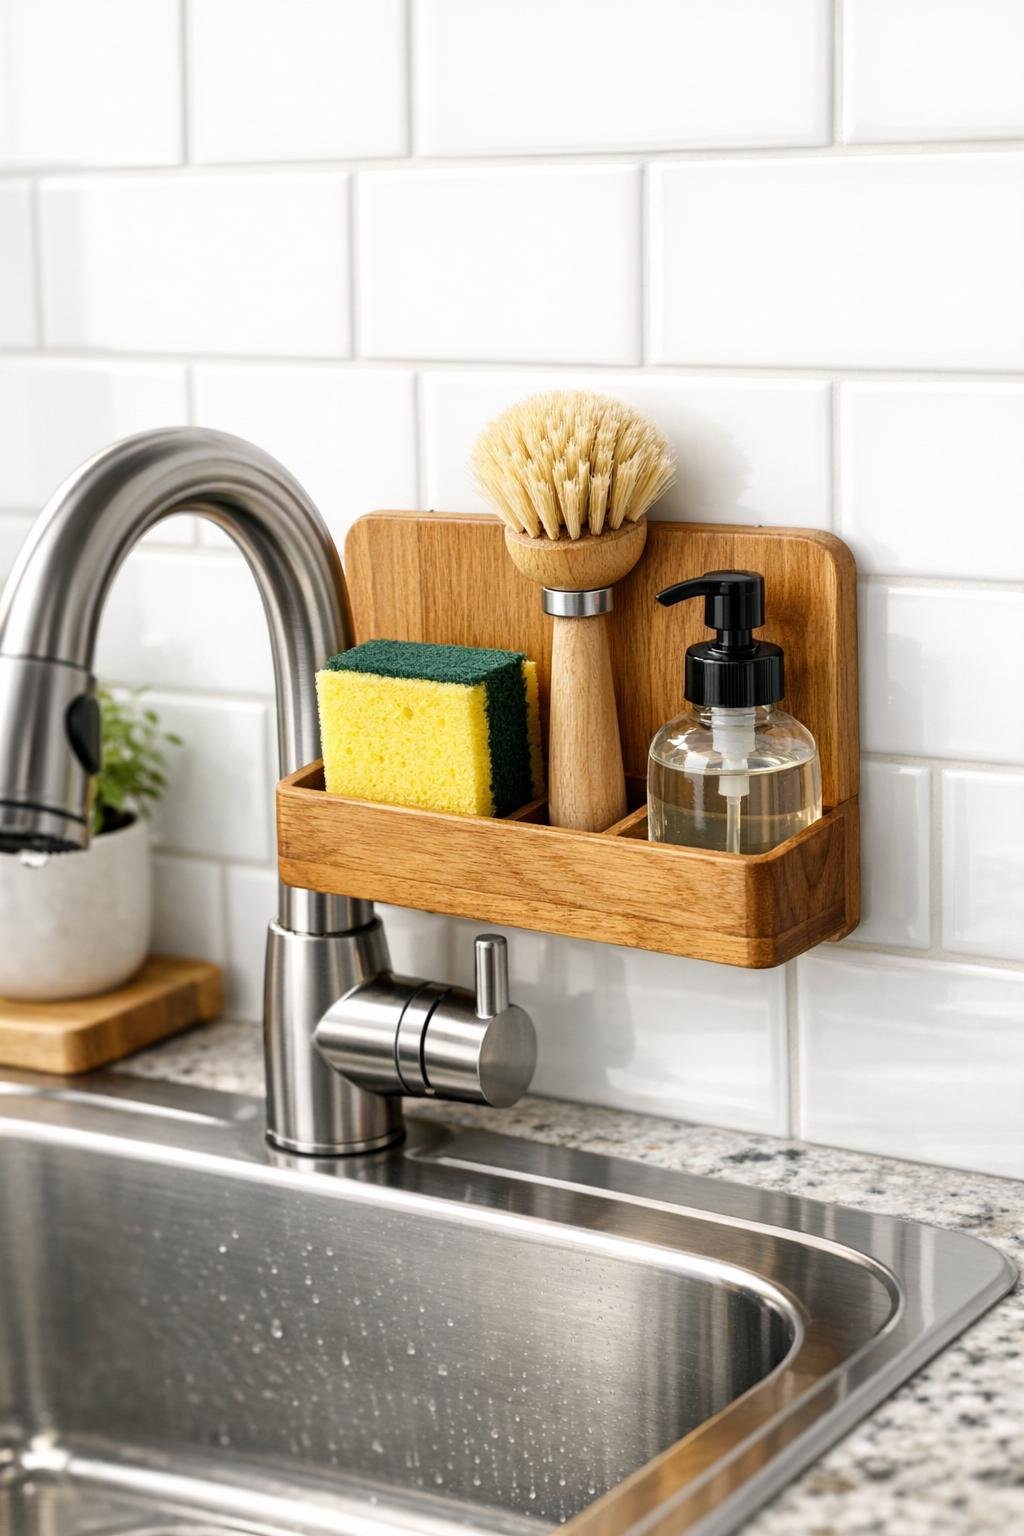
This little over-the-faucet sink caddy is one of those kitchen fixes that feels surprisingly clever once it’s in place. You start with a small wooden cutting board, add a pair of adhesive hooks on the back, and turn that unused space around the faucet into a tidy spot for a sponge, soap brush, or small dish bottle.
I love projects like this because they take just a few supplies, no real woodworking skills, and they make the kitchen feel more organized right away. If your sink edge is always crowded, or you want an easy renter-friendly way to add storage without drilling into tile, this is a very practical afternoon project.
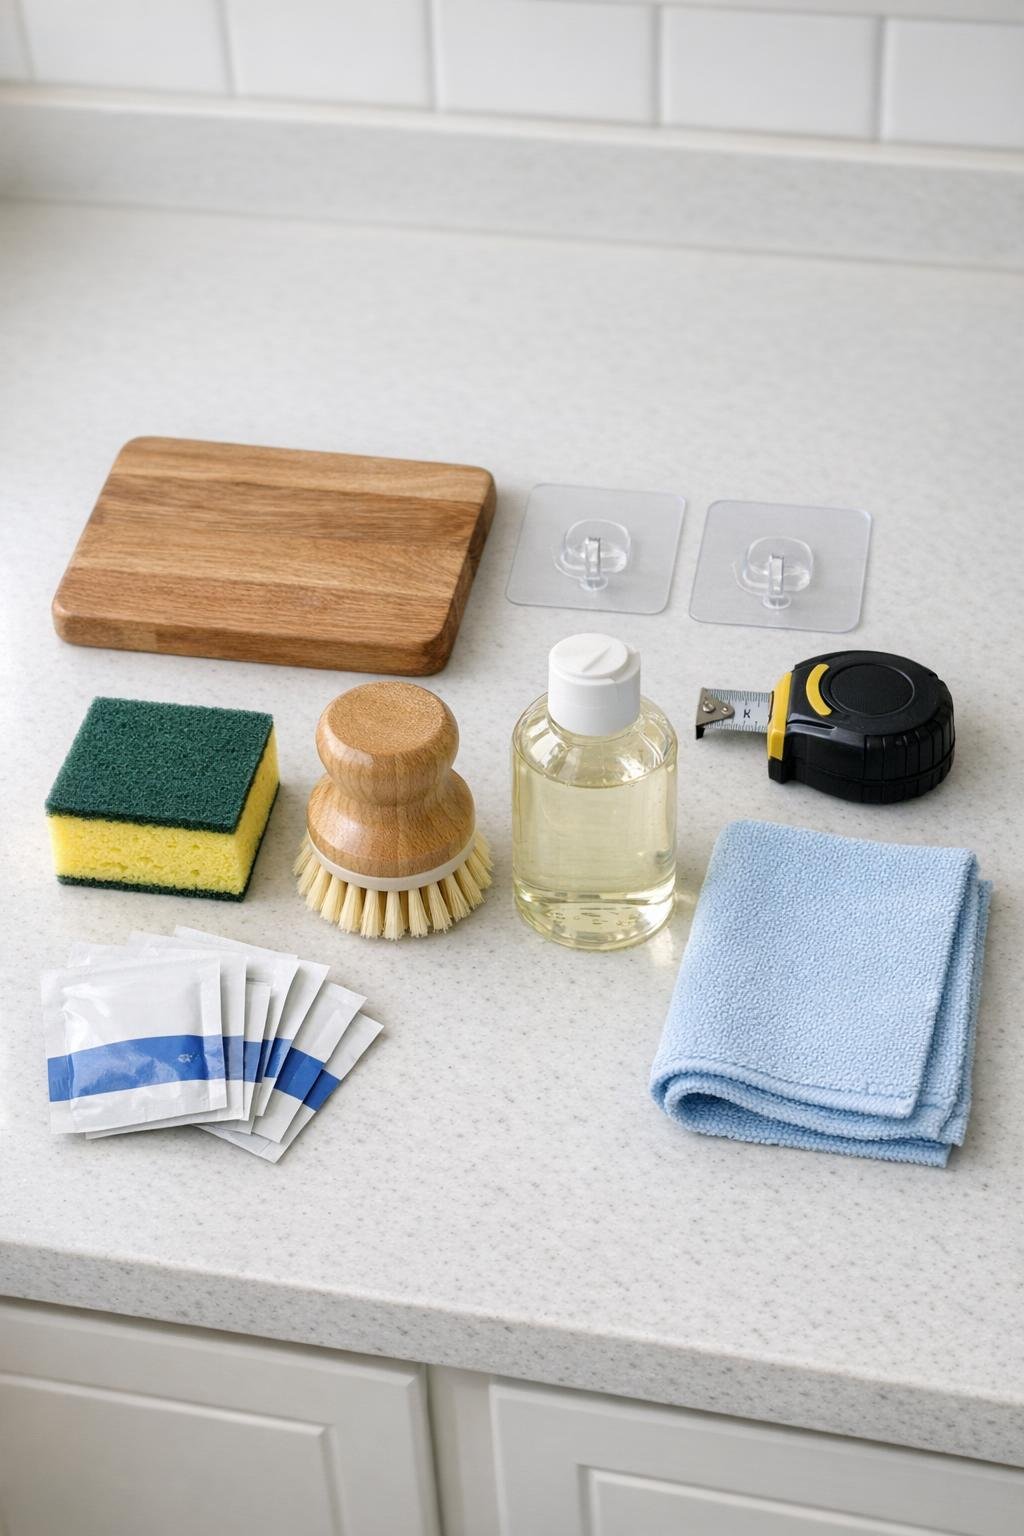
Materials
Instructions
1. Measure the width of the faucet area where the cutting board will hang, including the curve or neck of the faucet, to make sure the board will sit centered without blocking the handles.
2. Hold the cutting board behind the faucet and test the height visually; the bottom edge should sit high enough to avoid standing water but low enough to be easy to reach.
3. Clean the back of the cutting board where the hooks will stick, then wipe it dry completely so the adhesive can bond well.
4. Mark two hook positions on the back of the board, spacing them evenly near the upper left and upper right sides so they can catch securely around the back of the faucet.
5. Clean the hook contact areas one more time with alcohol, then let the surface air-dry for a minute.
6. Remove the backing from the first adhesive hook and press it firmly onto one marked spot for 30 seconds; repeat with the second hook on the other side.
7. Let the adhesive cure according to the package directions before hanging the board; many hooks hold best after several hours or overnight.
8. Hang the cutting board behind the faucet by sliding the hooks into place so the board rests flat and feels balanced.
9. Test the caddy with light pressure first, then place your sponge, dish brush, and small soap bottle on the front to confirm it stays stable during normal use.
10. Adjust the item placement so heavier pieces sit near the center, and keep the setup simple to avoid overloading the hooks.
Variations & Tips
For small sinks: Use a narrower cutting board, around 8 inches wide, so the caddy does not crowd the faucet or block the backsplash.
For picky clutter habits: If your family tends to pile extra things by the sink like mine does, give this caddy only two jobs: hold the sponge and brush. Keeping it simple helps it stay neat.
For extra water protection: Rub the cutting board with a food-safe mineral oil or board cream before installing it, especially if it will get splashed often.
For heavier items: Skip large soap pumps or full glass bottles and stick with a small plastic soap bottle to keep the weight within the hook rating.
For a cleaner look: Choose clear adhesive hooks and a cutting board with a simple shape so the finished caddy blends in with the faucet and countertop.
Placement tip: Make sure the board does not interfere with turning the faucet or reaching the handles before you commit to the hook placement.
Cleaning tip: Lift off the sponge every evening and wipe the board dry now and then to prevent moisture marks and keep the area fresh.