
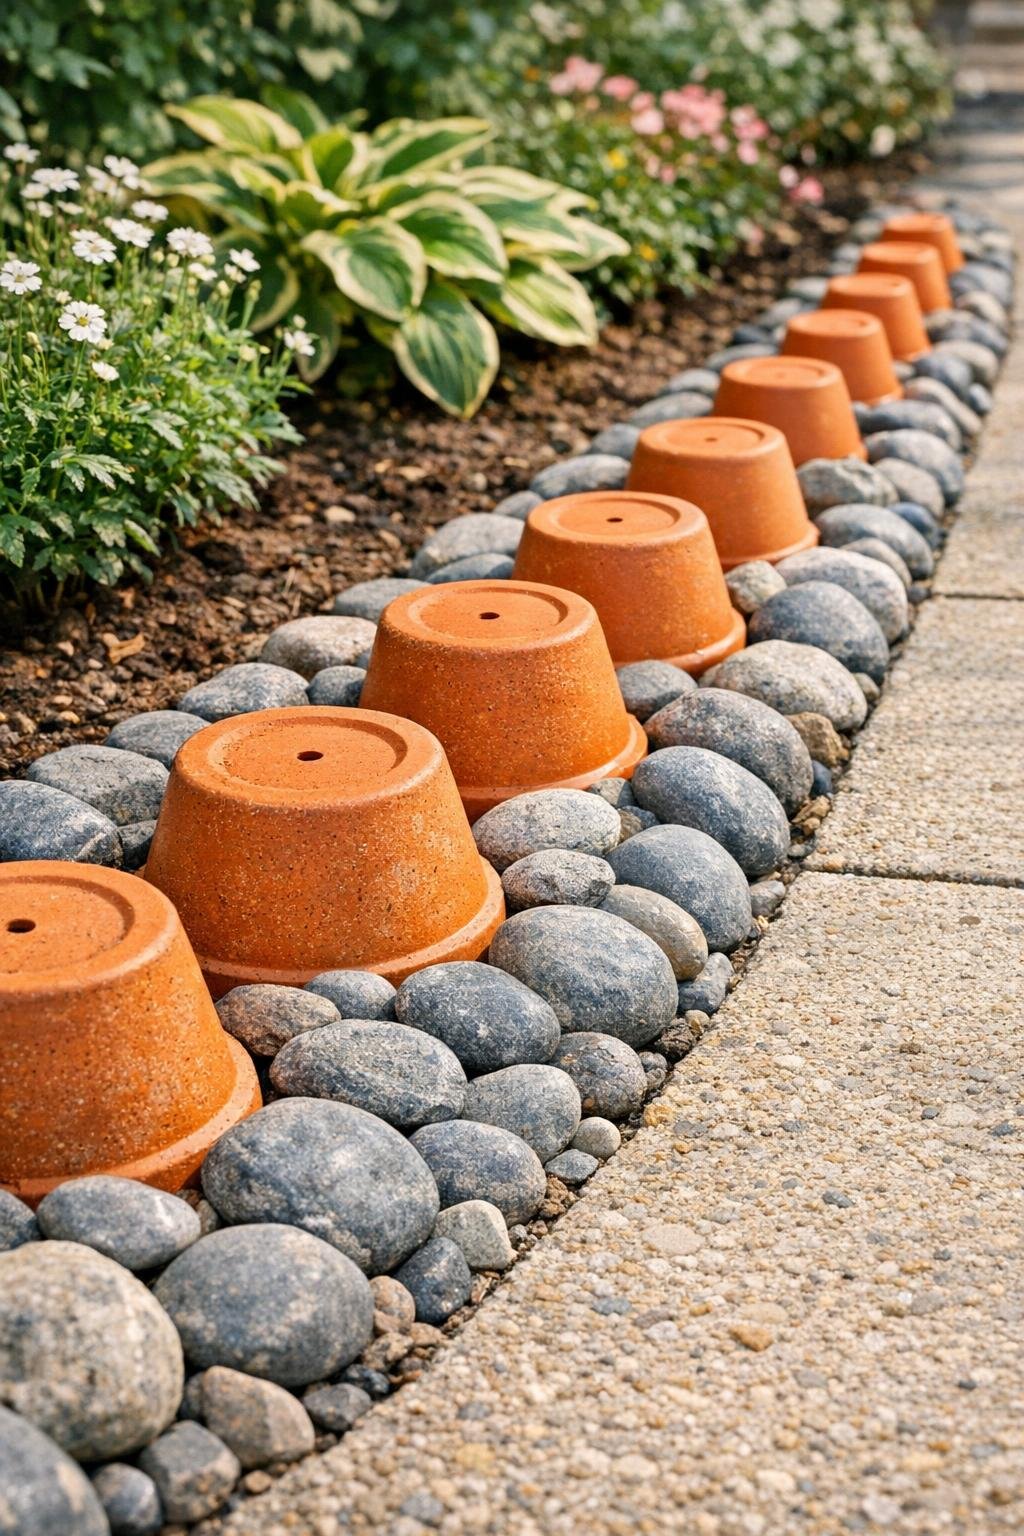
A terracotta-and-river-rock walkway border is one of those garden projects that looks custom and expensive, but it’s actually very manageable if you break it down into a few steady steps. You’re essentially setting small clay pots into a shallow trench and packing them with smooth river rock, which creates a tidy, charming edge that softens a plain path and adds a little old-world character.
I especially like this project for gardeners and homeowners who want a decorative border without pouring concrete or building formal masonry edging. The warm orange of terracotta against cool gray stone is a classic pairing, and because the materials are simple, you can adapt the look to a straight front walk, a curved garden path, or even a patio edge.
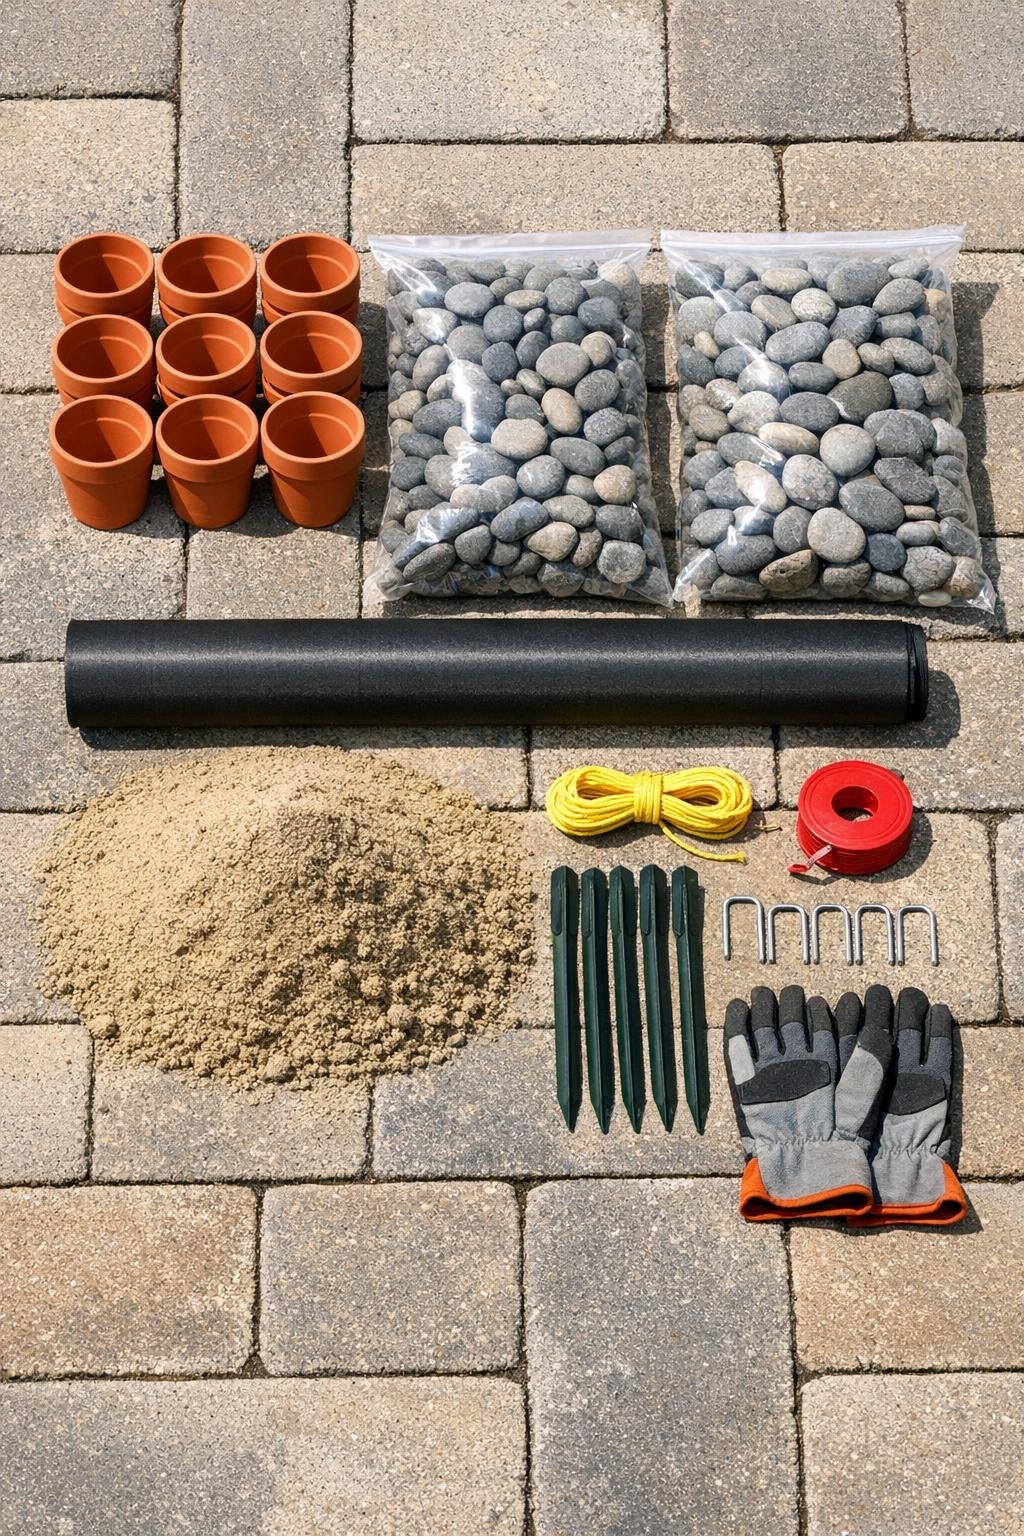
Materials
24 small terracotta pots, 4-inch diameter, with drainage holes
Instructions
1. Lay out the border line alongside your walkway with mason’s string or a garden hose so you can see the curve before you dig. Aim for a border trench about 8 inches wide and 5 inches deep.
2. Dig the trench along the walkway edge, keeping the bottom as level as you can from end to end. Remove roots, loose soil, and any large stones that would make the pots sit unevenly.
3. Add 2 inches of leveling sand to the bottom of the trench and rake it smooth. If you have soggy soil, add a thin layer of pea gravel in the lowest spots before the sand.
4. Line the trench with landscape fabric, letting it run up the soil sidewalls by a couple of inches. Pin it in place with landscape staples so it stays flat while you work.
5. Set the terracotta pots into the trench one at a time, pressing each pot slightly into the sand so the rims sit just above walkway grade. Space them tightly for a continuous look or leave 1 to 2 inches between pots if you want more river rock to show.
6. Step back every few pots to check the line and adjust the height so the rims look even. On curves, rotate and nestle the pots until the arc looks natural rather than forced.
7. Pour river rock around and between the pots, filling the trench in stages so the stones lock the pots in place. Shake each pot gently as you add rock to help the stones settle into gaps.
8. Fill the pots themselves with river rock as well if you want a purely decorative border, or leave the top few inches open and add potting soil later if you plan to plant succulents or trailing annuals. Keep the final rock level just below the pot rims for the cleanest finish.
9. Brush away stray soil and stones, then water the surrounding ground lightly to settle any disturbed soil around the outside of the border. Add more rock anywhere the level drops after settling.
10. Walk the length of the border and make final adjustments so no pot wobbles and no rim sits dangerously proud of the path edge. If one pot refuses to stay put on a difficult corner, secure it with a small dab of exterior construction adhesive under the base.
Variations & Tips
Planted Pot Version: Instead of filling every pot with stone, add potting mix and tuck in drought-tolerant plants like hens-and-chicks, sedum, or dwarf sweet alyssum for a softer cottage-garden look.
Color Contrast: If your walkway is pale concrete, darker gray river rock gives the terracotta even more presence. With brick paths, I like a mixed natural stone blend so the border does not disappear into the warm tones.
Cold-Climate Tip: In freeze-thaw regions, make sure the pots are well supported on sand and rock rather than heavy wet soil. Good drainage helps reduce cracking, which is especially important in Midwestern winters.
Safer Edging Height: Keep the pot rims low and consistent so nobody catches a shoe on the border. I aim for decorative, not toe-stubbing.
Weed Control: Landscape fabric under the rock cuts down on weeds, but an occasional windblown seed will still find its way in. A quick monthly tidy-up keeps the border looking intentional rather than overgrown.
Easy Layout Rule: Before you commit, dry-place the pots above ground along the walkway to test spacing and count. That little preview saves time and helps you decide whether you want a formal rhythm or a looser, more relaxed garden line.