
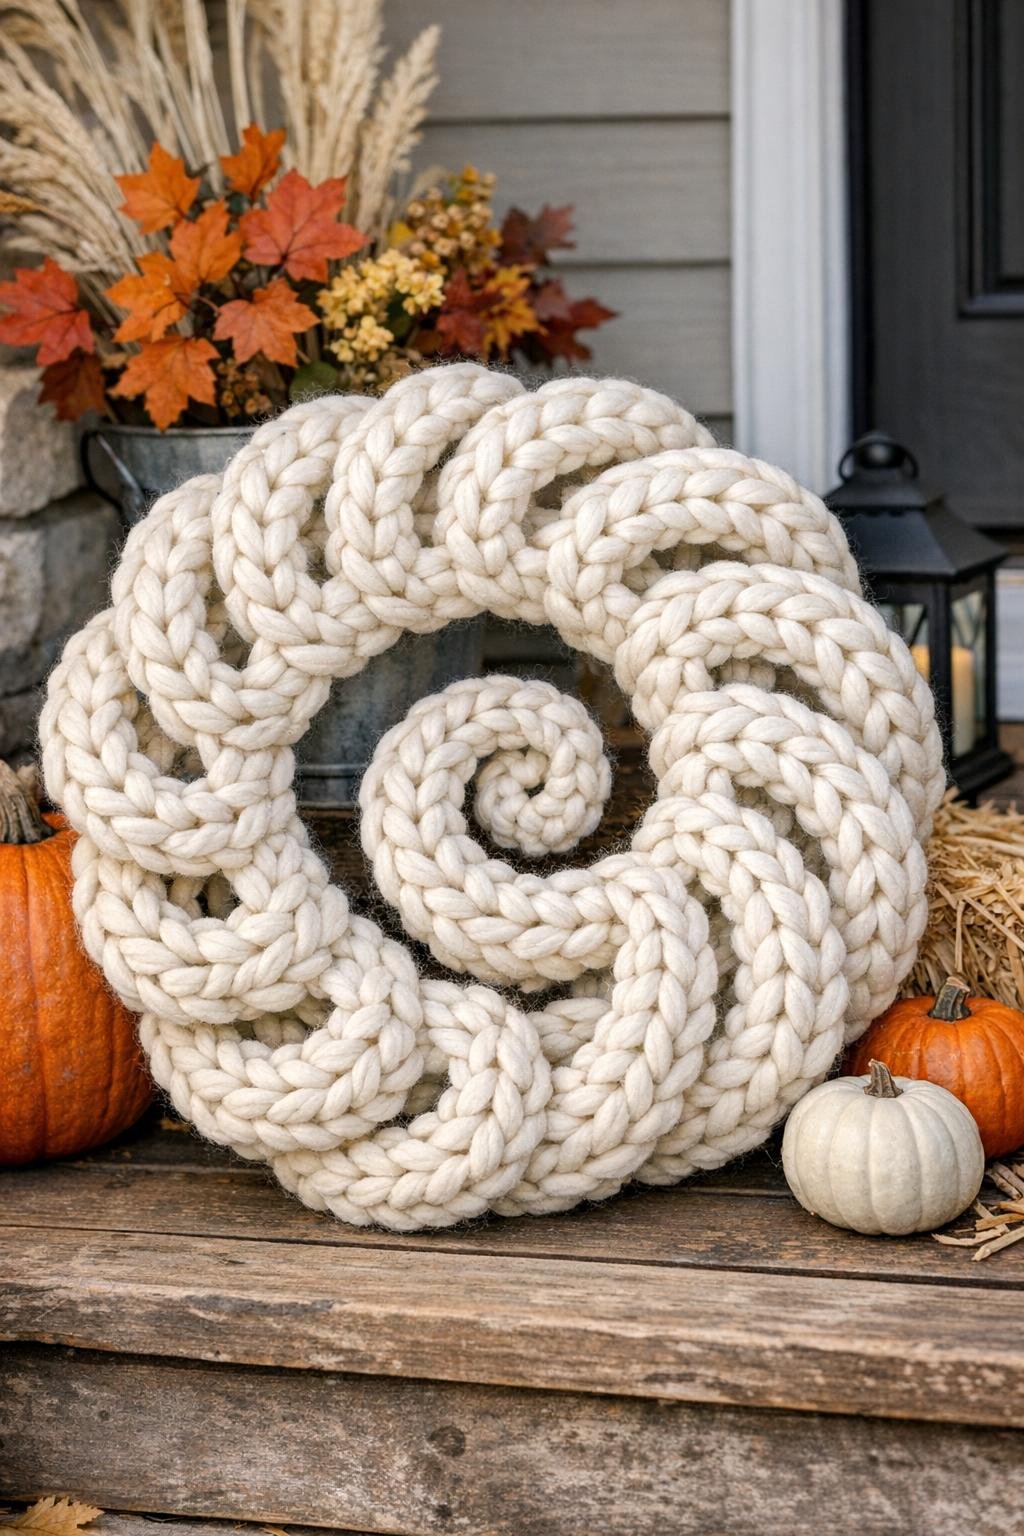
I love a project that lets me turn something headed for the recycling bin into decor that actually looks intentional, and this one does exactly that. For this fall porch statement piece, I save plastic soda bottle rings over the summer and crochet chunky cream yarn through them, connecting everything into a soft spiral that feels equal parts cozy and clever. It has that big-texture, neutral look I’m always drawn to in early fall, especially when I want my porch to feel pulled together without buying another store-bought decoration.
If you crochet even a little, this project is very doable, and honestly, even beginners can handle it because the rings do a lot of the structure work for you. I’m a big fan of crafts that can be done in short pockets of time after work, and this is exactly the kind of thing I’d keep in a basket and work on for 20 minutes at a time while dinner simmers.
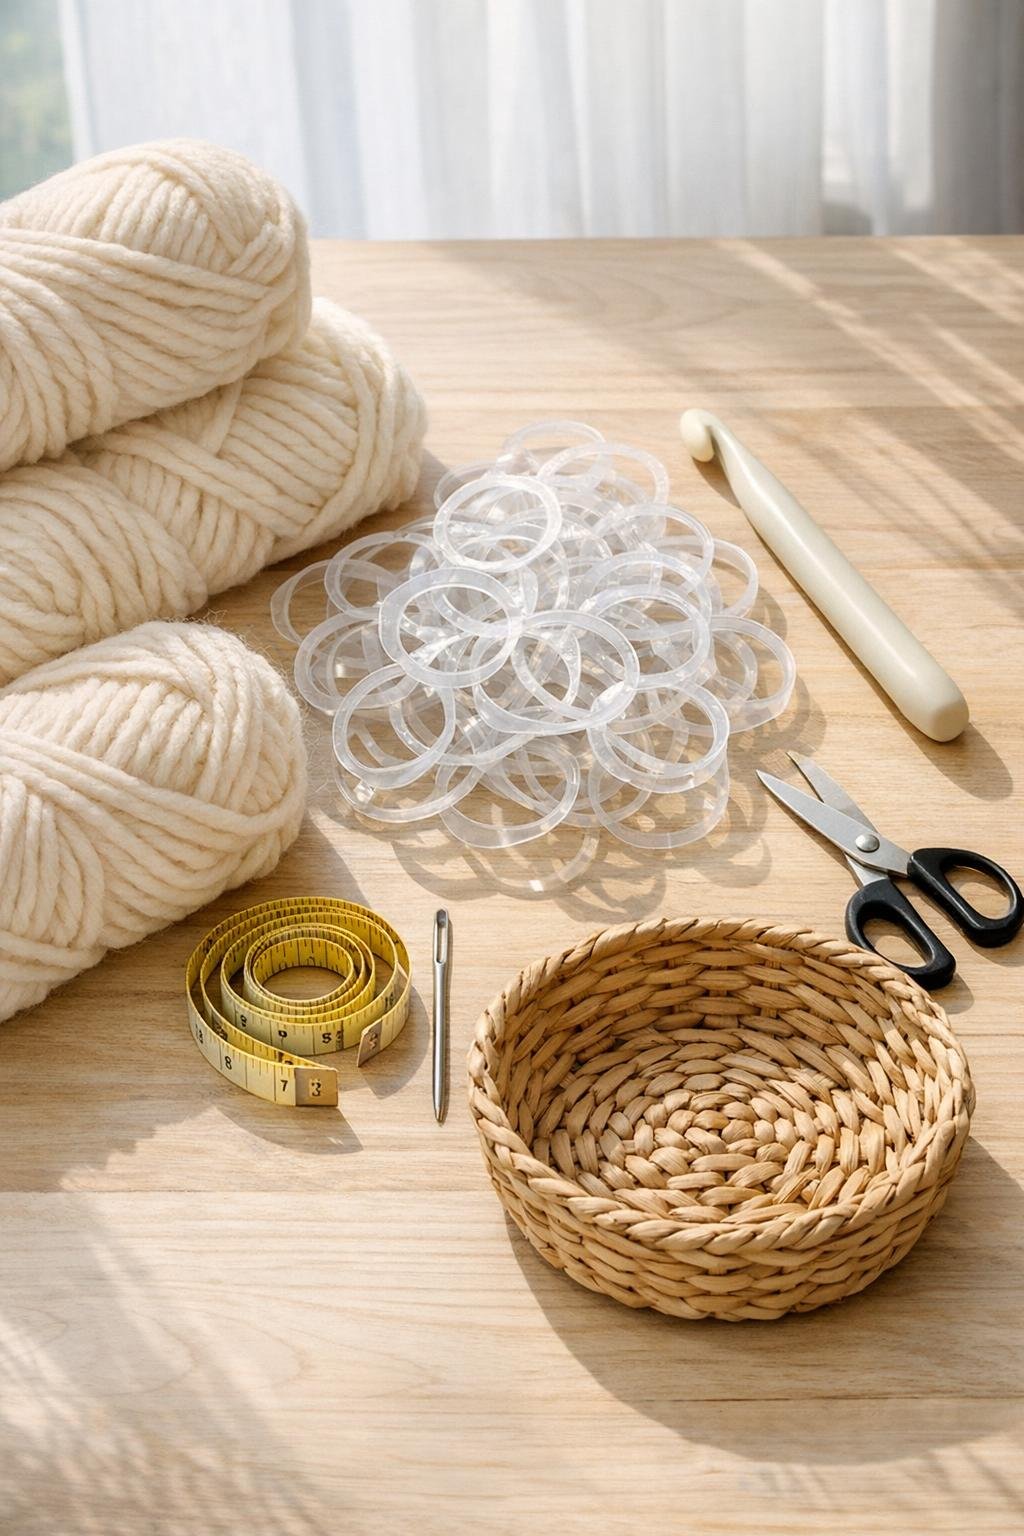
Materials
24 clean plastic soda bottle rings, labels and caps removed
Instructions
1. Wash the plastic soda bottle rings in warm soapy water, rinse them well, and dry them completely so the yarn stays clean and slides smoothly.
2. Sort your rings by size and shape, and set aside any that are cracked or bent so your spiral stays even and sturdy.
3. Tie the yarn onto the first ring with a simple knot, leaving a 4-inch tail, then single crochet tightly around the ring until the plastic is fully covered.
4. Continue crocheting around that first ring until the stitches sit snugly side by side, then slip stitch to secure the round and tuck the tail under a few stitches.
5. Place a second ring against the first so they touch at one edge, then single crochet around the second ring while catching the first ring in two or three joining stitches to connect them.
6. Repeat with the next few rings, always joining the new ring to the previous one at one edge so the chain begins to curve naturally instead of lying in a straight line.
7. After you have 6 to 8 connected rings, start bending the chain inward and join each new ring slightly closer to the inside edge to encourage a clear spiral shape.
8. Keep adding rings one at a time, checking the curve every few rings and adjusting the join placement so the spiral stays smooth and balanced.
9. If the spiral feels too tight, place the next join a little farther apart; if it looks too loose, overlap the curve slightly more with the next connection point.
10. Continue until all 24 rings are covered and connected, creating a large statement spiral about 18 to 24 inches across, depending on your ring size.
11. Fasten off the yarn with a 6-inch tail, thread it onto the yarn needle, and weave the end through several stitches on the back of the final ring.
12. Turn the piece over and trim any stray fibers, then gently shape the spiral with your hands so it lies neatly for display on a door, wall, bench, or porch vignette.
Variations & Tips
Make it more fall-themed: Add one skein of rust, mustard, or muted sage yarn and work every fourth or fifth ring in color for a subtle autumn palette.
Use mixed ring sizes carefully: Slightly different ring sizes can add character, but keep the largest ones toward the outer edge of the spiral so the shape stays intentional.
Turn it into a wreath: Attach a loop of jute rope to the back and hang the spiral on a front door or over a peg near your entryway.
Keep it porch-friendly: If your porch gets damp like mine sometimes does during Midwest fall weather, display this in a covered area so the yarn stays looking fresh and full.
Batch-prep the rings: I like to wash and sort all the rings at once before I start crocheting, because once I sit down with the yarn, I don’t want to stop and clean plastic.
Beginner shortcut: If joining and shaping at the same time feels awkward, crochet all the rings first and then seam them together with the same yarn using a yarn needle.