
This little harvest pedestal bowl is one of my favorite kinds of projects: fast, inexpensive, and cute enough to make people assume I picked it up at a boutique. You’re basically turning two dollar store plastic bowls and a pair of wooden candlesticks into raised porch decor, then tying it all together with a warm copper finish that feels perfect for fall. I love projects like this when I want my front porch to look pulled together without spending my whole Saturday or my whole decorating budget.
If you’re a beginner, this is a very forgiving DIY. And if you’re busy like I usually am, it’s also a great “do it after work” project because there’s very little measuring and no complicated construction. I’ve made versions of this style when I wanted a seasonal centerpiece, but for the porch I especially like the extra height the candlesticks add.
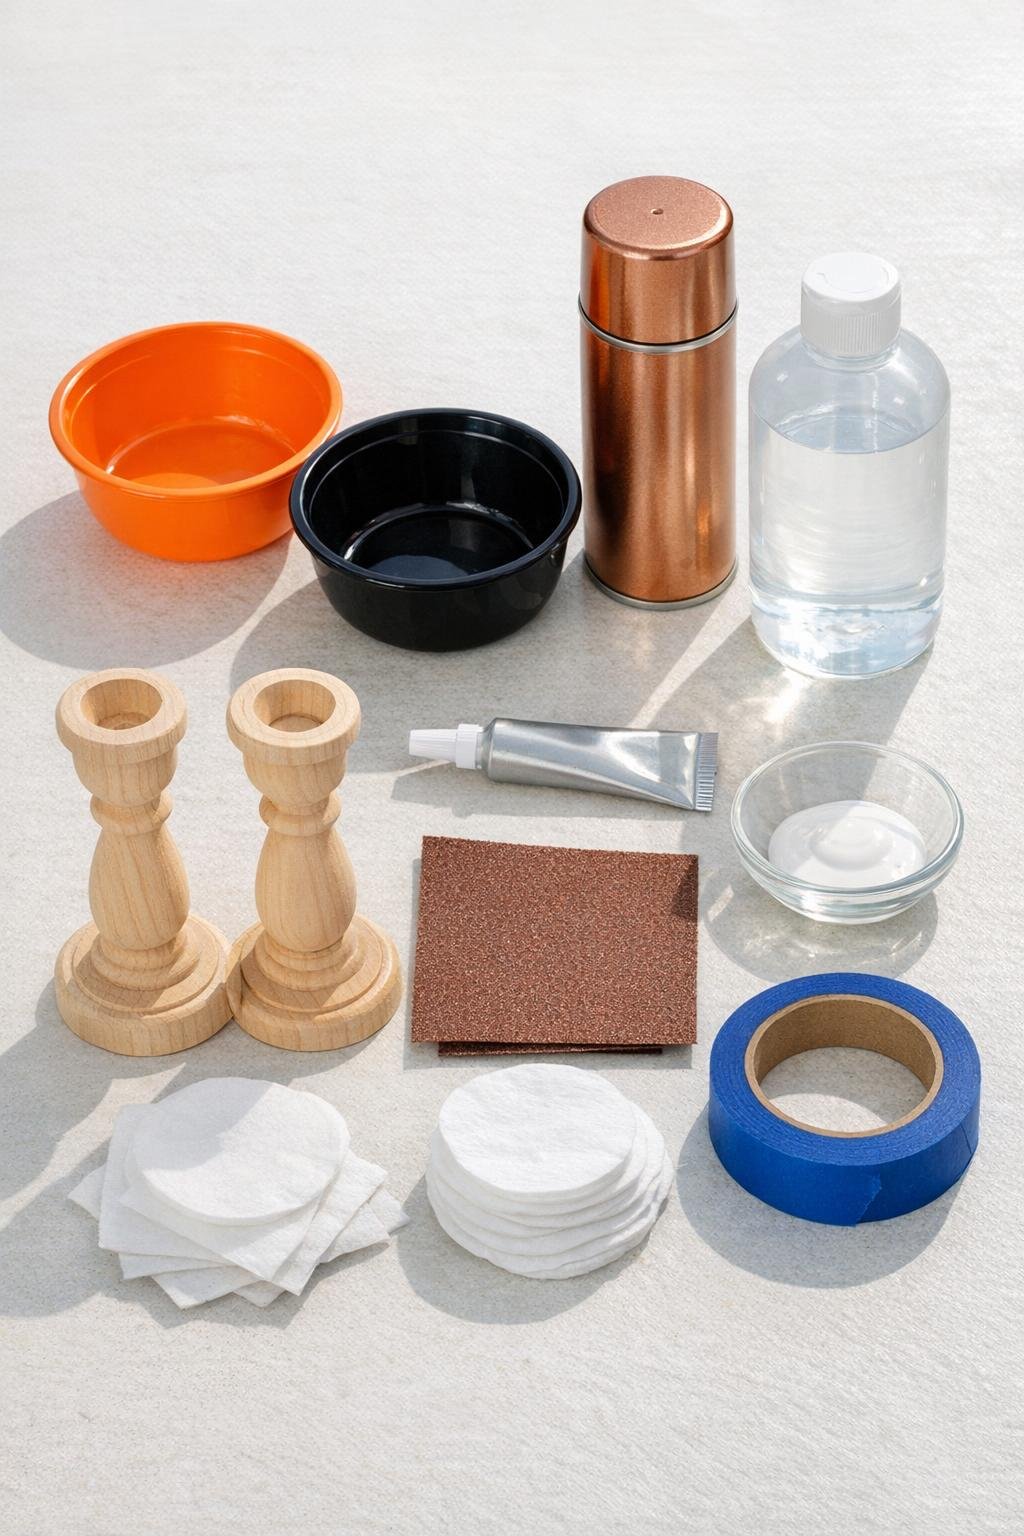
Materials
2 plastic bowls, 8 to 10 inches wide, matching shape and size
Instructions
1. Wash the plastic bowls with warm soapy water, rinse well, and let them dry completely so the paint and glue will stick properly.
2. Lightly sand the outside of both bowls and all sides of the wooden candlesticks with 220-grit sandpaper to dull the surface, then wipe away dust with rubbing alcohol.
3. Turn each bowl upside down and center a wooden candlestick on the bottom of it, checking from all sides so the pedestal will sit straight.
4. Apply a generous ring of heavy-duty adhesive to the top of each candlestick and press it onto the center of a bowl bottom; hold for a few seconds, then let both pieces cure according to the glue directions.
5. Once the glue has cured, use painter’s tape to mask any areas you do not want painted, then place the pedestal bowls on cardboard in a well-ventilated area.
6. Spray a light first coat of copper paint over the bowls and candlesticks using smooth side-to-side passes, keeping the can about 8 to 10 inches away.
7. Let the first coat dry, then apply 1 to 2 more light coats until the finish looks even and fully covered.
8. Allow the paint to dry completely, then gently turn the bowls upright and inspect for thin spots, touching up as needed.
9. Style the finished bowls on your front porch with mini pumpkins, pinecones, faux leaves, or leave them empty for a simple metallic accent.
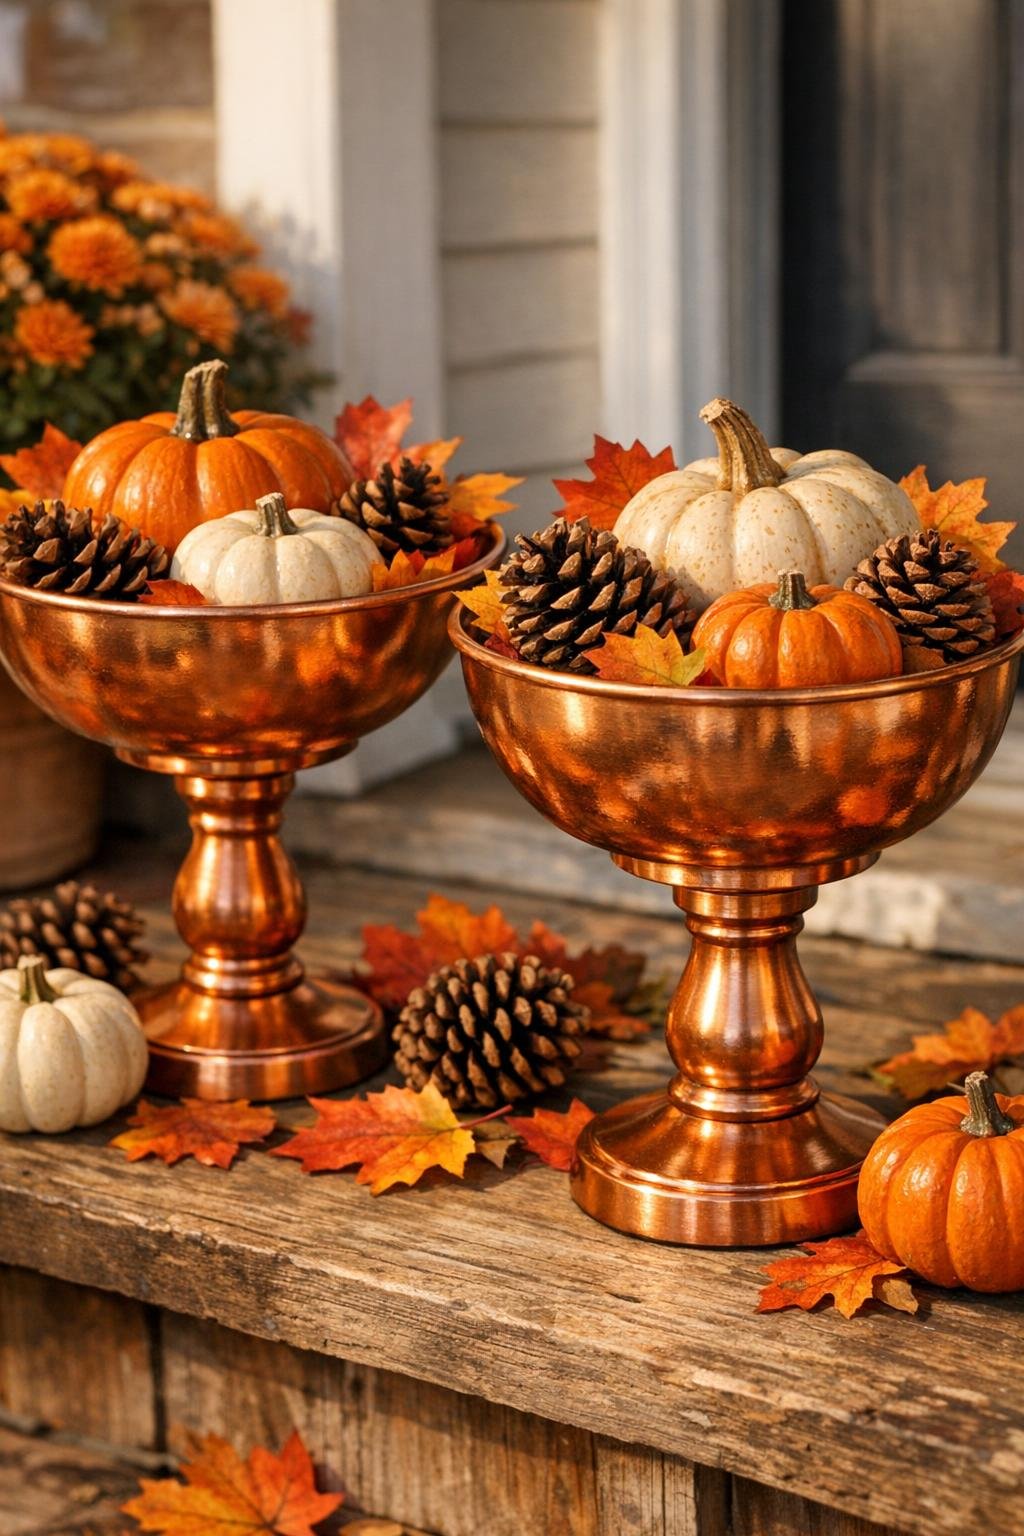
Variations & Tips
Use one as a centerpiece: If you don’t need a matching pair for the porch, make a single pedestal bowl and use it on a dining table or kitchen island with seasonal filler.
Try a different finish: Bronze, matte black, cream, or antique gold all work beautifully if copper doesn’t match your home’s exterior.
Choose the right glue: A strong adhesive matters here because the bowls are lightweight but the project may be moved around. I always let glued pieces cure fully overnight when possible, even if the package says less.
Keep spray coats light: Thin coats look smoother than one heavy coat and help prevent drips. This is especially important on slick plastic.
Add a protective topcoat: If your porch is covered but still gets humidity, a clear sealer made for spray-painted surfaces can help the finish last longer.
Make it look fuller: I like clustering mini pumpkins in odd numbers and tucking in one or two faux leaf stems so the display looks intentional without feeling crowded.