
There are a few kitchen-meets-craft projects that still surprise me, and this is one of them. With the right kind of plain white bar soap, a microwave, and two pantry staples, you can transform an ordinary bar into a soft, moldable material that’s wonderfully easy to shape by hand. I love projects like this because they feel a little bit like food science in reverse: instead of ingredients becoming dinner, they become something charming for the home.
This is a good project for patient beginners, weekend crafters, or anyone who enjoys making small handmade accents without investing in specialty supplies. The key is using an aerated white bar soap, like an Ivory-type bar, because the air whipped into the soap expands in the microwave and creates the fluffy base you need for soap clay. Once you know that trick, the rest is simple, tactile, and very satisfying.
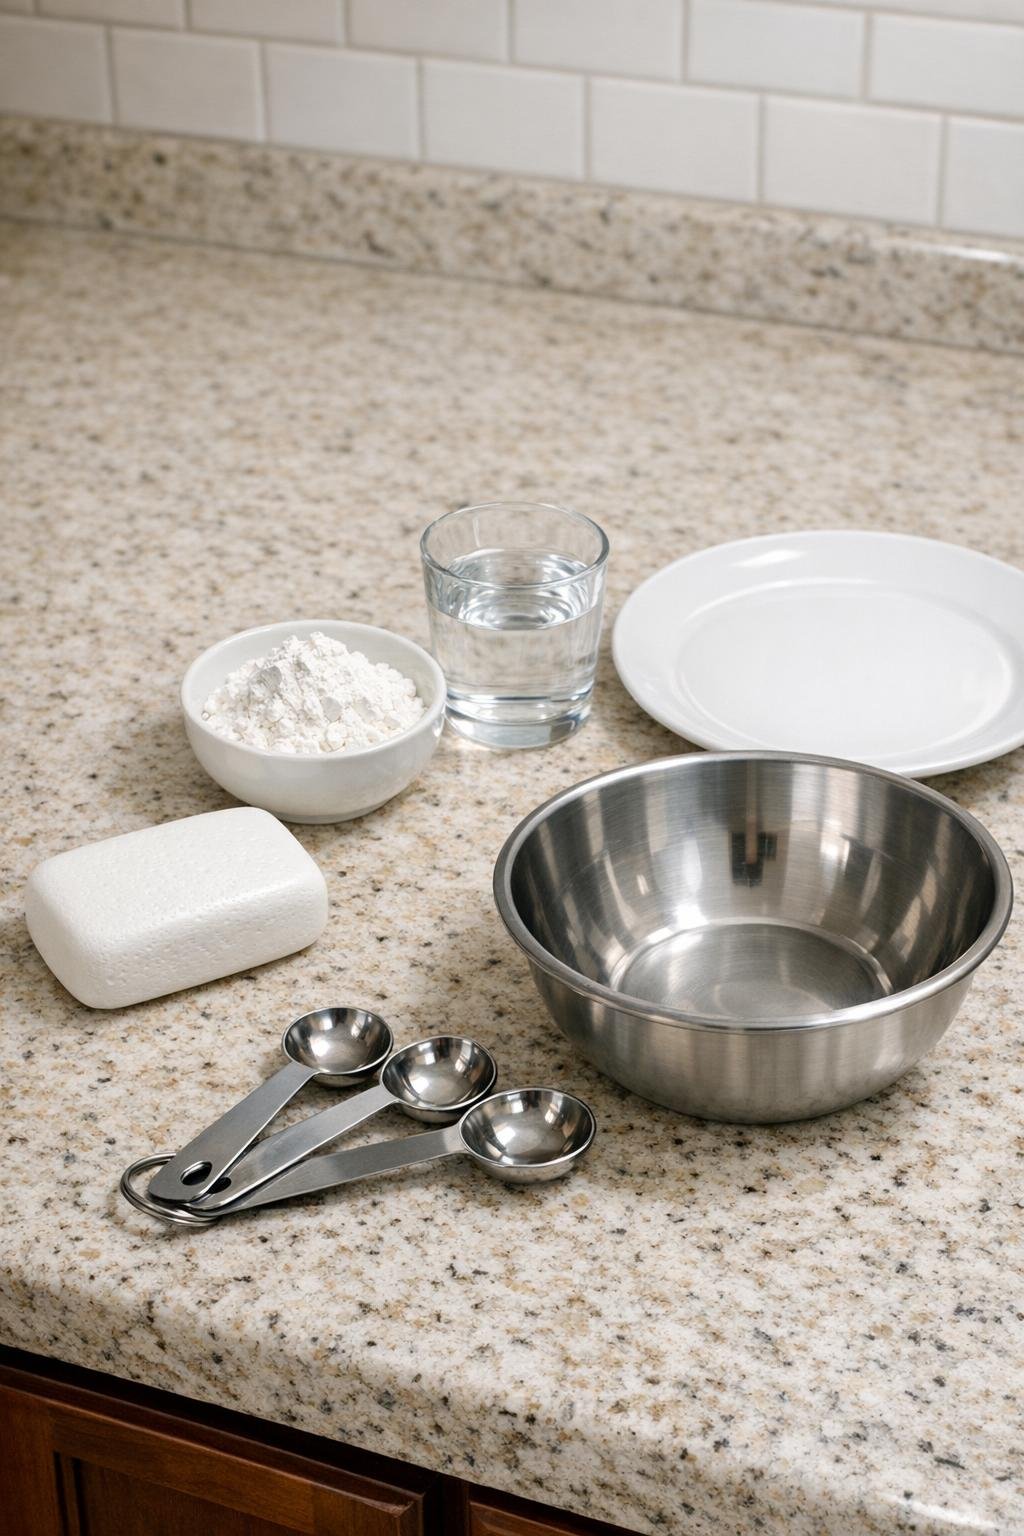
Materials
Instructions
1. Set up in a well-ventilated kitchen or craft area, since heated soap can give off a strong scent. Use only an aerated white bar soap, like an Ivory-type bar, because the whipped-in air inside the soap is what expands and puffs in the microwave.
2. Place the whole bar of soap on a microwave-safe plate and microwave it in 30- to 60-second bursts until it puffs dramatically. Stop as soon as it is fully expanded and dry-looking, because overheating can scorch the soap and create an unpleasant smell.
3. Let the puffed soap cool completely on the plate for several minutes. Once cool, break it apart with your hands into light, brittle pieces.
4. Crumble the cooled soap into a medium bowl and rub the pieces between your fingers until you have a fluffy, powdery texture. The finer the crumbles, the smoother your finished soap clay will be.
5. Add 1/4 cup cornstarch to the soap crumbles and mix it in with your hands. Drizzle in 1 tablespoon of water and begin kneading until the mixture starts to gather into a dough.
6. Continue kneading, adding more water 1 teaspoon at a time and more cornstarch in small pinches as needed, until the soap clay feels smooth, soft, and moldable. You want a texture like pliable modeling dough, not sticky paste.
7. Pinch off a small piece of clay, roll it into a tiny log, and divide it into 5 to 7 pea-size pieces for one rose. Flatten each piece into a thin petal with your fingertips, keeping the center slightly thicker than the edges.
8. Roll one small petal tightly to form the rose center, then wrap the remaining petals around it one at a time, overlapping them slightly. Gently flare the outer petal edges back for a more natural rose shape.
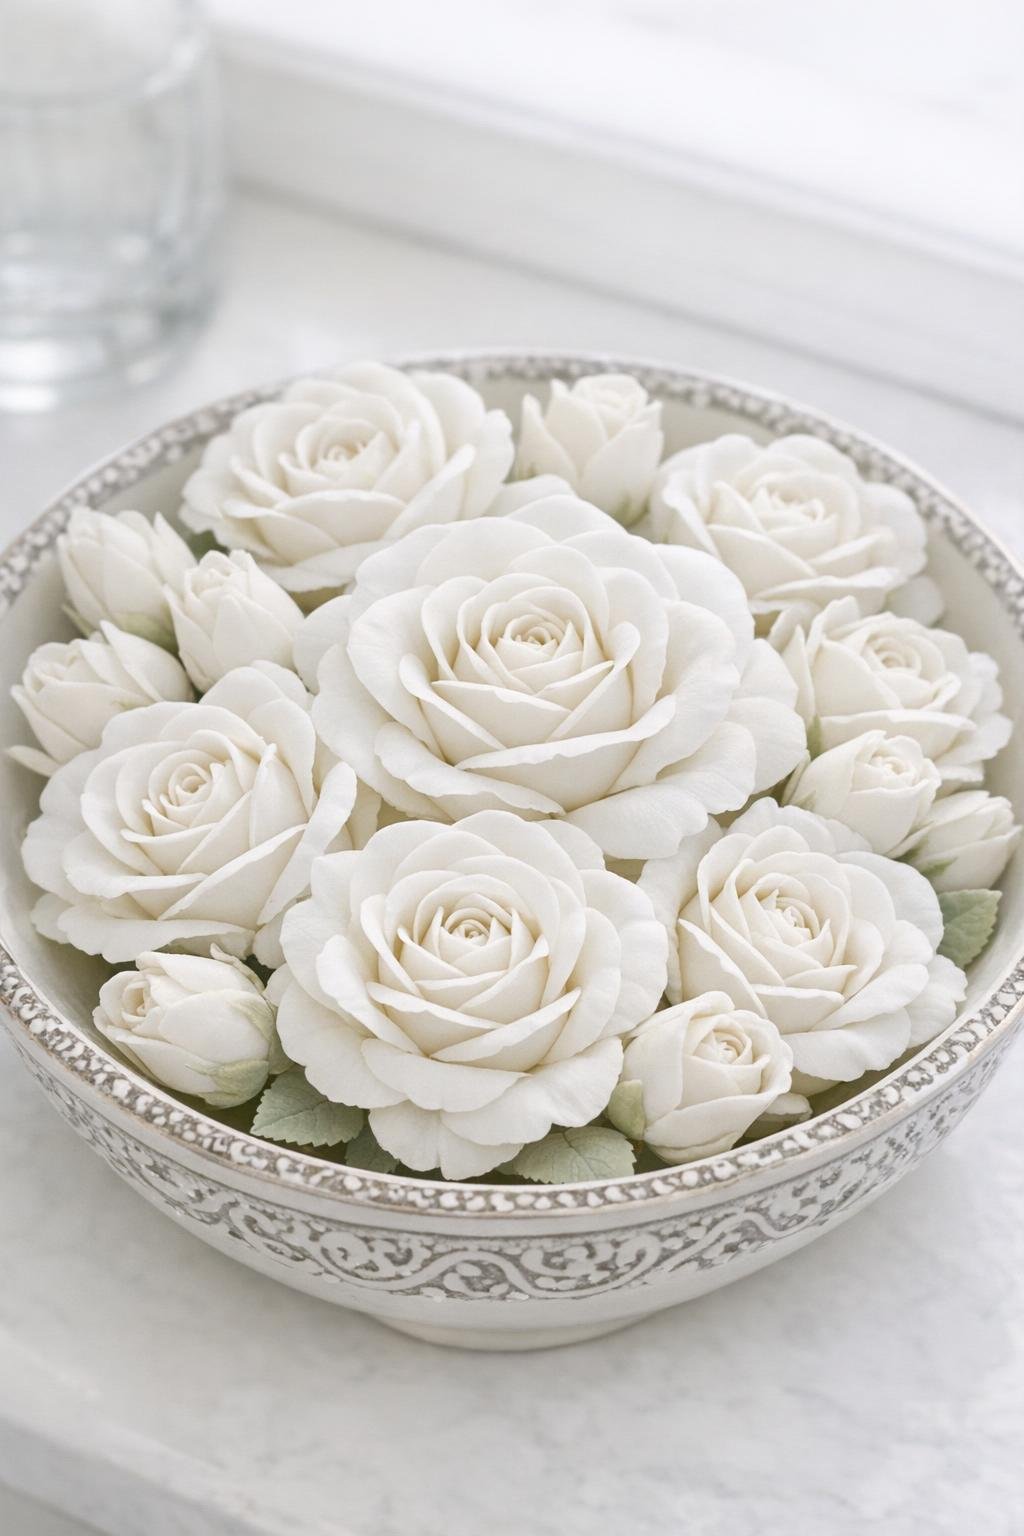
9. To make rosebuds, roll a small teardrop shape and wrap 2 or 3 small petals around it, keeping the top slightly closed. Make several roses and buds in mixed sizes so the finished bowl fillers look more natural and layered.
10. Set the shaped flowers on a plate or tray and let them air-dry for 24 hours. Turn larger pieces once halfway through drying if the bottoms feel soft.
Variations & Tips
Soap choice: This method works best with aerated white bar soap only. Regular dense soaps usually do not puff the same way, because they do not contain the whipped-in air that expands under microwave heat.
Microwave timing: Every microwave runs a little differently, so check after each 30- to 60-second burst. If the soap starts to tan or smell scorched, stop immediately and let it cool before handling.
Clay texture fix: If the mixture feels sticky, knead in a little more cornstarch. If it feels crumbly and won’t hold petals, add water a few drops at a time and knead again.
Rose shaping tip: I get the prettiest petals by keeping them thin at the edges and slightly thicker in the middle, much the way I think about rolling dumpling wrappers. That little difference helps the flowers hold their shape without looking chunky.
Drying setup: Space the roses apart while they dry so air can circulate around them. A parchment-lined tray works well if you’re making a larger batch.
Decorative uses: These are best for light-duty decorative use, like guest bathroom bowl fillers, drawer and closet sachets, or small handmade gifts. I would not count on them for structural use or long-term durability in damp, high-contact spots.
Batch size: One standard bar usually makes quite a few small flowers. If you’re filling a larger bowl, double the recipe and make a mix of full roses and tighter buds for a more balanced arrangement.