
There’s something awfully satisfying about turning a flimsy little dollar-store Halloween bucket into something sturdy enough to hold open a heavy door. That kind of make-do project has always appealed to me. Out here, we’ve long had a habit of looking at simple everyday things and asking, “Can this work a little harder?” In this case, the answer is yes—and in a surprisingly handsome way.
This concrete pumpkin doorstop is a beginner-friendly project with a big payoff. You don’t need fancy molds or specialty tools, just a plastic trick-or-treat bucket, a basic bag of concrete mix, and one good garage item to give it a proper pumpkin stem. If you like practical seasonal décor, or you want a porch piece that won’t blow away in the first autumn wind, this is a good one to make.
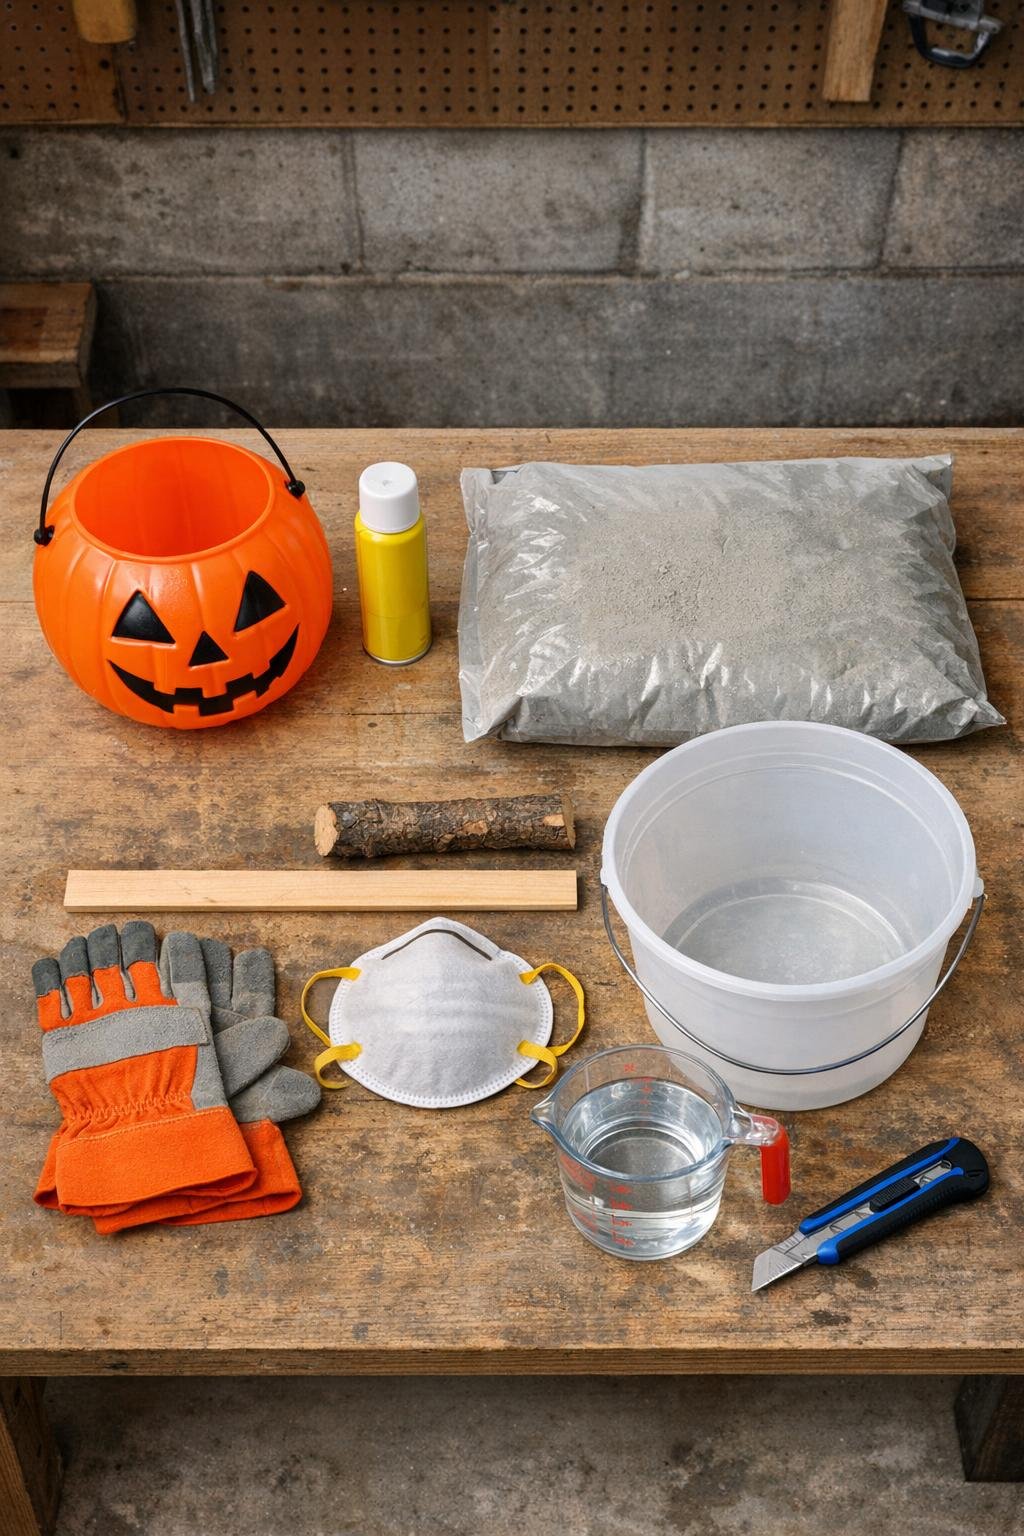
Materials
1 dollar-store plastic jack-o-lantern trick-or-treat bucket, about 8 to 10 inches tall
Instructions
1. Set up your work area outdoors or in a well-ventilated garage, and put on gloves and a dust mask before opening the dry concrete mix.
2. Coat the entire inside of the plastic jack-o-lantern bucket with a light, even layer of cooking spray so the cured concrete will release more easily later.
3. Pour the dry concrete mix into your mixing bucket, add water a little at a time, and stir until it reaches a thick oatmeal consistency that holds its shape but is still scoopable.
4. Scoop concrete into the pumpkin bucket until it is about one-third full, then tap the sides firmly several times to release trapped air bubbles.
5. Add the second third of concrete, tap the sides again all the way around, and gently jiggle the bucket on the table to help the mix settle into the face ridges.
6. Fill the bucket the rest of the way, stopping about 1/2 inch below the rim, and tap the sides a final time until the surface looks settled.
7. Push the short thick branch straight down into the center of the wet concrete, leaving 2 to 3 inches sticking up like a real pumpkin stem; if you prefer, use a dowel instead to create a hole for a removable stem later.
8. Check that the branch stands centered and fairly upright, then leave the bucket undisturbed to cure for 24 to 48 hours.
9. Once fully hardened, use a utility knife to carefully slice down the plastic bucket and peel it away from the concrete; the bucket will be sacrificed, but at dollar-store prices that’s part of the charm.
10. Brush off any loose bits, and if you like, leave the pumpkin industrial gray for a sturdy farmhouse look or paint it orange and seal it after the surface is fully dry.
Variations & Tips
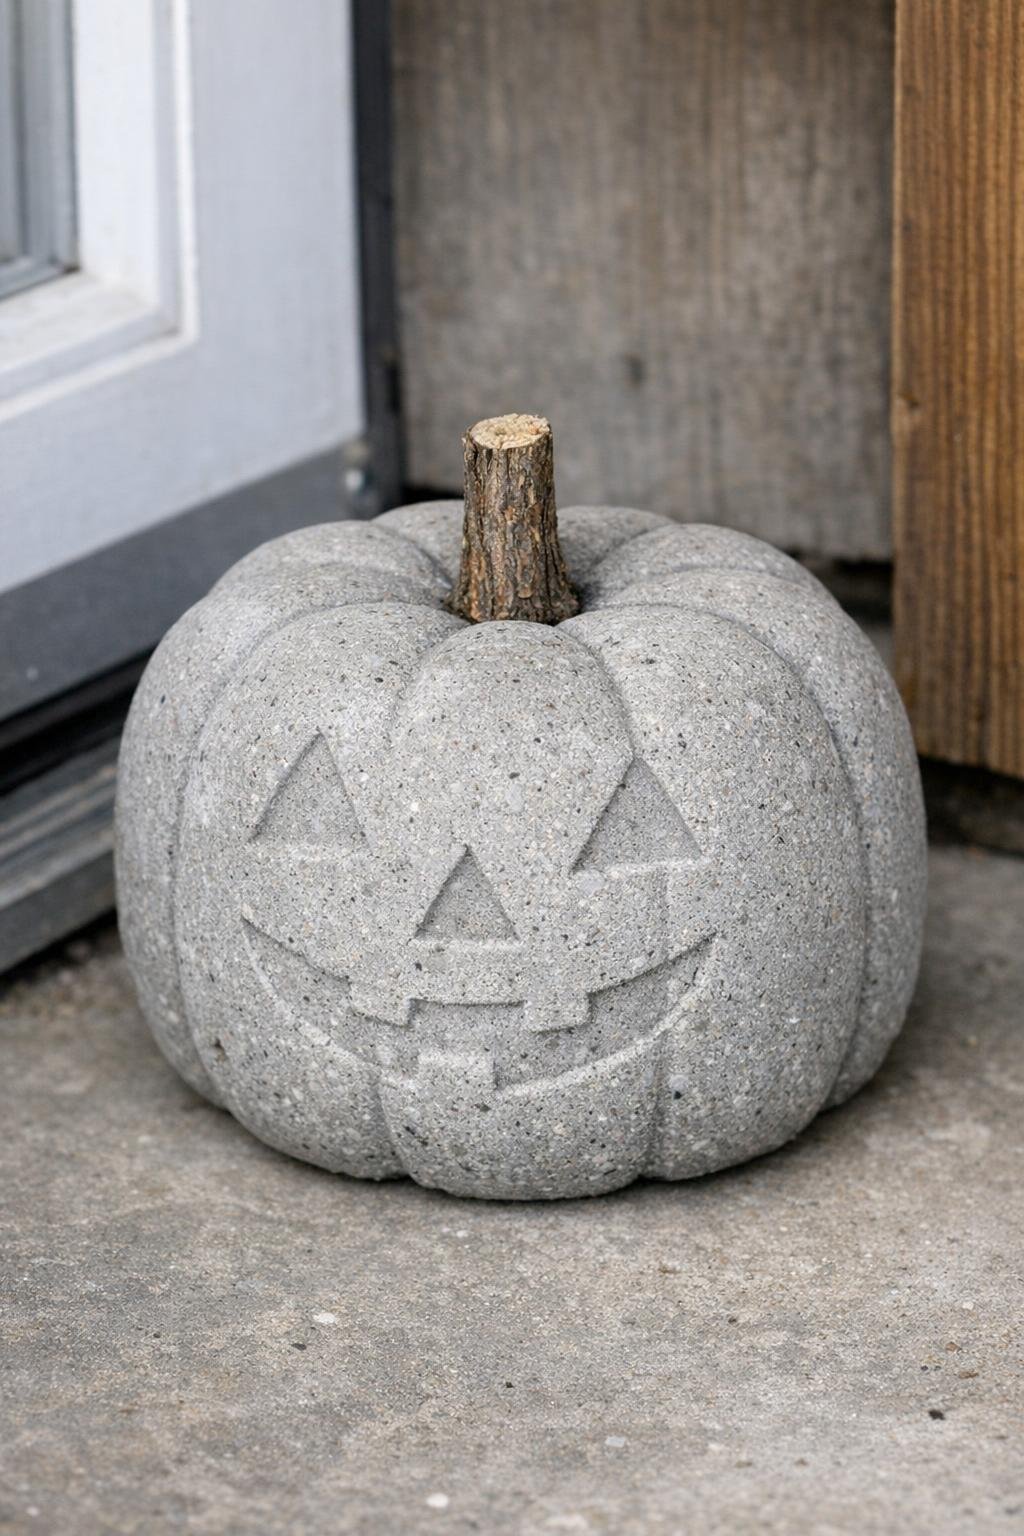
Natural gray finish: I think the plain concrete version has a wonderful old-barn honesty to it. The faint molded face shows up subtly, and it works especially well on a porch with galvanized pots, crocks, or weathered wood.
Painted pumpkin look: If you want a more traditional fall decoration, paint the cured pumpkin orange with exterior craft paint and let the stem stay natural. A matte sealer helps if it will sit outside through damp weather.
Use it beyond Halloween: This piece is genuinely heavy, which is exactly the point. I’d use it as a doorstop, a porch weight for light décor, or even a rugged bookend out in the garage or mudroom.
For a cleaner stem option: If your branch is oddly shaped or you want more control, press in a thick dowel while the concrete is wet and remove it later to leave a stem hole. Then glue in a dried branch once the concrete has cured.
Tap well for better detail: Don’t skip tapping the bucket after each third of concrete goes in. That little step helps release air bubbles and encourages the concrete to settle into the pumpkin ridges and facial contours.
Cut the mold slowly: Take your time with the utility knife and peel the plastic back in strips instead of trying to force it off all at once. The bucket is inexpensive, and sacrificing it is far easier than wrestling with the concrete.