
A simple cinder block border is one of those garden projects that looks surprisingly polished for how little it asks of you. By turning the blocks on their sides and pairing them with two basic shed staples, you can make a clean, weighty edging that defines a bed, helps keep mulch in place, and gives the whole yard a more intentional look.
I like this kind of project because it sits right at the intersection of practical and attractive. As someone who spends plenty of time thinking about structure in the kitchen as well as in the garden, I appreciate anything that creates order without fuss. This border is a good fit for beginners, renters who want a non-permanent upgrade, or anyone who has a weekend afternoon and wants a garden bed to look finished.
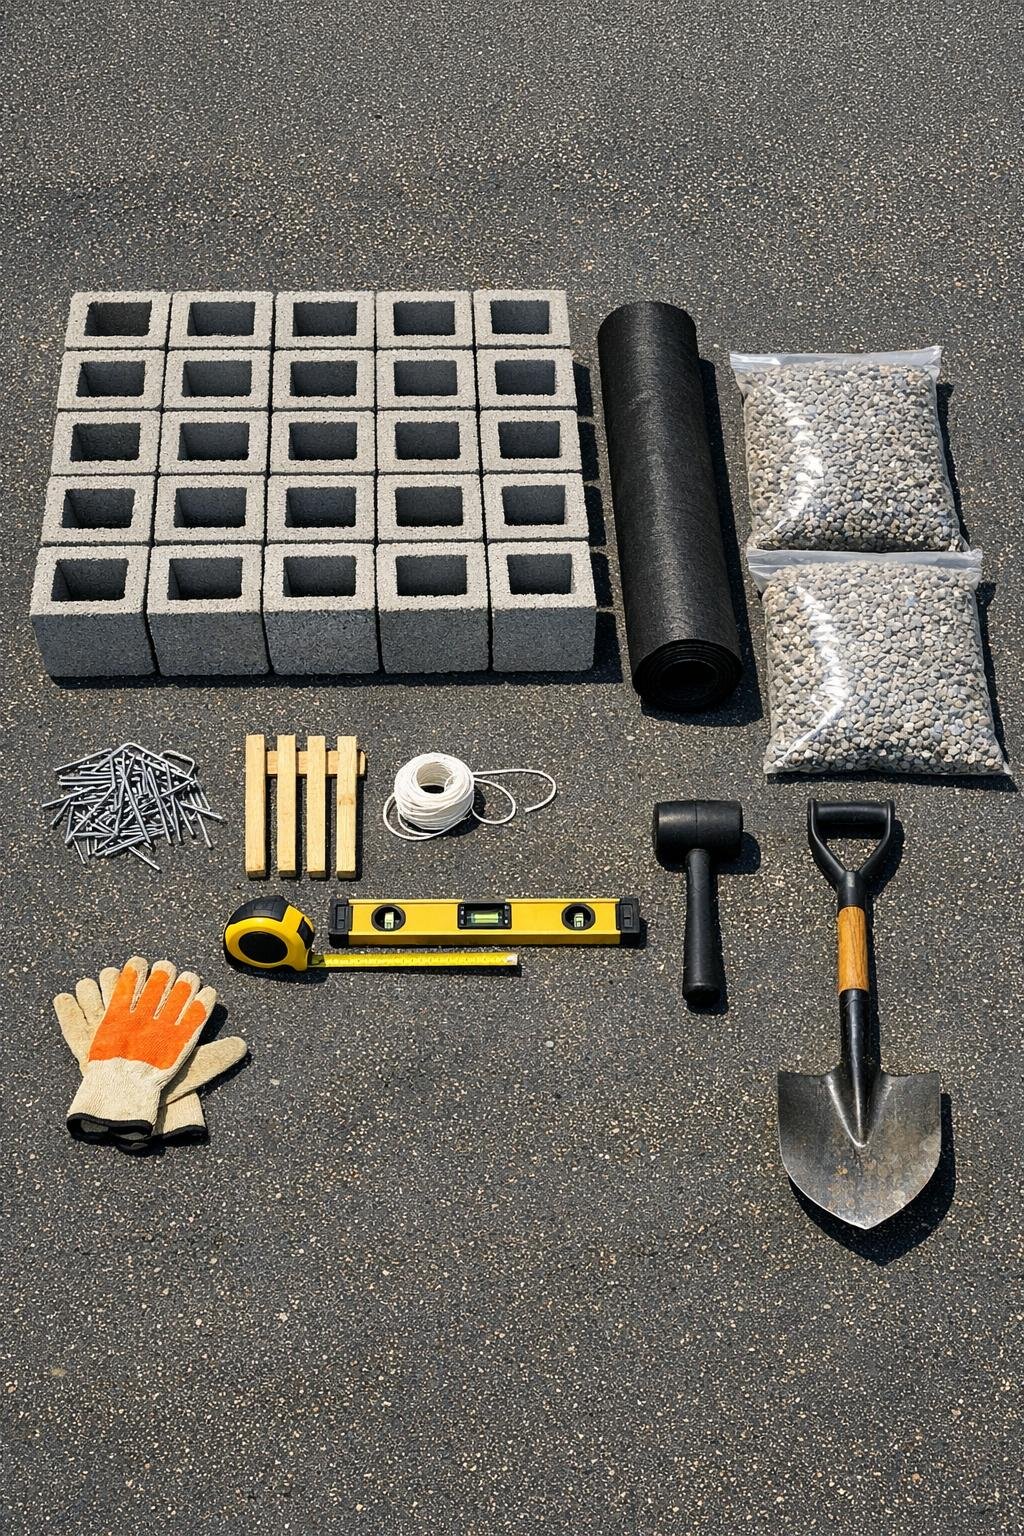
Materials
24 standard cinder blocks, 8 in. x 8 in. x 16 in.
Instructions
1. Measure the edge of your garden bed and decide on the border shape, keeping in mind that each cinder block covers 16 inches in length. Mark the outline with stakes and mason line for straight runs, or with sand for a gentle curve.
2. Set the cinder blocks loosely along the marked line on their sides to test the layout and spacing before you dig. Adjust the shape now so the openings face upward and the run looks even from end to end.
3. Dig a shallow trench along the marked border about 4 inches deep and slightly wider than the blocks. Keep the bottom as level as possible so the finished edging will sit neatly.
4. Line the trench with landscape fabric, letting the fabric run a little up the sides. Pin it in place with landscape staples every 18 to 24 inches so it stays flat while you work.
5. Pour 2 inches of crushed gravel into the trench and spread it evenly. Tamp it down firmly to create a stable base that drains well and helps the blocks stay put.
6. Set the first cinder block into the trench on its side, then place the next block snugly against it. Check both blocks with a level and tap them down with a rubber mallet until they sit even.
7. Continue placing the remaining blocks one at a time, checking level every few blocks and adding or removing a little gravel as needed. For curves, leave tiny gaps between blocks rather than forcing them out of alignment.
8. Backfill soil around the outside of the blocks and press it firmly against the border to lock everything in place. If your bed is mulched, pull the mulch back up to the inner edge for a tidy finish.
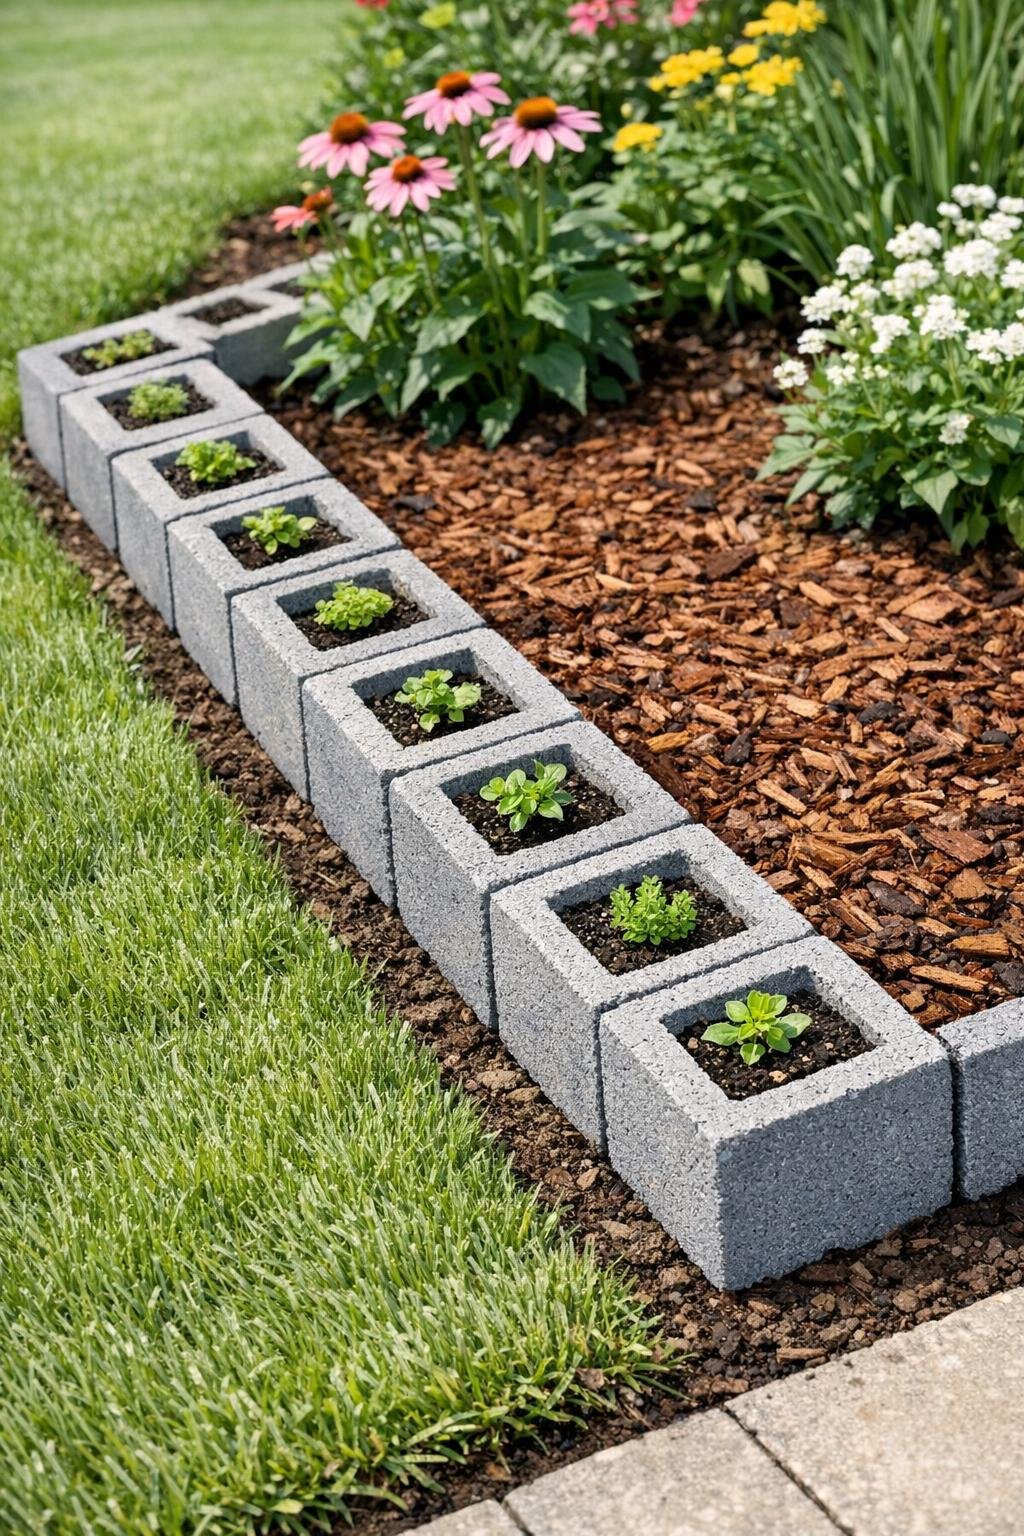
9. Fill the upward-facing block openings with soil if you want extra stability or a planted look. I like tucking in small trailing flowers or herbs here, which softens the concrete nicely.
10. Step back and check the full line for any block that sits proud or low, then make final taps with the mallet. Water the surrounding soil lightly to settle the area and clean dust off the blocks.
Variations & Tips
For a cleaner modern look: Leave the block openings empty and keep the top line perfectly level. That crisp repetition gives the border a more architectural feel.
For a softer cottage look: Fill the block openings with potting mix and plant low growers like alyssum, creeping thyme, or parsley. It is a nice way to make the concrete feel more integrated with the bed.
For extra stability: Dig the trench deep enough so the bottom third of each block sits below grade. This is especially helpful in freeze-thaw climates, which we know well in the Midwest.
If your soil is heavy clay: Add an extra inch of gravel under the blocks and take your time tamping it well. Good drainage makes a noticeable difference in how evenly the border settles.
To handle curves gracefully: Use shorter segmented arcs rather than one tight bend. Cinder blocks are rigid, so gentle curves always look better than forcing a sharp turn.
To refresh the finish later: Hose the blocks off each spring and reset any that have shifted over winter. Like seasoning a cast-iron pan, a little maintenance now and then keeps the whole thing looking better for years.