
This is one of those little fall projects I come back to year after year because it is fast, inexpensive, and oddly satisfying. You’re simply wrapping a standard roll of toilet paper in a square of flannel, tucking the fabric into the center tube, and finishing it with a simple stem and a couple of tiny embellishments. That’s it. No sewing, no glue, and in about five minutes you have something that looks far fancier than it has any right to.
I especially love this project for busy families, beginner crafters, and anyone who wants cozy autumn decor without dragging out a whole craft bin. If you have an old flannel shirt tucked away, this is a sweet way to give it a seasonal moment, and I always think a mixed set of plaids looks especially pretty on a mantel or table.
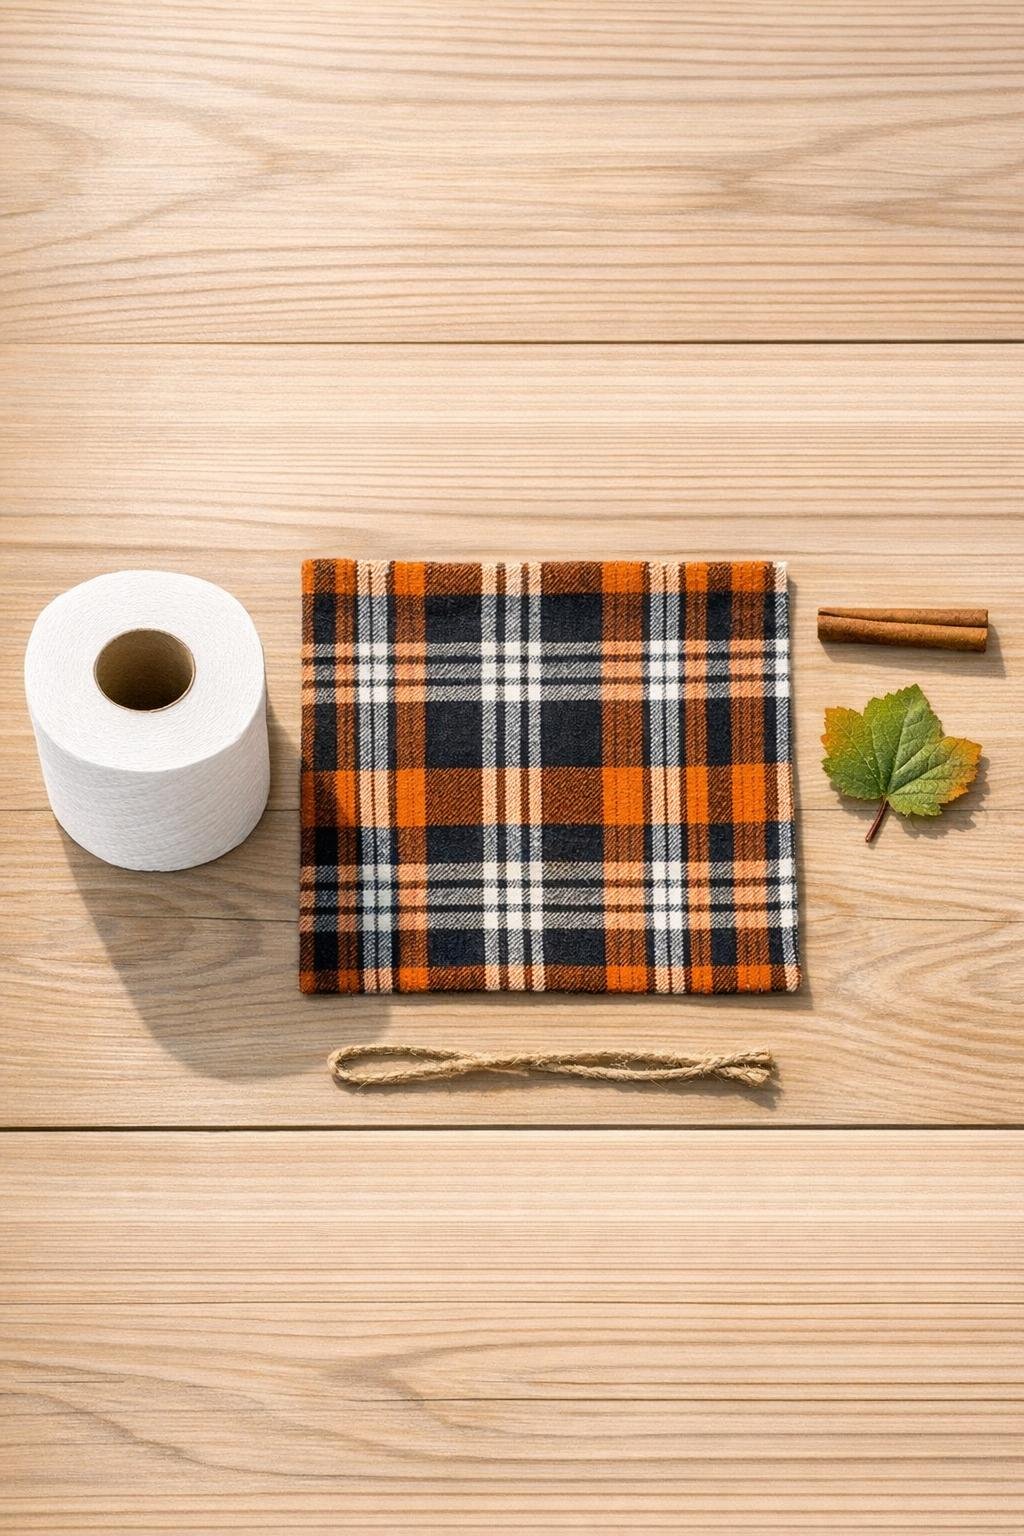
Materials
Instructions
1. Lay the flannel square flat on your work surface with the right side facing down, and smooth out any wrinkles with your hands.
2. Set the full roll of toilet paper upright in the center of the fabric square so you have an even amount of flannel on all sides.
3. Fold one side of the flannel up over the roll and tuck the raw edge down into the cardboard tube in the center.
4. Continue bringing up the remaining sides one at a time, tucking each section into the tube and smoothing the outer fabric as you go so the shape stays rounded.
5. Adjust the folds until the pumpkin looks full and even, then gently fluff the sides with your fingers to soften any sharp creases.
6. Push a cinnamon stick or small twig down into the center tube to create the stem.
7. Tuck the faux leaf beside the stem, then curl the twine with your fingers and nestle it into the center for a simple vine detail.
8. Set the pumpkin in place and give it one last smoothing touch; if you’re making a set, repeat with different plaid colors and fabric scales for a cozy grouped display.
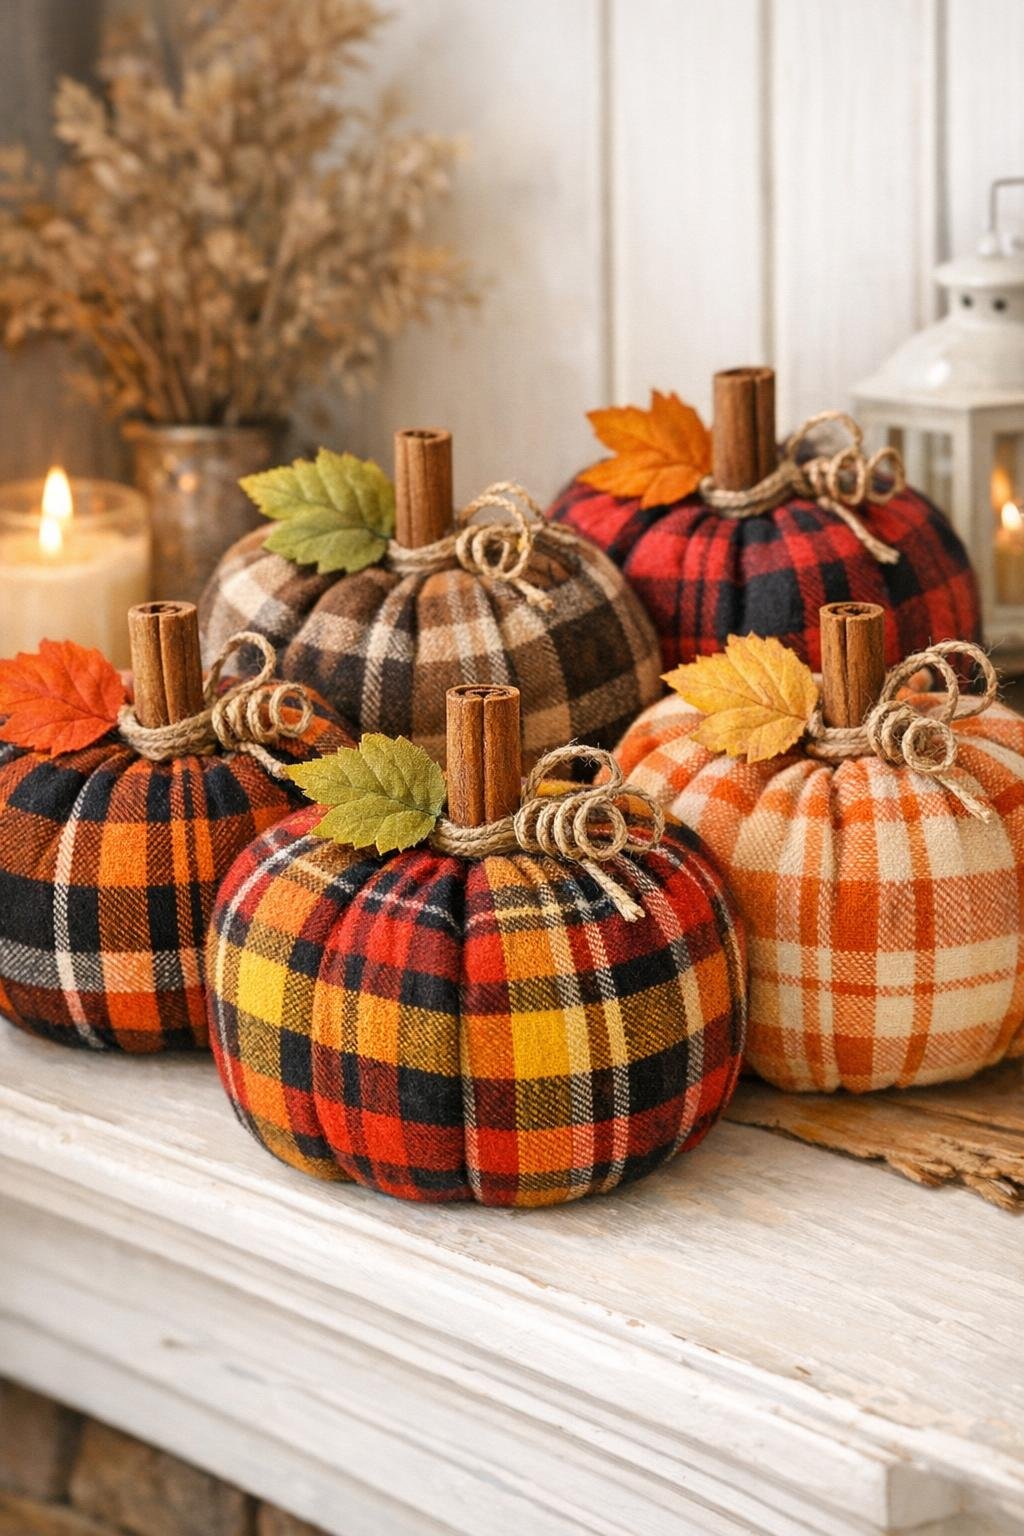
Variations & Tips
Try different plaids: I like mixing one large-scale plaid with one or two smaller prints so the group looks collected instead of too matchy-matchy.
Use what you have: A cinnamon stick smells lovely, but a small backyard twig works just as well if you want a more rustic look.
For picky decorators: If your family members all have different opinions about holiday decor like mine do, stick with softer neutrals such as cream, gray, tan, or muted red flannel so the pumpkins feel cozy without being too bold.
Keep the shape round: If the pumpkin looks lopsided, pull the fabric back out and retuck it more evenly one section at a time; the smoothing is what makes this look polished.
Make a mantel set: Three pumpkins usually looks just right for a mantel or entry table, and using slightly different fabric sizes within that 18- to 22-inch range gives you gentle variation in width and fullness.
Nothing is ruined: This is my favorite part: the flannel shirt can go right back to being a shirt later, and the toilet paper roll is still perfectly usable when the season is over.