
I love a project that turns something headed for the recycling bin into something warm, useful, and pretty for the table, and this fall utensil caddy does exactly that. Using three old tin coffee cans, a simple wooden base, and a few seasonal finishing touches, you can make a sturdy holder for forks, spoons, napkins, or even straws for a family dinner or holiday gathering.
This is a wonderful beginner-friendly project if you want easy fall decor that also earns its keep. I’m always looking for ways to make mealtime feel a little more special without spending much, and this is one of those pieces that looks charming on a buffet, kitchen counter, or Thanksgiving table.
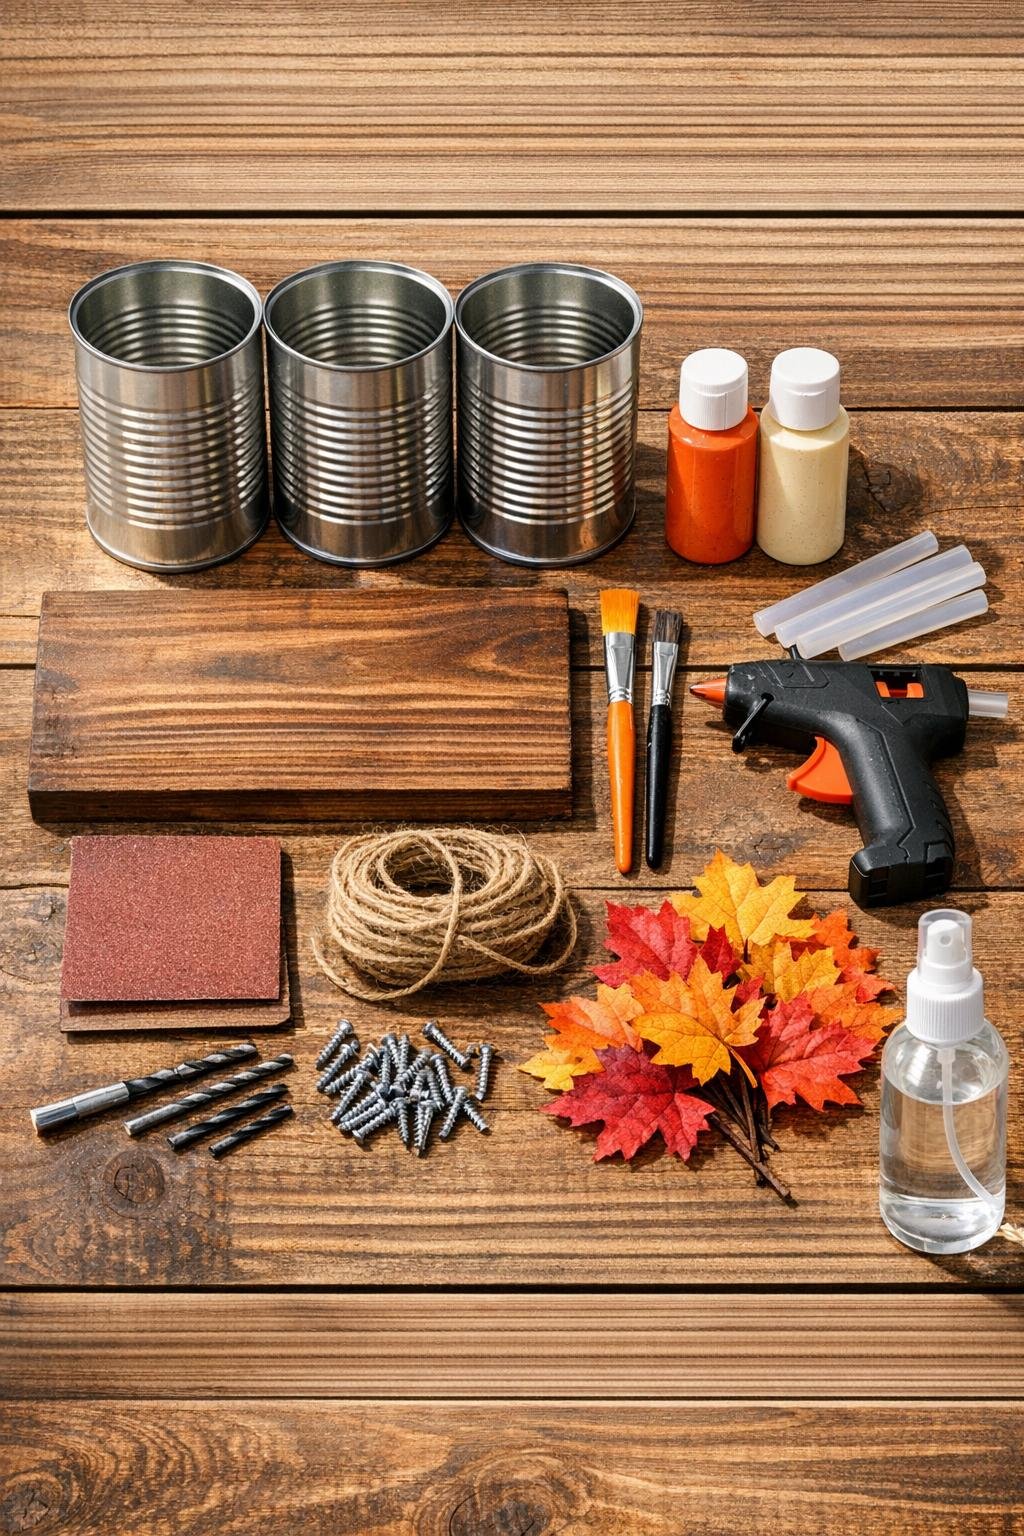
Materials
3 empty tin coffee cans, 30 to 34 ounces each, labels removed and edges checked smooth
Instructions
1. Wash the coffee cans well, remove any paper or glue residue, and let them dry completely. Run your finger carefully around each rim and sand any rough spots so the cans are safe to handle.
2. Sand the outside of each can lightly with 120-grit sandpaper, then wipe away the dust. This gives the paint something to grip and helps the finish last longer.
3. Sand the wooden base smooth with 120-grit sandpaper, then follow with 220-grit for a softer finish. Brush off the dust and round the corners slightly if you want a more finished look.
4. Paint the outside of the cans in your main color and let the first coat dry before adding a second coat if needed. Paint the wooden base to match or stain it for a more rustic look.
5. Dry brush a little accent color around the rims, edges, or raised areas to give the cans a cozy, slightly weathered fall look. Keep it light so the finish looks soft instead of heavy.
6. Seal the painted cans and base with a thin coat of matte sealer and let everything dry fully. This step is especially helpful if the caddy will be used often on the dinner table.
7. Set the three cans on the base board with equal spacing, leaving about 1/2 inch between each one and about 1 inch at both ends. Mark the can positions with pencil so they stay centered as you attach them.
8. Drill two small pilot holes through the bottom of each can, then place each can back on its marks and transfer the hole positions to the wood. Drill shallow pilot holes into the base to make assembly easier.
9. Screw the cans to the wooden base from underneath the board into the bottom of each can, using two screws per can. Tighten just enough to hold them firmly without denting the metal.
10. Wrap twine around the upper or middle section of each can two to three times and secure the ends with hot glue. This adds texture and helps tie the whole fall look together.
11. Glue faux leaves, mini pinecones, or berry stems onto the twine or near one side of each can in small clusters. I like to keep the decorations modest so there is still plenty of room for utensils.
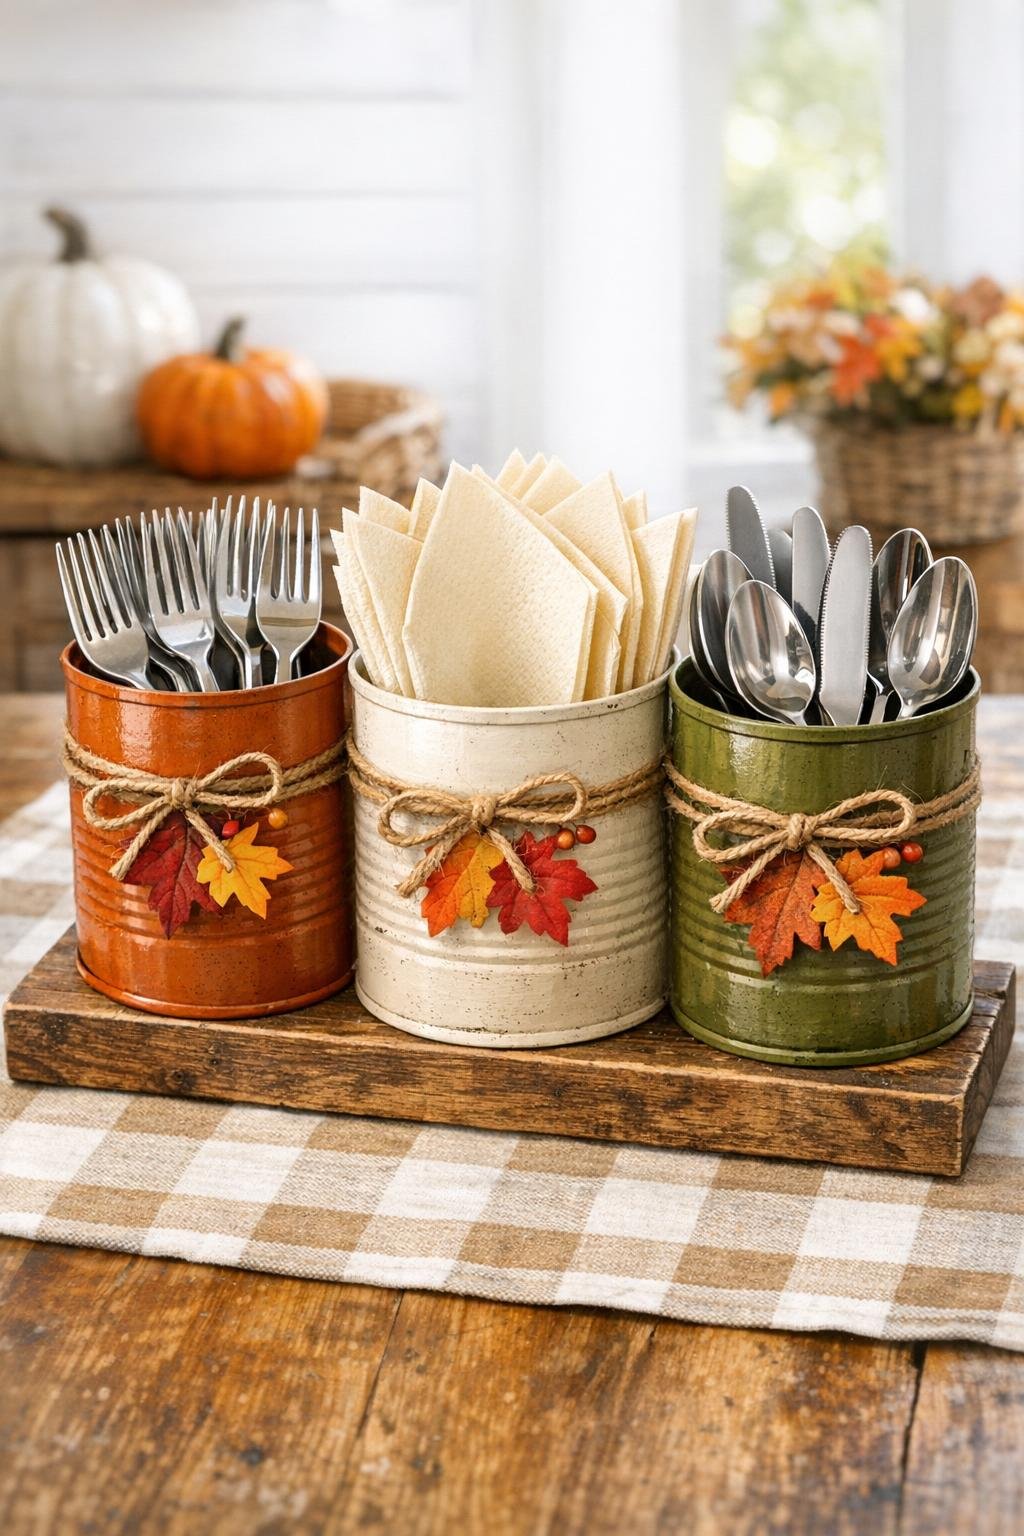
12. Let all glue set, then fill the caddy with forks, spoons, knives, napkins, or rolled silverware bundles. Set it in the center of your table, on a buffet, or by the back door for a sweet seasonal touch.
Variations & Tips
For picky eaters: If you use this on a family buffet like I do, dedicate one can to fun kid-friendly items like small forks, colorful straws, or wrapped snack utensils so younger guests feel included.
Color choice: Cream, sage, muted pumpkin, and soft brown all work beautifully for fall. If your kitchen already has a color scheme, match the cans to that so the caddy blends right in.
No-drill option: If you do not want to drill through the cans, you can use a heavy-duty construction adhesive or strong epoxy to attach them to the base, though I find screws hold up better over time.
Safer edges: If a can rim feels sharp even after sanding, skip that can and choose another one. Since this project is meant for everyday use around family and guests, safety comes first.
Make it a napkin station: One can can hold rolled napkins instead of utensils, especially if you are serving chili, soup, or a casual fall supper where everyone grabs what they need.
Holiday update: Swap the leaves for evergreen sprigs, red berries, or simple burlap ribbon and you can carry this same caddy right into winter gatherings.