
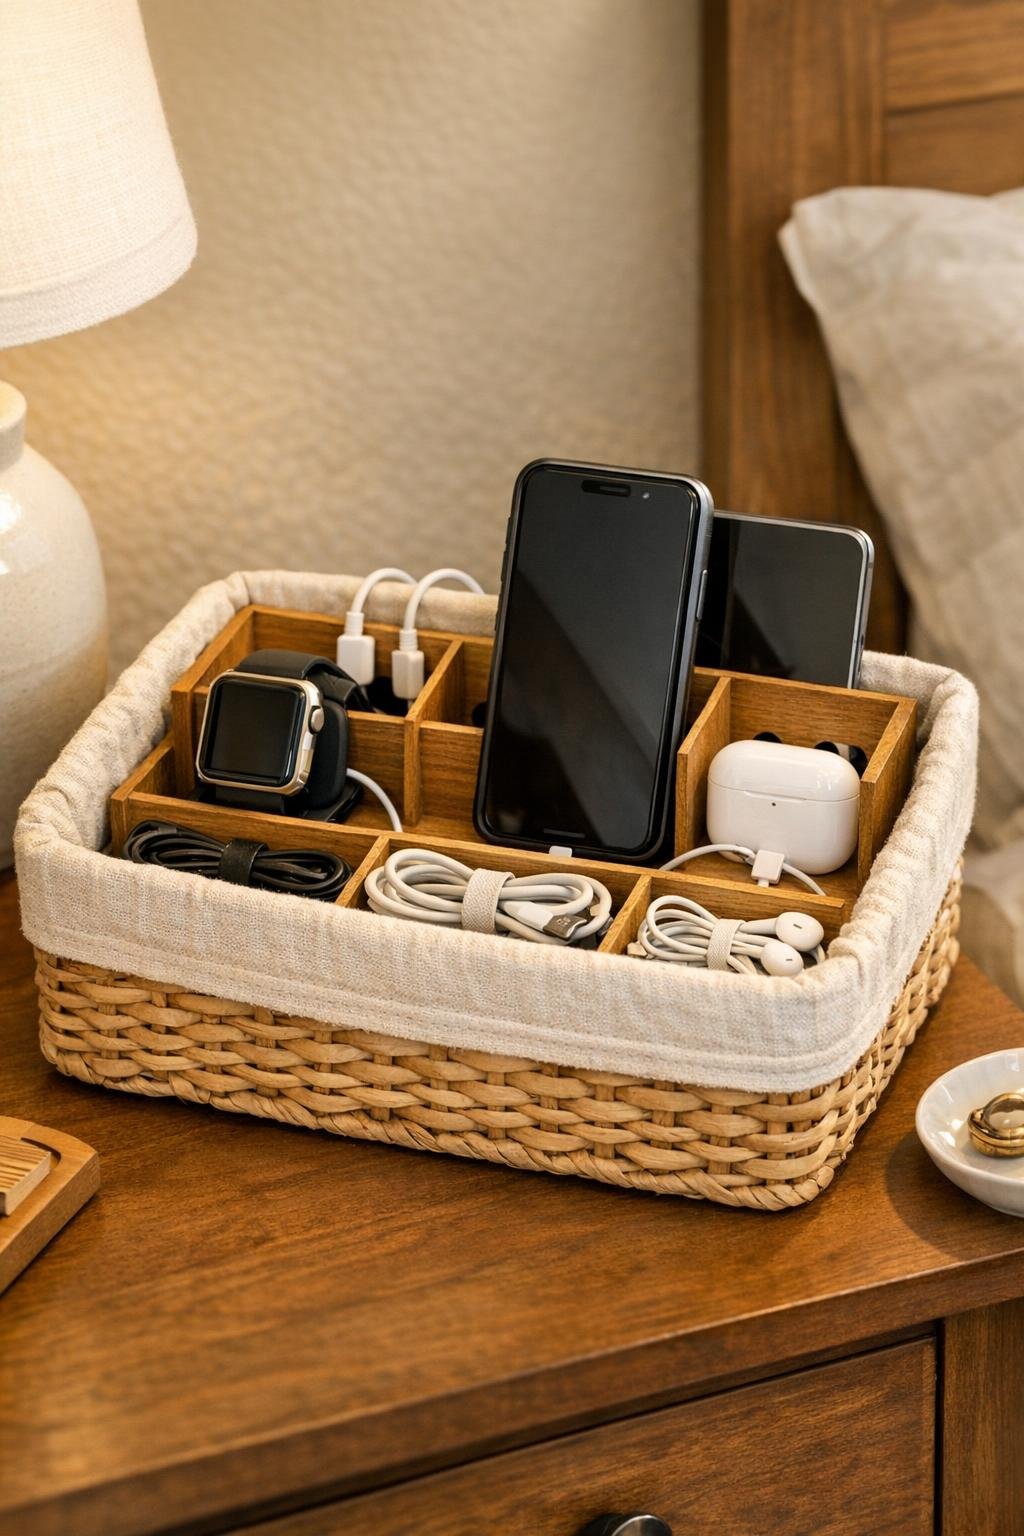
I love a bedroom project that solves a real everyday annoyance, and this one absolutely does. This DIY charging station uses a small wooden letter sorter tucked inside a fabric-lined basket, with simple holes cut in the back for charging cords. The result is a tidy little bedside organizer that keeps phones, tablets, and cords contained instead of spreading across the nightstand like they always seem to in my house.
What I like most about this project is that it feels polished without being fussy. If you’re busy like I am, this is the kind of weekend DIY that gives you an immediate payoff: less clutter, easier overnight charging, and a bedroom that looks calmer. It’s especially great for anyone who wants a prettier alternative to a plastic charging dock and has a small basket or desktop organizer ready to repurpose.
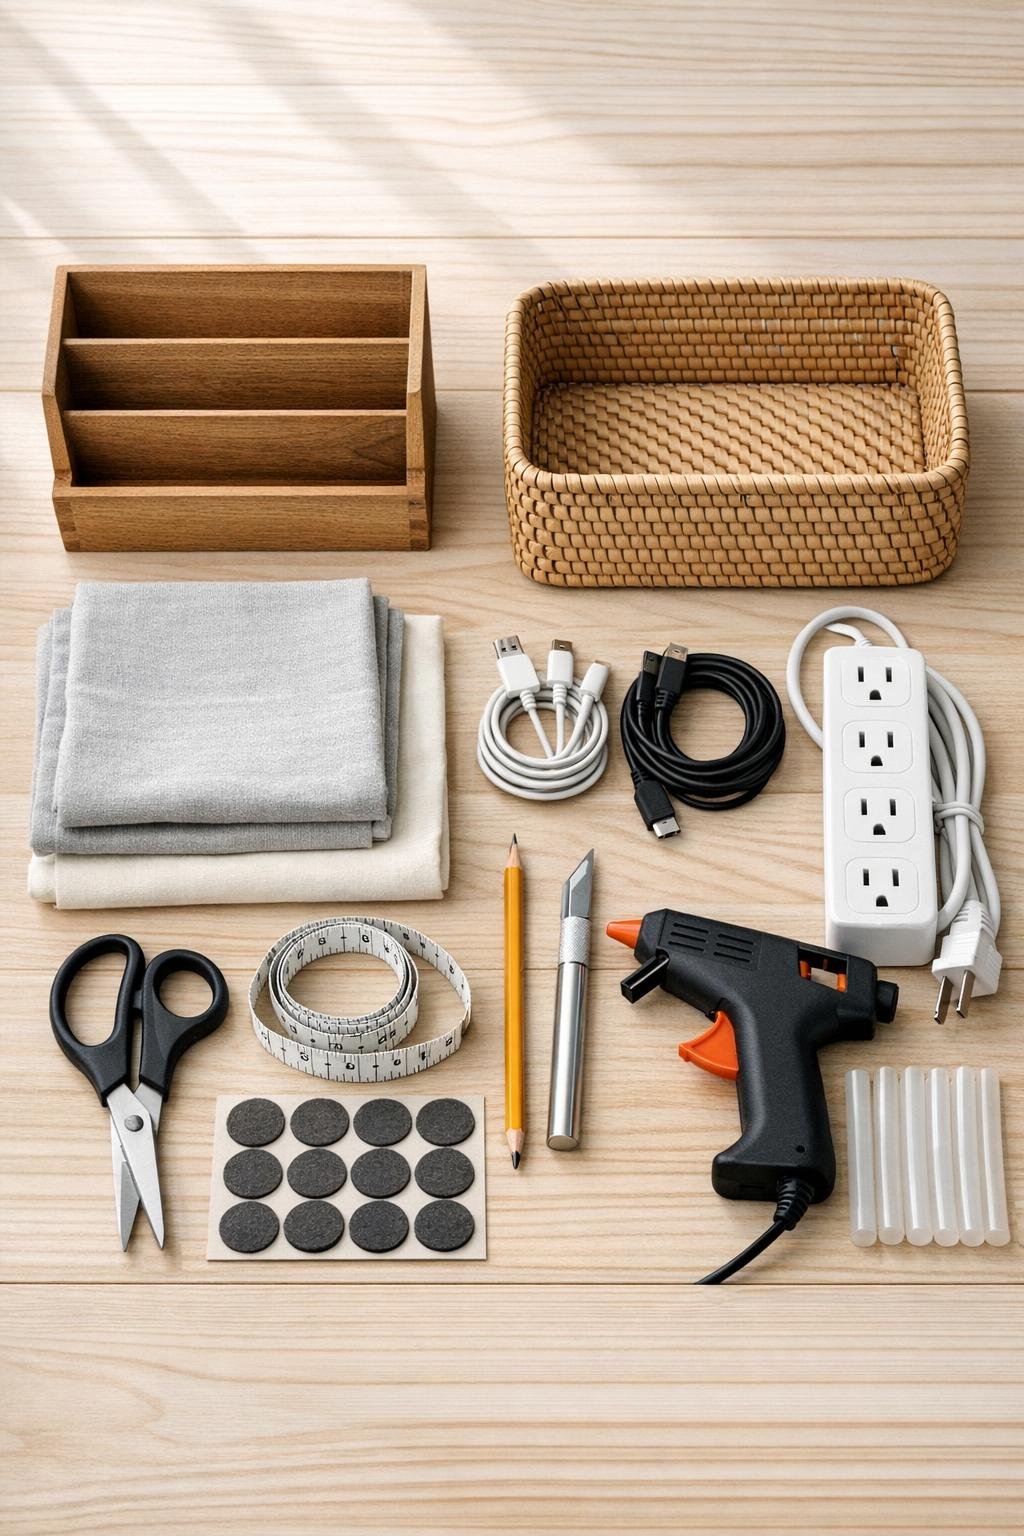
Materials
1 small wooden letter sorter, approximately 10 to 12 inches wide x 6 to 8 inches deep x 5 to 7 inches tall
Instructions
1. Set the wooden letter sorter inside the basket and check the fit before you do anything else. You want it to sit snugly with enough room behind it for the power strip and cords.
2. Measure the inside bottom and sides of the basket, then cut your fabric so it can line the basket with a little extra to fold over the top edge. Iron the fabric first if it’s wrinkled, because it gives the finished project a much cleaner look.
3. Place the fabric inside the basket and smooth it into the corners, folding the top edge neatly over the rim. Add a small bead of hot glue under a few spots along the top edge to hold the liner in place without making it permanent everywhere.
4. Put the power strip at the back inside the basket and decide exactly where the cords need to exit. Mark the back of the basket with a pencil for one larger opening for the plug and one or more smaller openings for charging cables if needed.
5. Slide a piece of cardboard or a cutting mat inside the basket behind the area you marked, then carefully cut the holes with a craft knife. Make the openings just large enough for the cords to pass through so the basket still looks neat.
6. Feed the power strip cord through the larger back hole and set the strip flat along the back bottom of the basket. Plug in your charging cables and pull the cable ends up so they’ll be easy to reach once the sorter is in place.
7. Lower the wooden letter sorter into the front of the basket, keeping the plugged-in cords behind and between the sorter sections as needed. Adjust it until the front looks centered and the dividers create tidy slots for devices.
8. Thread one charging cable into each compartment or over each divider where you plan to charge a phone, tablet, or e-reader. If a cord slips too far back, loop a little extra length behind the sorter so the end stays accessible.
9. Add adhesive felt pads under the basket if it will sit on a wood nightstand or dresser. This keeps the station from scratching the surface and makes it slide less when you grab a device one-handed.
10. Test the setup by placing your devices into the compartments and plugging them in. Trim, reposition, or re-route any cable that feels crowded so everything can charge without tipping or tangling.
Variations & Tips
Use a washable liner: If this will hold devices you touch every day, I recommend using cotton fabric that can be removed and washed. In my house, anything near a bedside coffee mug eventually benefits from being easy to clean.
Pick the right basket depth: Choose a basket that hides the power strip but does not bury the sorter. If the basket is too deep, your devices can disappear into it and the whole point is easy access.
Match your bedroom style: You can paint or stain the wooden letter sorter before assembling the station. Soft white, warm oak, or matte black all work beautifully depending on whether your room is light and airy or a little moodier.
Add cord control: If your charging cables keep slipping, use small adhesive cord clips or tie a loose knot in each cord behind the sorter. That tiny trick makes a big difference, especially when you’re plugging in your phone at the end of a long day and don’t want to fish around for the cable end.
Create a family version: Make a wider version for a shared bedroom or a guest room by using a larger basket and a sorter with more compartments. It’s such a simple setup, but it makes everyone look much more organized than we probably feel on a busy weeknight.
Keep airflow in mind: Avoid packing the basket too tightly around large charging bricks or bulky adapters. A little breathing room helps everything stay neat and practical for daily use.