
I’ve always had a soft spot for projects that make a room feel gathered-in and seasonal without looking fussy, and this autumn vase display does exactly that. By slipping simple copper mesh pencil cups into a rustic wooden toolbox, you get a lovely centerpiece or mantel piece that holds stems neatly, adds warm metallic color, and brings a bit of old-fashioned charm into the living room.
It’s the kind of project I can imagine setting out in an old farmhouse parlor, right alongside crocks, baskets, and worn wood furniture. If you like easy home décor that looks thoughtful rather than store-bought, this one is for you. It comes together quickly, doesn’t require much skill, and gives you a flexible arrangement you can dress up with fall branches, dried grasses, or even fresh flowers from the yard.
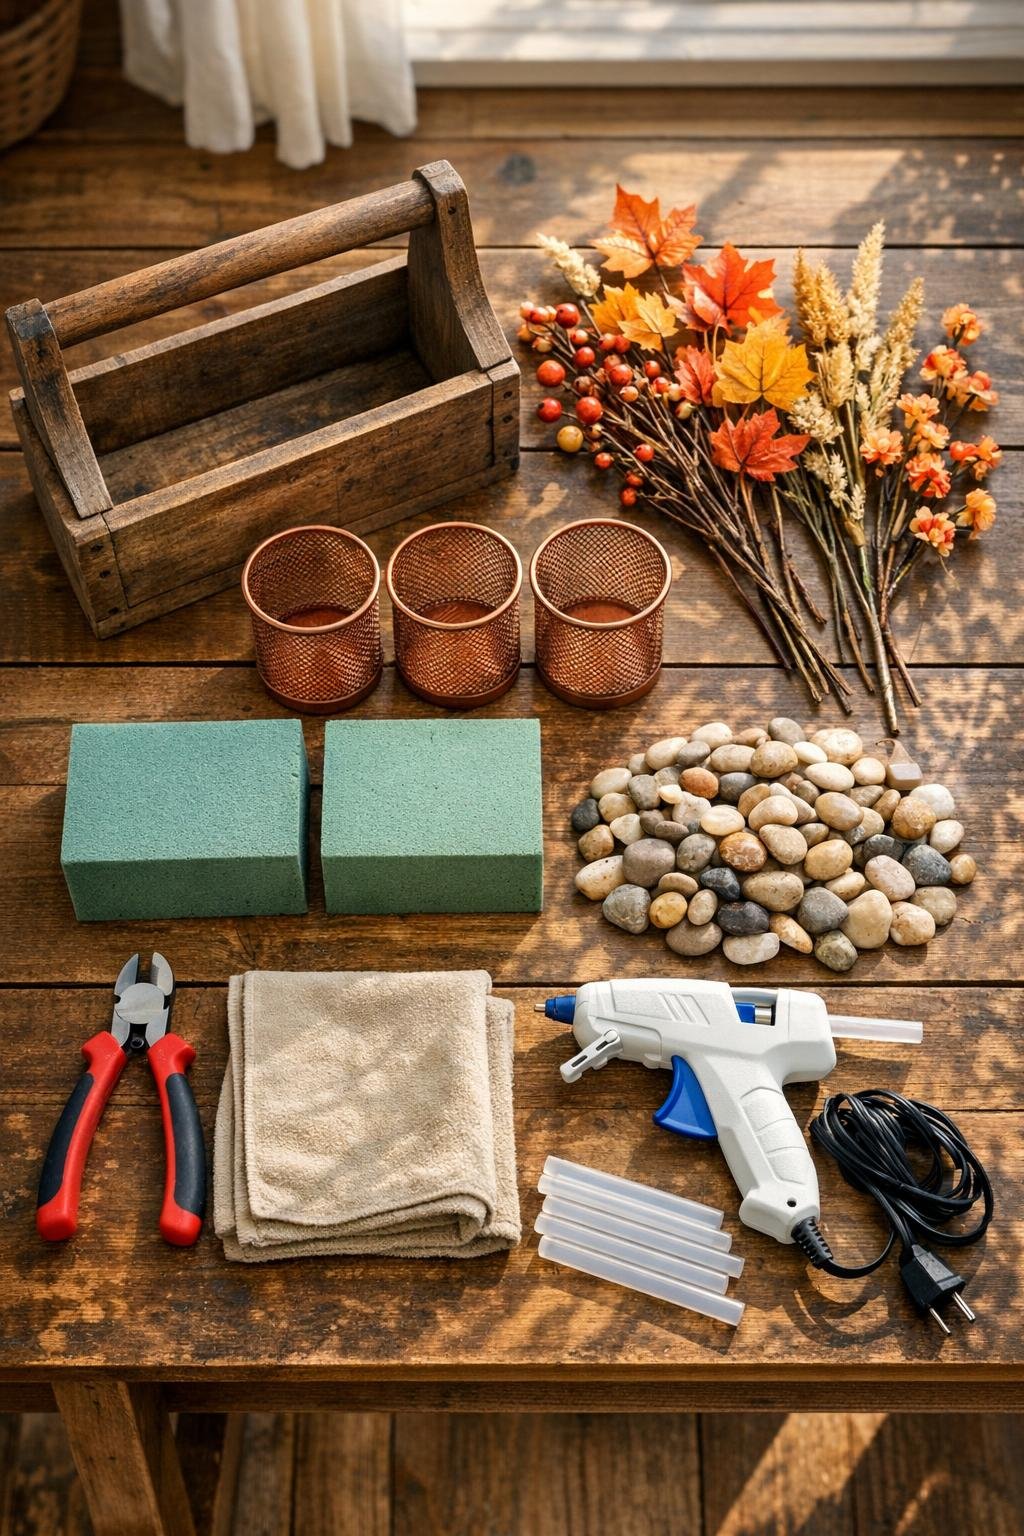
Materials
1 rustic wooden toolbox, approximately 16 inches long x 6 inches wide x 8 inches high including handle
Instructions
1. Wipe the wooden toolbox clean with a soft dry cloth, and if the wood looks thirsty, rub in a light coat of furniture wax or wood oil and let it sit for 10 minutes.
2. Set the three copper mesh pencil cups inside the toolbox and space them evenly so they sit snugly without wobbling. Adjust their position until the arrangement looks balanced from the front.
3. Place a piece of floral foam inside each pencil cup, trimming with scissors if needed so each piece sits just below the rim. Add a small layer of river stones around or beneath the foam to weigh the cups down.
4. If the cups feel loose, add a small dab of hot glue at the base of each cup where it meets the toolbox, then hold each one in place for a few seconds. Let the glue cool fully before arranging stems.
5. Start with the tallest autumn stems and press 2 or 3 into the foam in the center cup, keeping them about 18 to 22 inches tall from the base for height. Angle the outer stems slightly outward so the display opens up instead of looking stiff.
6. Fill the left and right cups with more fall stems, using slightly shorter pieces on the sides to create a gentle arched shape across the whole toolbox. Mix colors and textures as you go so each cup feels connected to the others.
7. Tuck in eucalyptus or leafy filler stems to soften the arrangement and hide any visible foam. Add berry stems near the front and edges for color contrast and a fuller look.
8. Nestle mini faux pumpkins or pinecones at the base of the cups inside the toolbox if you want extra autumn detail. Keep these accents low so they don’t compete with the stems.
9. Step back a few feet and turn the toolbox slightly if needed, then adjust any stems that look too straight, too crowded, or too low. Fluff the arrangement until it looks full from the front and both sides.
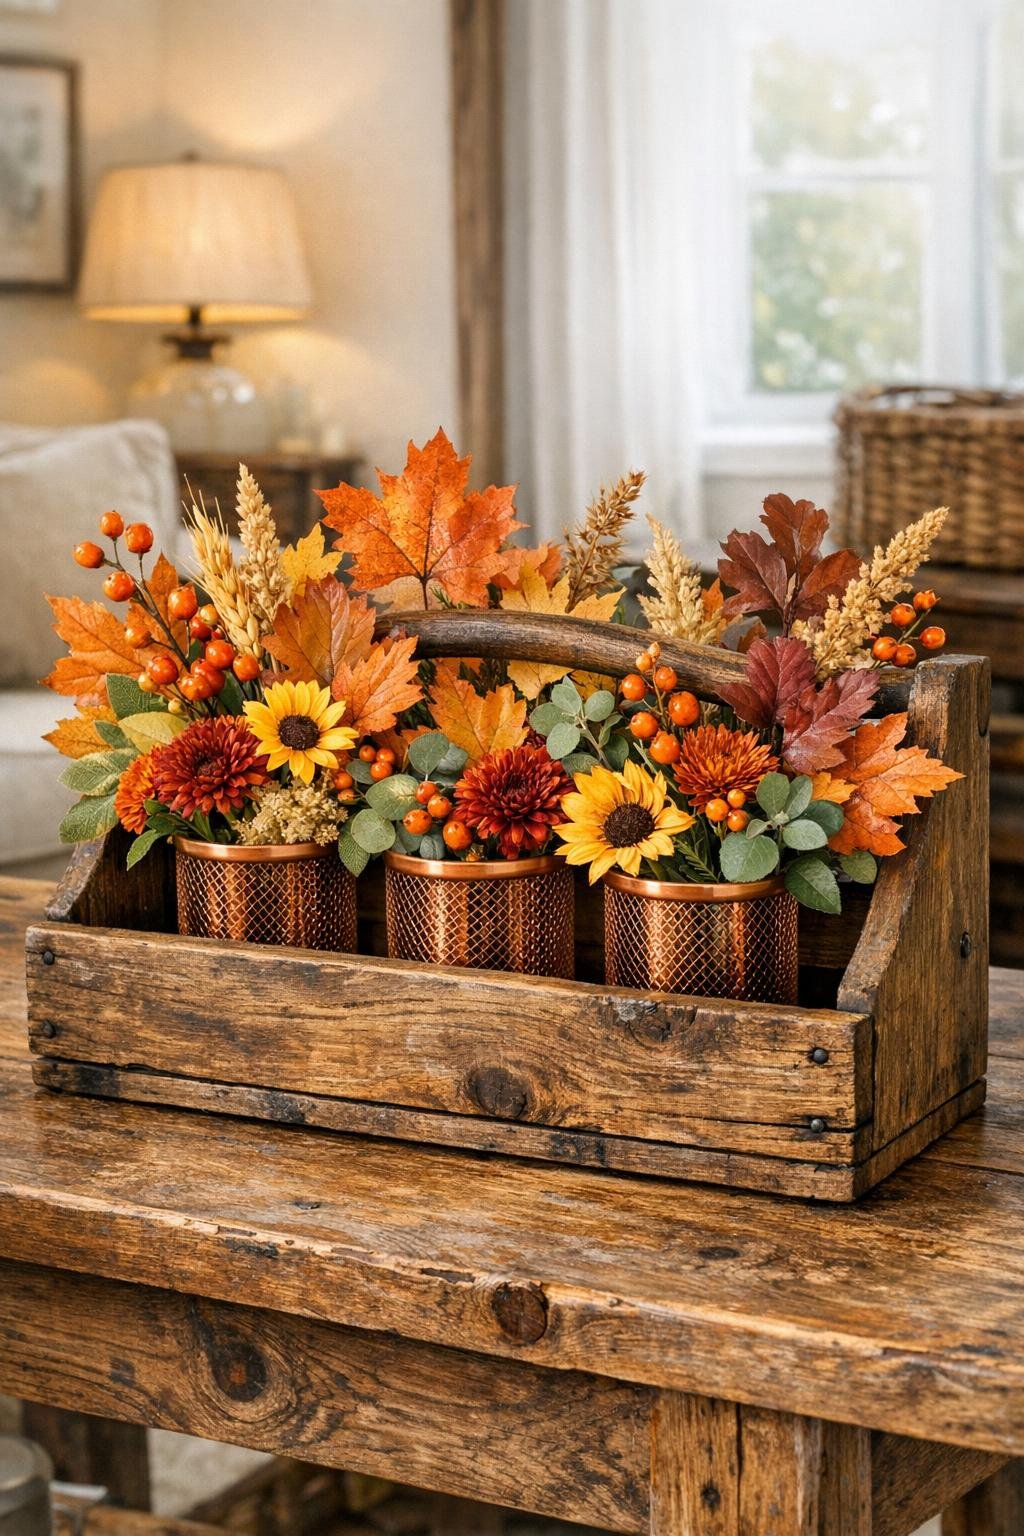
Variations & Tips
Use real cuttings: If you’d like to use fresh branches or flowers from the yard, set a small glass or jar of water inside each pencil cup first, then arrange your stems inside the glass rather than directly into dry foam.
Change the season: I love this in autumn, but the same toolbox and cup setup works beautifully with spring tulips, summer wildflowers, or winter evergreens and red berries.
Try a softer color palette: For a quieter living room look, use tan grasses, cream blossoms, muted green eucalyptus, and white mini pumpkins instead of the deeper orange and rust shades.
Make it sturdier: If your toolbox is especially wide, add a folded piece of burlap, moss, or extra filler around the cups so they stay firmly in place and the inside looks finished.
Keep the shape natural: The prettiest arrangements, in my experience, have a little looseness to them. Don’t force every stem upright; let some lean and wander a bit, the way branches do out by the roadside in October.
Style it in the room: This display looks especially nice on a coffee table, sideboard, mantel, or entry bench. I like to pair it with a candle, a stack of old books, or a small crock for that warm, lived-in Midwestern feel.