
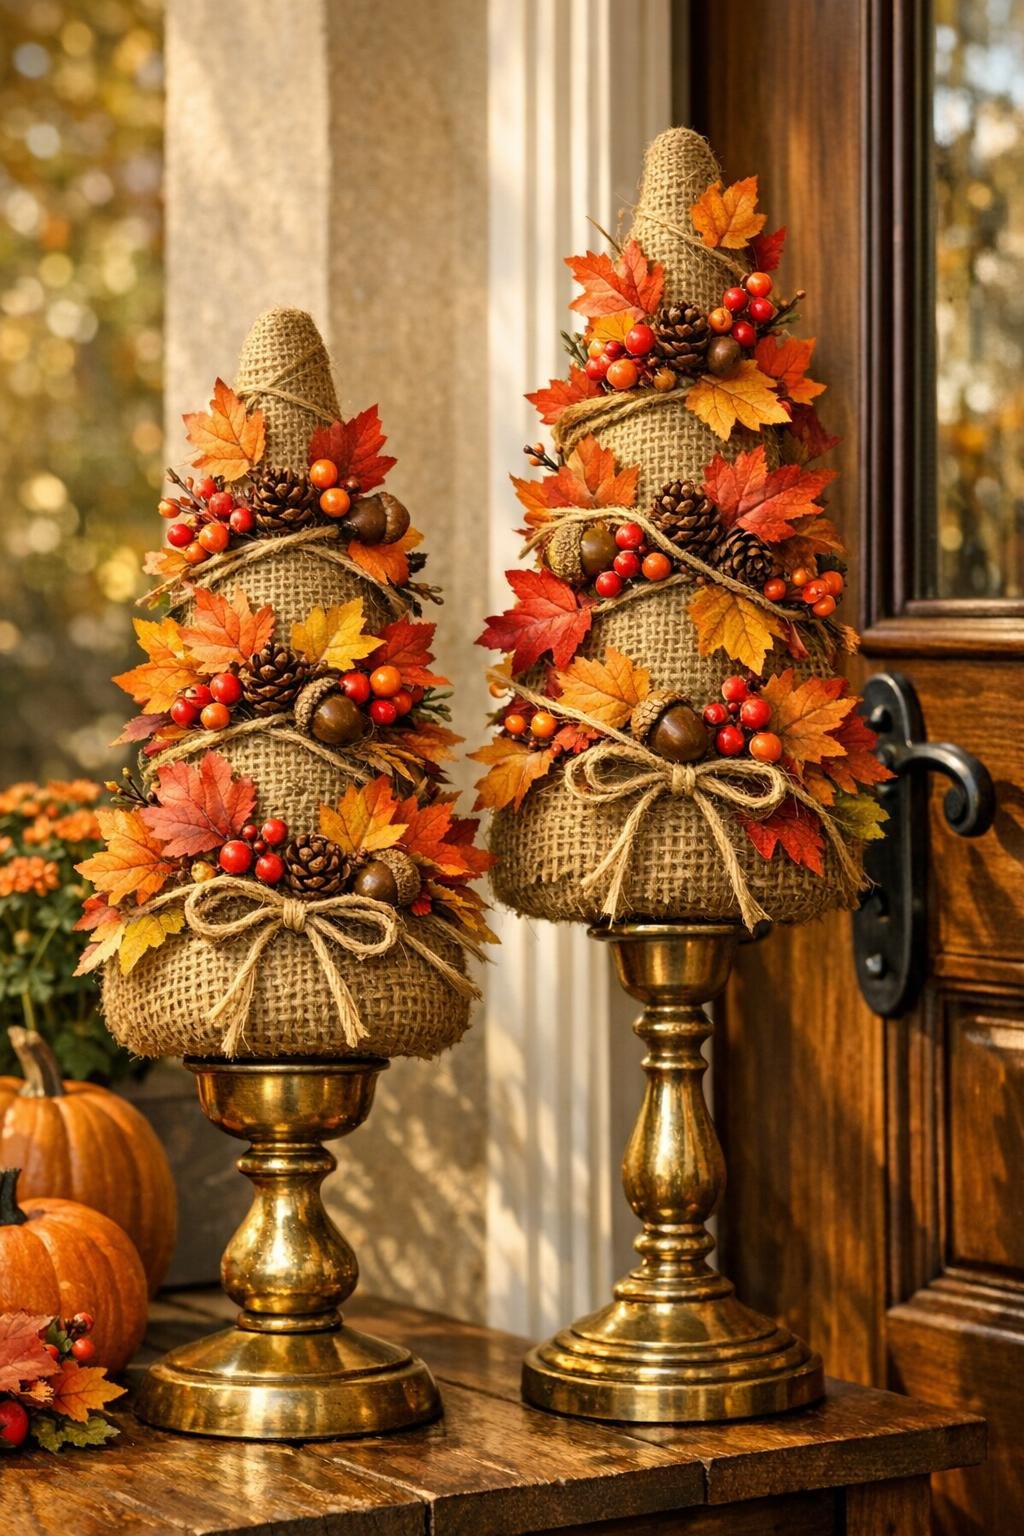
I have a soft spot for decorations that look like they came from an old country shop but were made with a little ingenuity at the kitchen table. This pair of harvest tabletop topiaries does exactly that: simple foam cones get wrapped in burlap ribbon, then perched on thrifted brass candlesticks for a look that feels warm, collected, and just right for autumn. They are especially lovely by a front door, on an entry table, or tucked onto a mantel where that golden brass can catch the light.
What I like most about this project is that it is budget-friendly and forgiving. If you can wrap a package and use a glue gun carefully, you can make these. The finished pair has that cozy farmstead charm I grew up with in the Midwest, where a bit of burlap, a touch of metal, and some seasonal color could make a whole corner of the house feel ready for company.
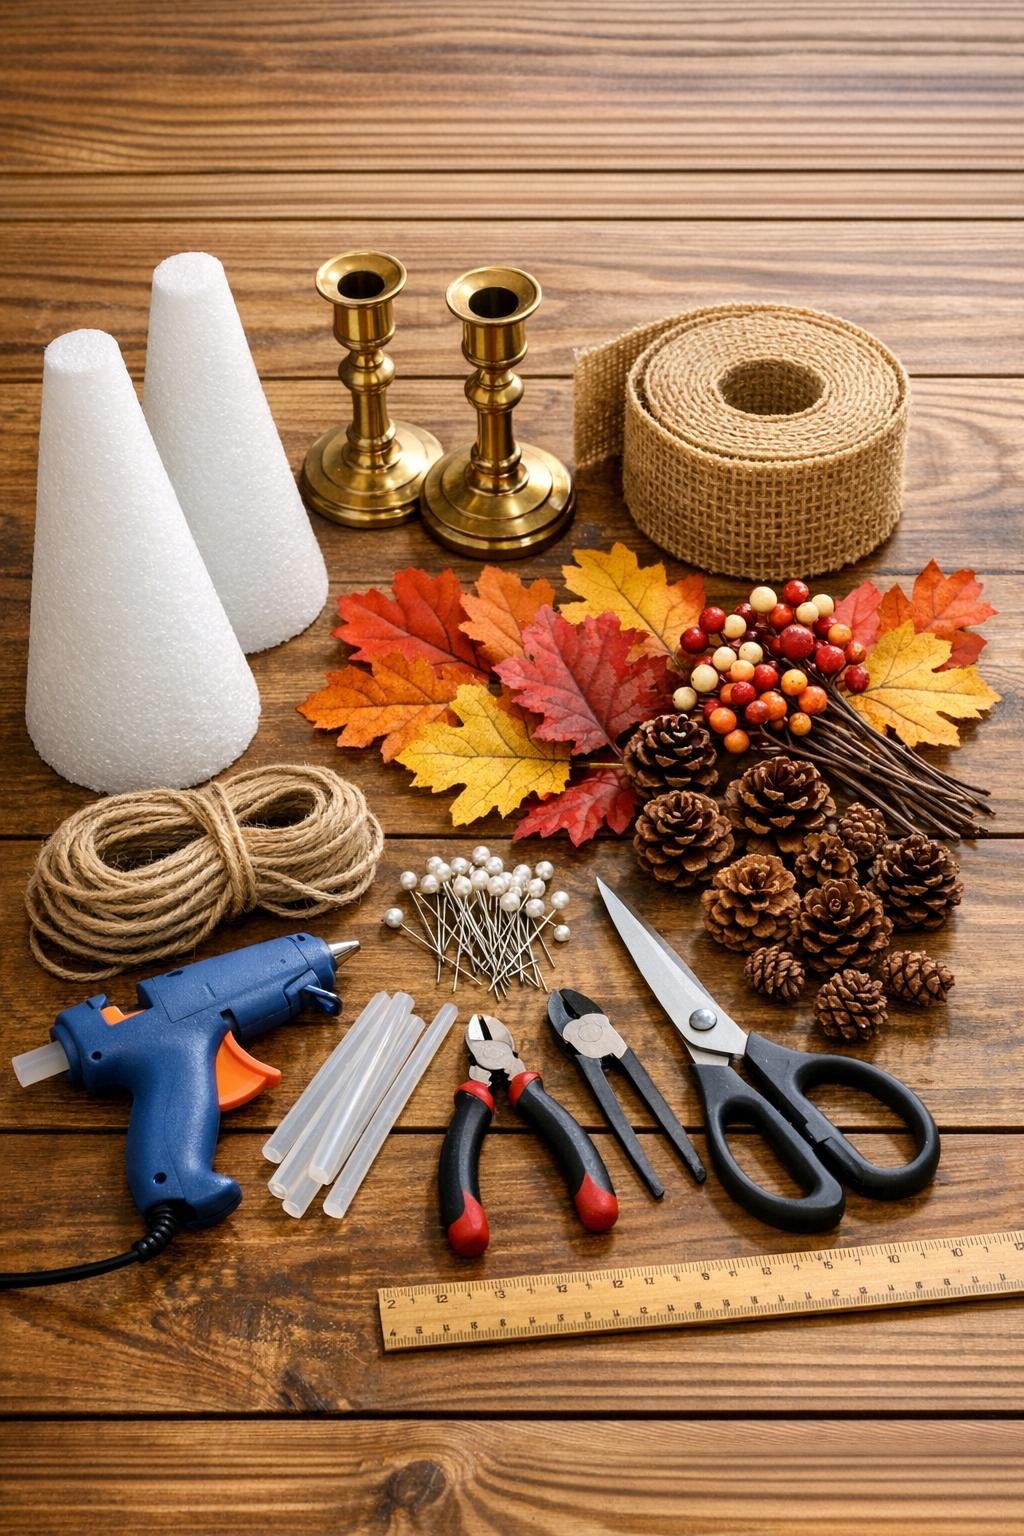
Materials
Instructions
1. Set out your two foam cones and brass candlesticks, and decide which cone looks best with each base. I like to pair the taller cone with the shorter candlestick so the finished set has a balanced height.
2. If needed, clean the candlesticks and dry them well, then check that they sit flat without wobbling. A steady base makes the whole project look more polished and keeps it safer near a doorway.
3. Measure the slanted side of one cone from tip to bottom edge so you know how much ribbon overlap you want as you wrap. A 1/4-inch overlap between rows usually covers the foam nicely without wasting ribbon.
4. Add a dot of hot glue near the tip of the cone and press the end of the burlap ribbon in place. Let it cool for a few seconds so the starting point does not slip.
5. Wrap the ribbon around the cone in a spiral, adding a small line of hot glue every few inches as you go. Keep the ribbon snug but not so tight that it buckles or twists.
6. Continue wrapping all the way to the bottom, trimming the ribbon neatly when you reach the base. Glue the final end down securely and press it flat with the side of the scissors, not your fingers.
7. Repeat the wrapping process with the second cone, matching the direction and overlap so the pair looks intentional together. Small handmade differences are fine and add charm.
8. If you want a tidier transition at the base, glue a felt circle to the top of each candlestick before attaching the cone. This helps cover uneven metal tops and gives the glue a good gripping surface.
9. Run a generous ring of hot glue around the top of one candlestick and center the wrapped cone on it. Hold it upright for 20 to 30 seconds until the glue firms up.
10. Attach the second cone to the other candlestick the same way, then step back and check that both topiaries stand straight. If one leans slightly, add a little extra glue at the seam to brace it.
11. Cut faux leaves, berry sprigs, and mini pinecones into small accent pieces sized for the lower third of the cones. I find smaller groupings look more graceful than one big crowded cluster.
12. Arrange the accents on the table before gluing so you can create two designs that feel related but not identical. A few leaves, a berry cluster, and one or two pinecones per cone is plenty.
13. Glue or pin the embellishments onto the lower front side of each cone, layering leaves first and berries or pinecones on top. Keep the decorations mostly to one side for that gathered, topiary-style look.
14. Wrap jute twine around the seam where each cone meets its candlestick, then tie or glue it in place to soften the transition. If you like, tuck in a bit of dried moss for extra harvest texture.
15. Set the finished pair by the front door or on a console table and adjust the embellishments so they face forward. That final turn makes all the difference, much like setting a pie on the windowsill just so before folks arrive.
Variations & Tips
Use what you can thrift: If your candlesticks do not match exactly, do not worry. In my house, a little mismatch often looks more collected and natural than a perfectly identical pair.
Try a softer color palette: For a quieter autumn look, use cream berries, muted eucalyptus, and tan ribbon instead of bright orange leaves. It gives the same harvest feeling with a gentler finish.
Add weight if needed: If your candlesticks are lightweight, glue a few washers or small stones underneath the base with strong adhesive. This helps the topiaries stay steady near a busy doorway.
Swap the burlap: You can use wide fall fabric strips, chunky jute trim, or even velvet ribbon for a dressier version. Burlap gives that classic farmhouse feeling, but it is not the only pretty option.
Keep embellishments low: I recommend decorating the lower third of the cone instead of scattering pieces all over. That placement feels more elegant and lets the cone shape stay nice and clear.
Make them last longer: Store the pair in a sturdy box with tissue around the decorated sections when the season ends. I have learned over the years that careful packing is what turns a one-year decoration into a tradition.