
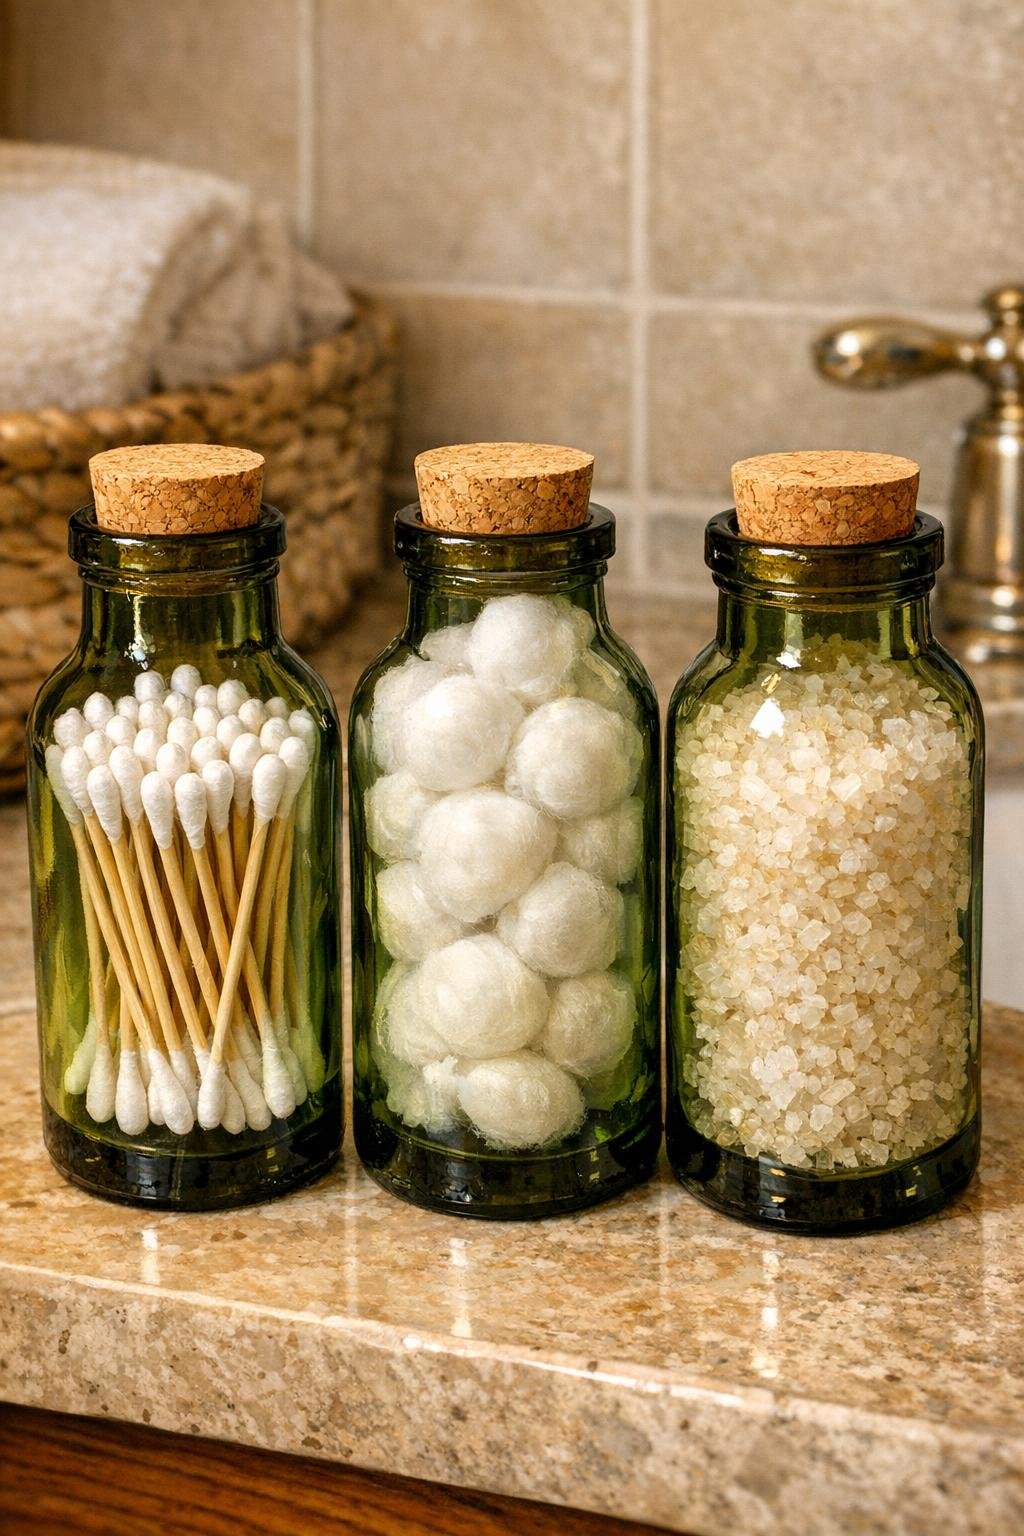
Old glass olive oil bottles are one of those everyday things I hate to toss when they still have so much charm. For this project, I turn three matching bottles into a simple vintage-style bathroom storage set by cutting off the tops and finishing them with cork accents. The result is a pretty little trio you can use for cotton balls, bath salts, swabs, hair ties, or any of those small bathroom bits that always seem to wander across the counter.
I especially love projects like this because they make a room feel thoughtful without spending much money. If you enjoy easy upcycling with a polished look, this is a very manageable weekend project, and it works beautifully for family bathrooms, guest baths, or even a teen’s vanity area.
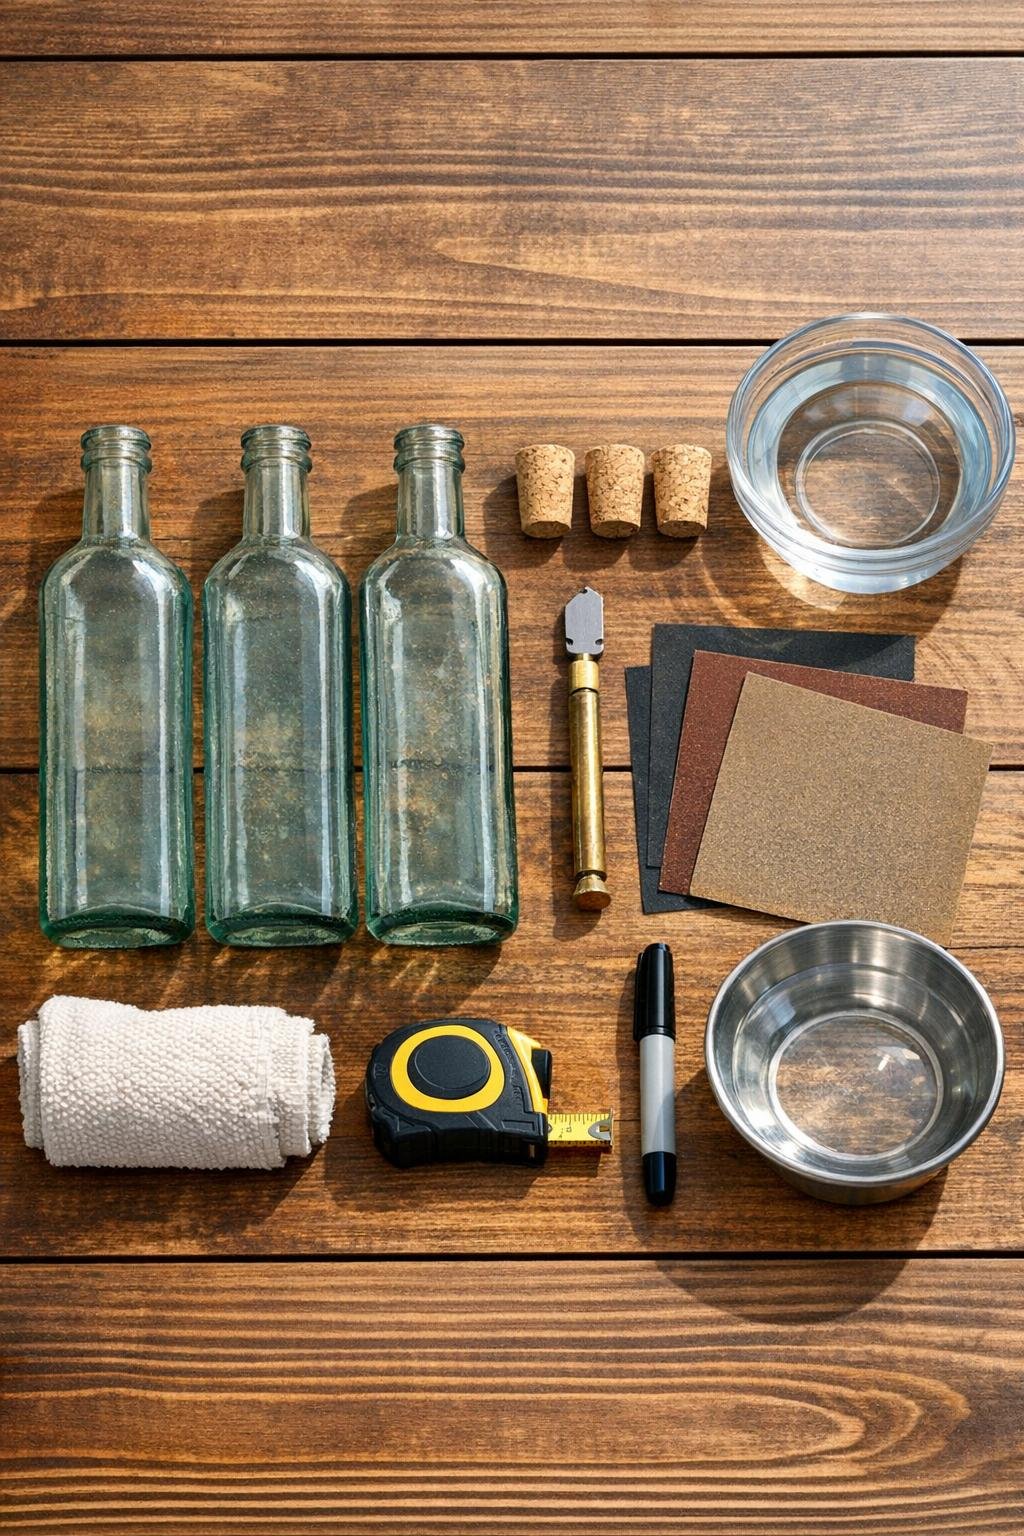
Materials
Instructions
1. Wash the three olive oil bottles thoroughly, remove all labels and glue, and let them dry completely. Choose bottles that are similar in shape so the finished set looks intentional together.
2. Put on cut-resistant gloves and safety goggles, then measure and mark a cut line on each bottle about 3 to 4 inches down from the top. Keep the lines even so all three containers sit as a matching set.
3. Score each bottle once around the marked line using the bottle cutter, applying steady pressure without going back over the same groove. A clean single score line usually gives the best break.
4. Separate the tops using the method recommended for your cutter, usually by alternating gentle heat along the score line with a tea light and then cooling in cold water. Work slowly and rotate the bottle evenly until the top releases.
5. Sand the cut rim of each bottle with 120 grit wet/dry sandpaper under a little water until the sharp edges are knocked down. Keep the bottle level and rotate it often so the rim stays even.
6. Smooth the edges further with 220 grit and then 400 grit wet/dry sandpaper until the rim feels safe and silky to the touch. Rinse and dry each bottle between grits so you can check your progress.
7. Test-fit a cork in each bottle opening and trim or swap sizes if needed so each cork sits snugly without forcing it. The cork should feel secure but still be easy to remove for daily use.
8. Wash out any glass dust, dry the bottles well, and arrange them as a set. Fill them with bathroom essentials like cotton rounds, bath salts, and cotton swabs for a practical three-item storage trio.
Variations & Tips
For a softer vintage look: Use amber or pale green bottles if you can find them. Mixed bottle tones can be lovely too, but I like keeping the shapes similar so the set still feels calm and coordinated.
For picky family members: Assign each bottle a purpose that makes mornings easier, like hair ties in one, cotton rounds in another, and bandages in the third. In my house, the more obvious the storage is, the more likely everyone is to actually put things back.
If the break is uneven: Don’t panic. You can usually correct minor unevenness with patient sanding, and once the cork is in place, tiny imperfections often disappear into the handmade charm.
For safer cutting: Never rush the scoring or heating step, and always inspect the rim with your fingers very carefully after sanding. If anything still feels rough, keep sanding until it’s completely smooth.
Easy style upgrade: Wrap a little jute twine or thin velvet ribbon around the neck area just below the rim for a more decorative finish. I’d keep embellishments minimal in a bathroom so the bottles still feel clean and useful, not fussy.
Best cleaning tip: Hand-wash these bottles with warm soapy water and let them air dry upside down. That keeps the glass clear and the corks in good shape for everyday use.