
If you garden through hot Midwestern summers like I do, you know the heartbreak of walking outside after work and finding a droopy tomato or a thirsty hydrangea that looked perfectly fine the night before. This little underground moisture reservoir is one of those wonderfully scrappy garden tricks I love because it uses simple shed leftovers, takes just a few minutes to make, and can help keep water down where plant roots actually need it.
For this version, I’m using sliced yellow tennis balls along with two other common shed items: landscape fabric and pea gravel. Once buried near your plants, the tennis balls create small holding chambers, the gravel helps water move and settle evenly, and the fabric keeps soil from packing everything too tightly. It’s an easy project for busy gardeners, beginners, or anyone trying to stretch watering a little further during dry spells.
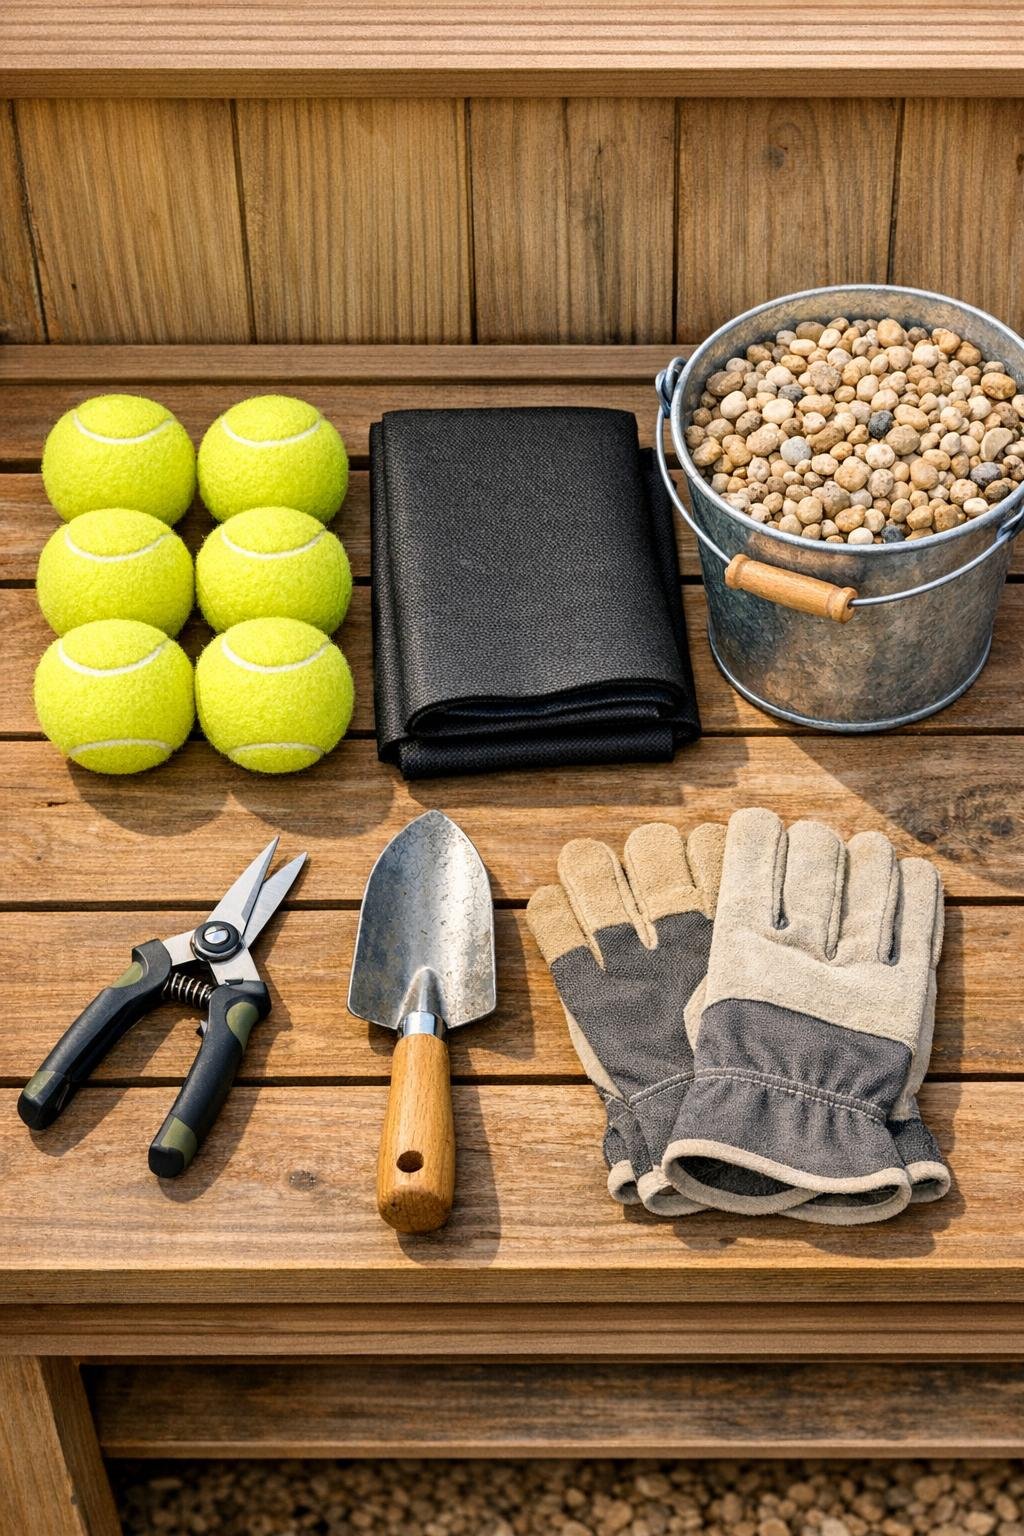
Materials
6 yellow tennis balls
Instructions
1. Rinse the tennis balls if they’re dusty, then let them dry so they’re easier to cut and handle.
2. Use sturdy scissors or a utility knife to slice a 1 1/2-inch opening in each tennis ball, making a flap or wide slit rather than cutting the ball in half.
3. Cut the landscape fabric into a 12-inch square and set it beside your planting area; this will act as a breathable barrier around the reservoir.
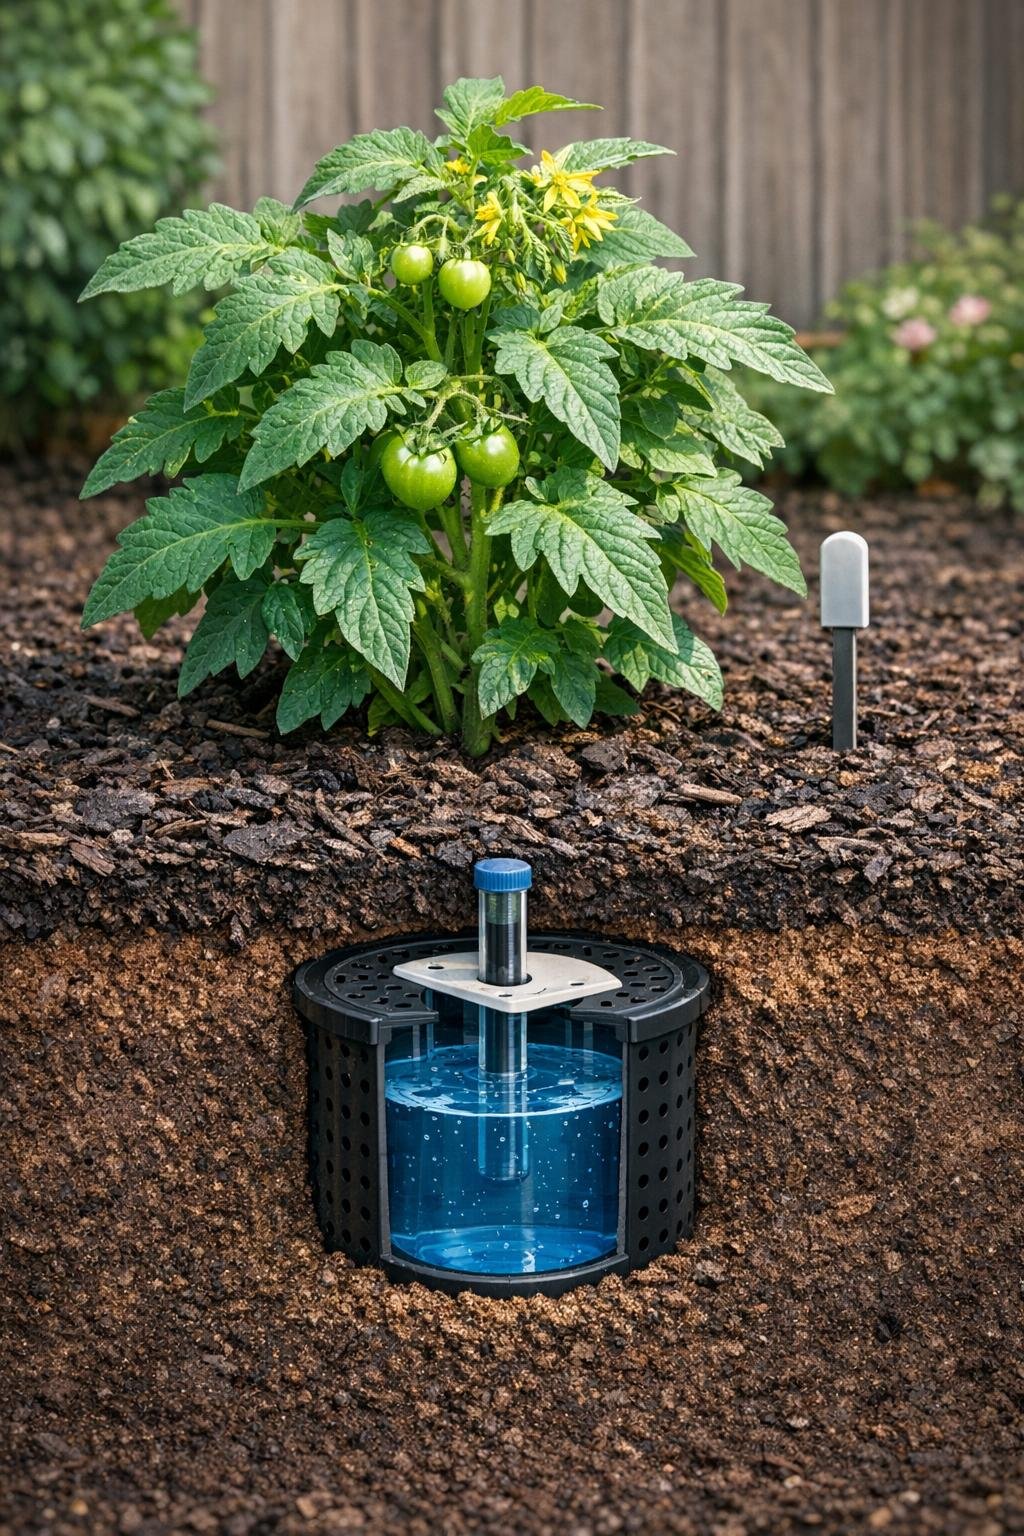
4. Dig a hole 8 to 10 inches deep and about 8 inches wide, placing it 4 to 6 inches away from the base of the plant so you don’t disturb the main stem or crown.
5. Line the bottom and lower sides of the hole with the landscape fabric, leaving enough extra at the top to fold slightly over the fill later.
6. Pour in 1 cup of pea gravel to create a drainage and distribution layer at the bottom of the hole.
7. Place the sliced tennis balls on top of the gravel with the openings facing sideways or slightly upward, arranging them in a snug cluster.
8. Add the remaining 1 cup of pea gravel around and partially over the tennis balls, leaving some air space so water can collect and move between the gaps.
9. Fold any extra landscape fabric loosely over the top of the gravel, then backfill with soil until the area is level with the surrounding bed.
10. Water the area slowly with 1 gallon of water to settle the soil and charge the underground reservoir for the first use.
11. Mark the spot with a small stone or plant marker so you remember where to deep-water during dry weather.
Variations & Tips
Best plants for this trick: I like this most for tomatoes, peppers, hydrangeas, young shrubs, and big patio containers where water tends to disappear fast.
Container version: For a large planter, use 2 to 3 sliced tennis balls, a small square of landscape fabric, and about 1 cup of pea gravel buried near the outer edge instead of right against the plant.
Watering routine: In peak summer heat, I still check the soil with my finger before watering; this trick helps buffer dry spells, but it doesn’t replace regular monitoring.
Placement tip: Keep the reservoir a few inches away from stems and crowns so roots grow outward toward the moisture instead of sitting in constantly wet soil.
If you don’t have landscape fabric: A small piece of burlap can work in a pinch, though it breaks down faster and may need replacing sooner.
Use clean gravel: Dusty gravel can compact more than you want, so I usually give it a quick rinse first if it came straight from an open bag in the shed.
Make multiples at once: If I’m already out in the garden on a Saturday morning, I’ll prep several tennis balls and fabric squares together so I can install a few reservoirs in one pass.