
Root cellaring is one of those old kitchen-garden habits I keep coming back to, especially when the weather turns and I have onions, potatoes, beets, and carrots crowding my counters. This simple storage bin uses a galvanized trash can plus two easy-to-find shed staples to create a cool, dark, ventilated spot that helps root vegetables last longer without much fuss.
I like this project because it is practical, inexpensive, and forgiving. If you grow a modest backyard harvest or buy root vegetables in bulk at the end of the season, this bin gives you a tidy way to store them in a garage, shed, or unheated mudroom while protecting them from light and improving airflow.
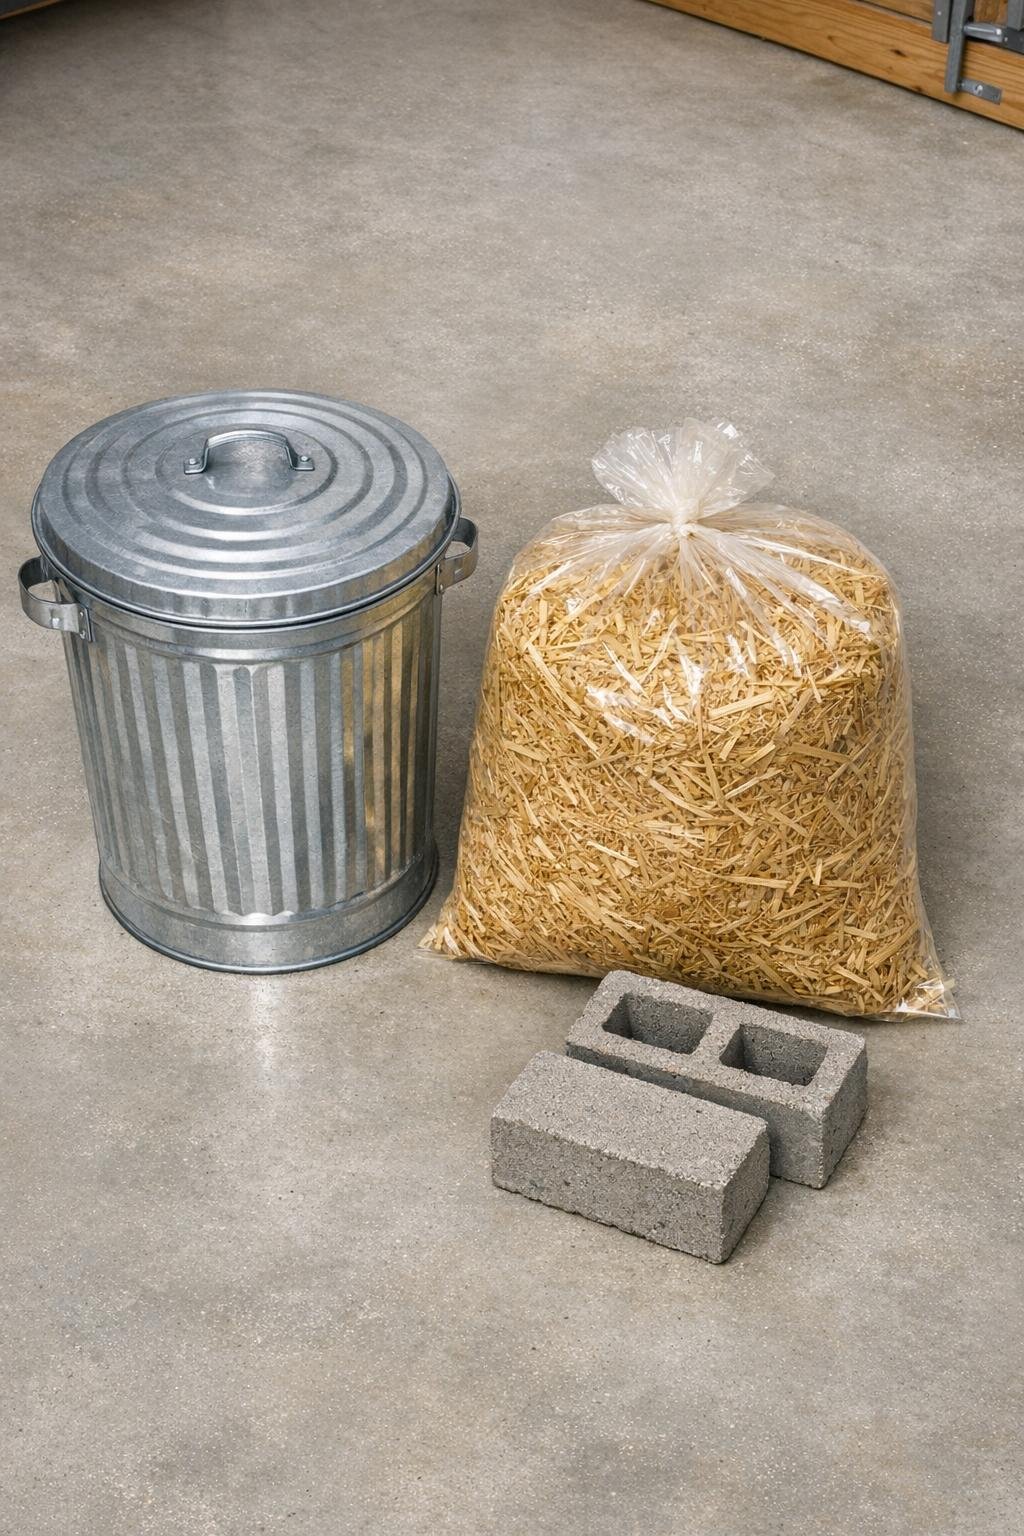
Materials
Instructions
1. Wash and dry the galvanized trash can and lid so you are starting with a clean surface free of dust, oil, or loose residue.
2. Apply short pieces of painter’s tape around the lower half of the can and mark a ring of ventilation holes 3 inches up from the bottom, spacing them about 4 inches apart.
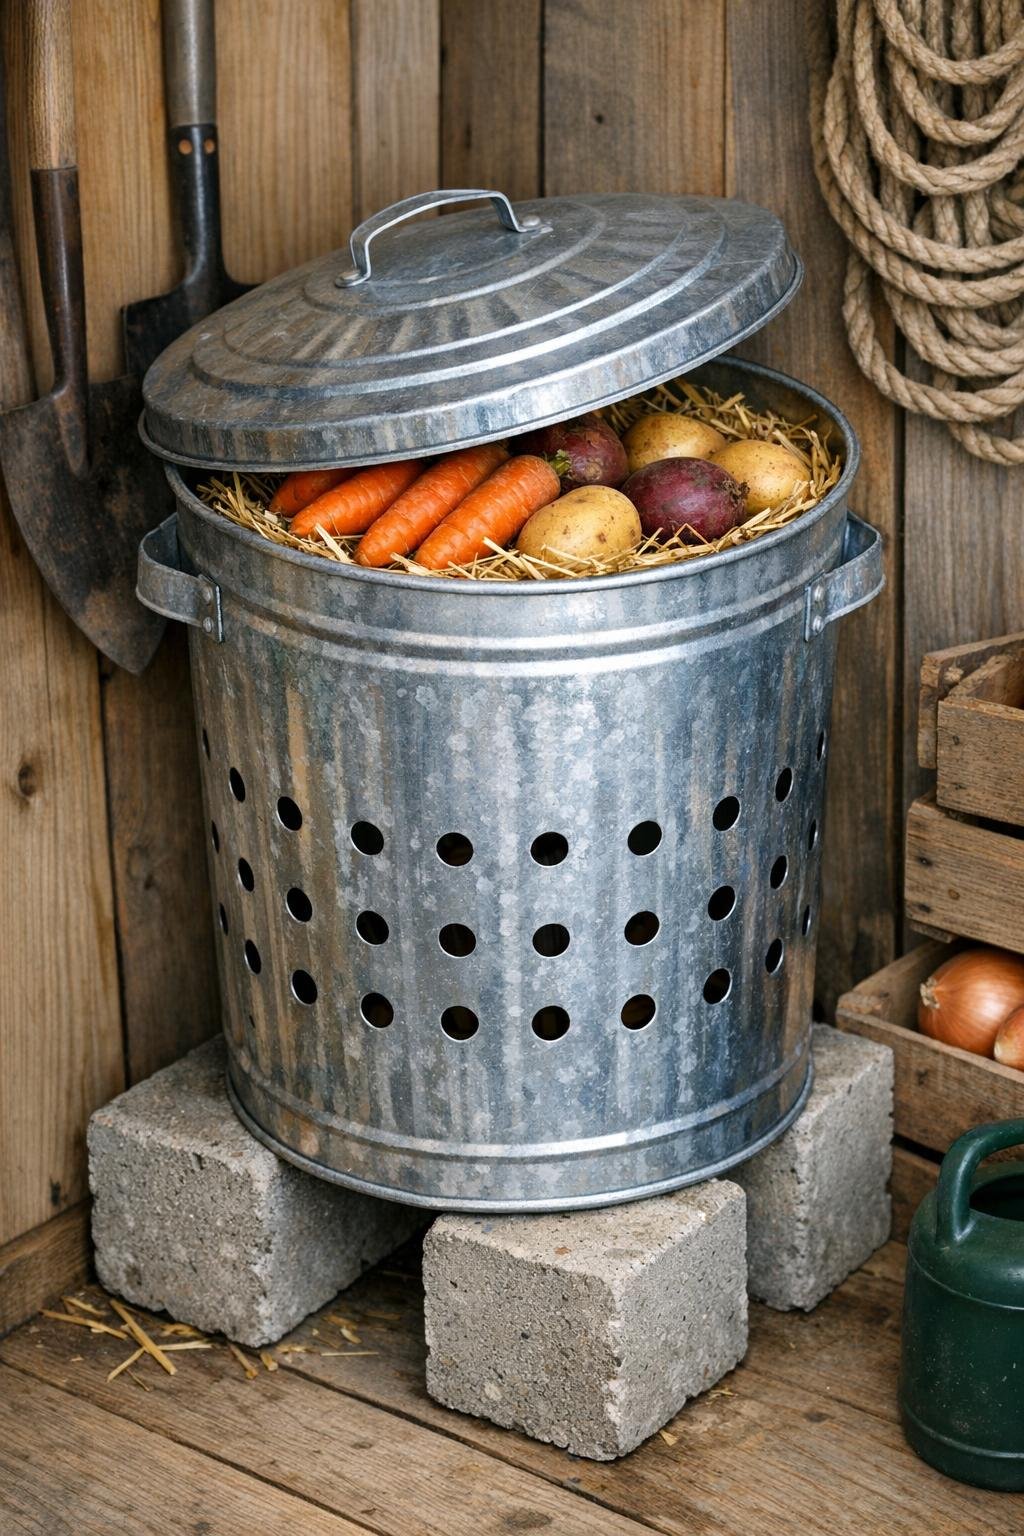
3. Drill 1/2-inch holes at each marked point around the can, then drill 6 more holes in the base for drainage and airflow.
4. Lightly sand the drilled edges inside and out so there are no sharp burrs that could catch straw or scratch your hands.
5. Brush a thin coat of rust-resistant metal primer over the raw drilled edges if you want extra protection, and let it dry fully.
6. Choose a cool, dark location in your shed, garage, or basement corner where temperatures stay roughly between 32 and 50 degrees Fahrenheit and the can will stay out of direct sun.
7. Set the two concrete bricks on the floor about 6 inches apart and place the trash can on top of them to lift it off the ground for better air circulation.
8. Add a 3-inch layer of loose straw to the bottom of the can to cushion the vegetables and absorb a little moisture.
9. Place your clean, fully cured root vegetables into the can in loose layers, tucking additional straw between layers if you are storing beets, carrots, or turnips for longer keeping.
10. Keep onions and potatoes in separate sections or in separate batches of straw rather than packed tightly together, since they store best with good airflow and can affect one another over time.
11. Cover the top with a final light layer of straw and set the lid on loosely so the bin stays dark while still allowing a little air exchange.
12. Check the bin once a week and remove any vegetable that shows softness, sprouting, or spoilage so the rest of the crop stays in good condition.
Variations & Tips
For carrots and beets: These keep especially well when nestled in slightly dry straw with a little space between layers. I avoid packing them too tightly, because trapped moisture shortens their storage life.
For potatoes: Store only flawless, cured potatoes in this bin and keep them away from light. In my experience, even a little warmth or light encourages sprouting faster than you would think.
For onions and garlic: Use a lighter amount of straw or none at all around them, since they prefer drier conditions and stronger airflow than most other roots.
If your shed runs warm: Move the bin to the coolest north-side wall or an unheated basement area. Temperature matters as much as the container, and this old setup works best when the space stays consistently cool.
To reduce condensation: Leave the lid slightly offset instead of sealing it tightly. That small habit makes a real difference, much like venting a stockpot just enough to control moisture while still holding in what you need.
For easier sorting: Store one type of vegetable per can if you have a large harvest. Different vegetables release moisture at different rates, and separating them makes it much easier to monitor quality week by week.