
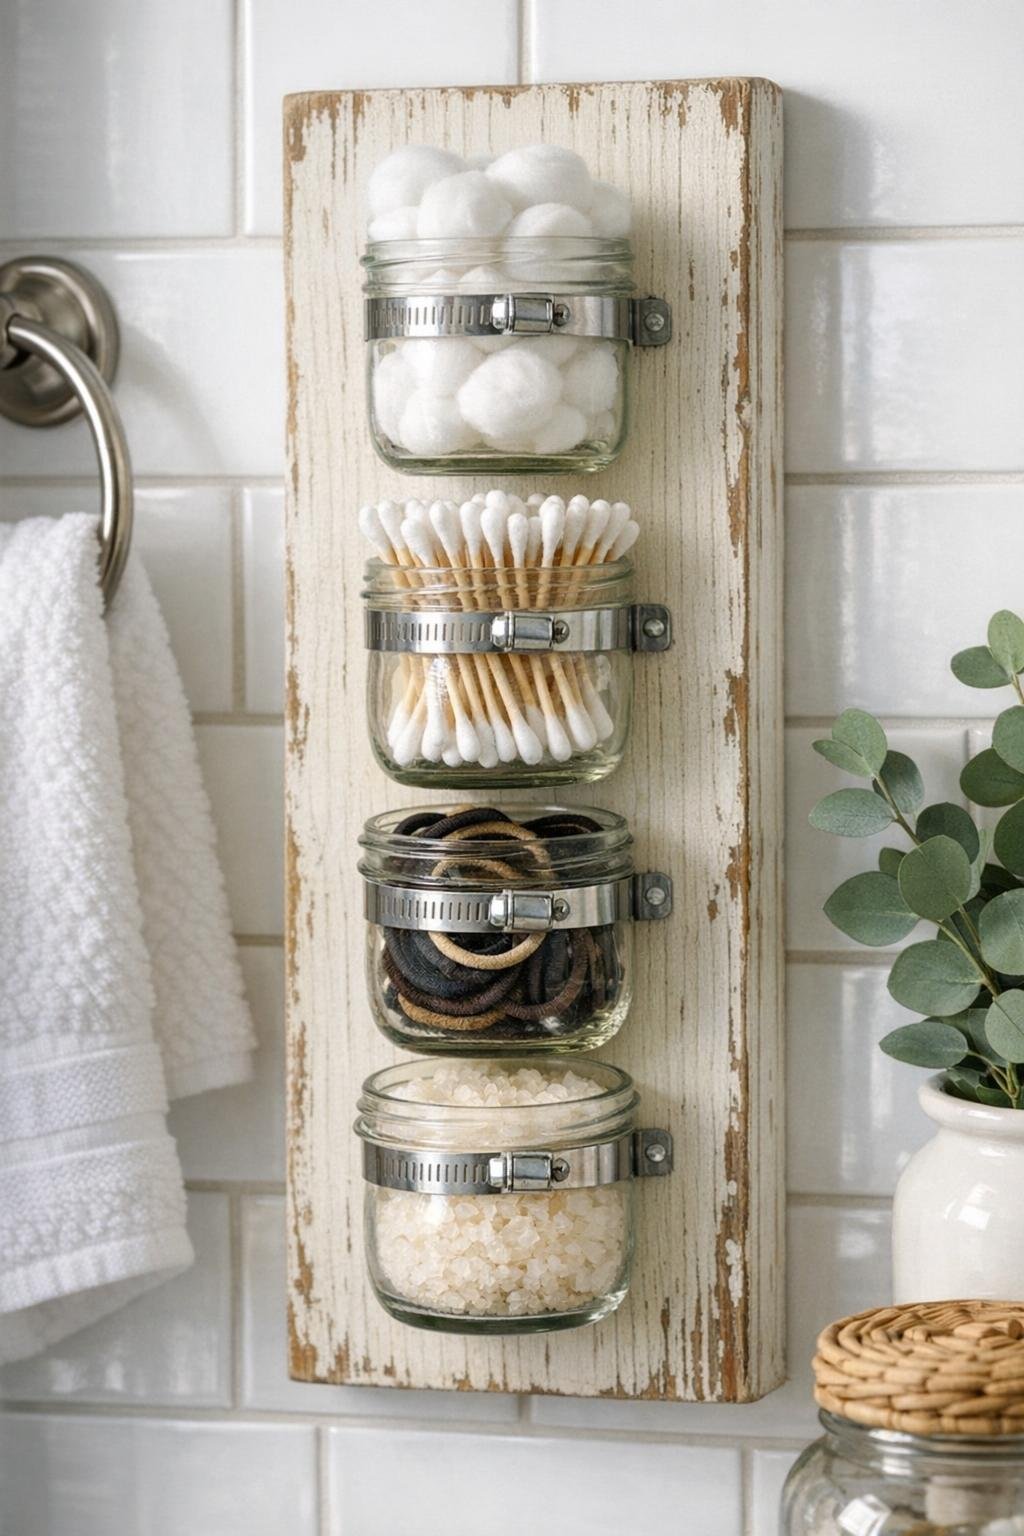
Those little glass baby food jars are easy to toss in the recycling bin, but they make the sweetest vintage-style bathroom organizer when you give them a second life. This project turns four old jars into a wall-mounted storage piece that’s perfect for cotton balls, bath salts, hair ties, swabs, or all those tiny bathroom bits that seem to wander across the counter.
I love a project like this because it’s inexpensive, practical, and charming all at once. If you enjoy farmhouse or vintage décor and want a simple weekend DIY that doesn’t require a full workshop, this one is very doable. I’d even call it beginner-friendly, especially if you take your time with the measuring and let the paint dry properly between steps.
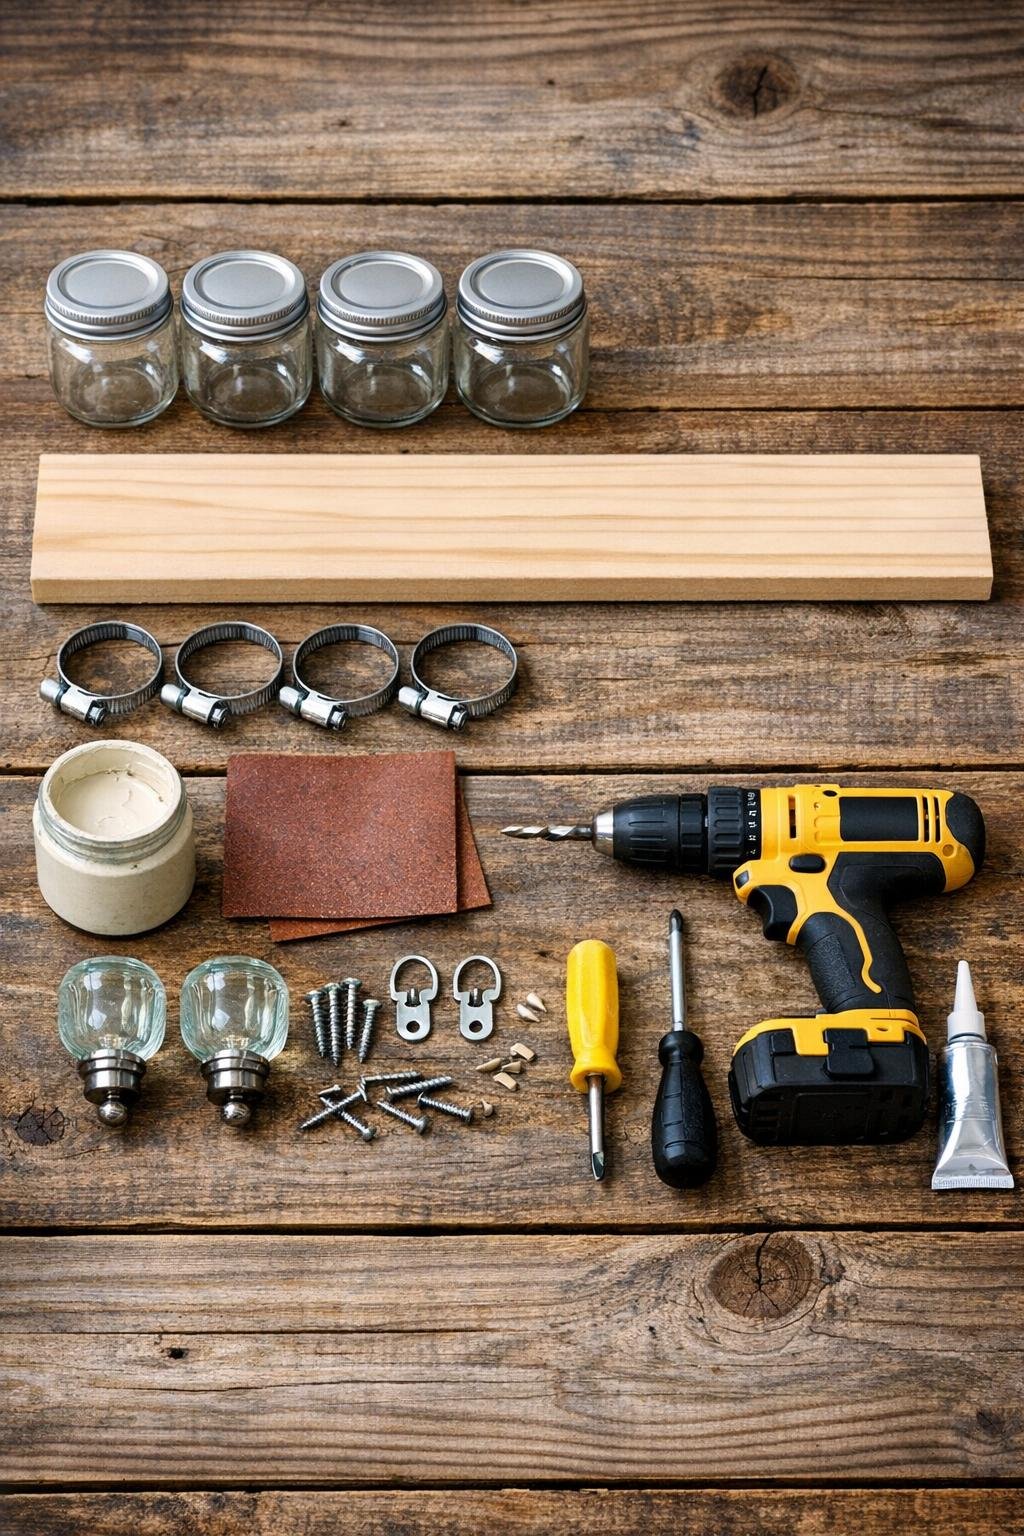
Materials
4 clean glass baby food jars with lids, 4 oz size
Instructions
1. Wash the baby food jars and lids thoroughly with warm soapy water, then remove any labels and sticky residue so the glass is completely clean.
2. Lightly sand the wood board with 120-grit sandpaper, then smooth it with 220-grit so the paint goes on evenly and the edges feel soft to the touch.
3. Paint the front, sides, and edges of the board with chalk paint, let it dry, then add a second coat if needed for full coverage.
4. Rub a small amount of dark wax or antiquing glaze into the painted board with a cloth, then wipe back the excess to give it a gently aged vintage finish.
5. Measure and mark four evenly spaced jar positions down the center of the board, leaving about 3 inches between each jar so you can easily reach inside them.
6. Place one pipe clamp over each marked spot, mark the screw holes, and drill shallow pilot holes to prevent the wood from splitting.
7. Screw the pipe clamps onto the board snugly, but do not overtighten them yet since you’ll need a little flexibility when fitting the jars.
8. If you want extra vintage charm, glue one decorative knob or drawer pull between the jars or at the top of the board, then let the adhesive cure fully.
9. Slide each baby food jar into a clamp and tighten the clamp just enough to hold the jar securely without putting too much pressure on the glass.
10. Brush or wipe on a clear matte sealer over the painted wood only, avoiding the glass and metal, and let it dry completely.
11. Attach the D-rings or sawtooth hanger to the back of the board, then check that the hardware is centered so the organizer will hang straight.
12. Fill the jars with bathroom essentials like cotton balls, cotton swabs, hair pins, or bath salts, then hang the organizer on the wall or set it on a shelf.
Variations & Tips
For a softer farmhouse look: Use pale sage, dusty blue, or warm cream paint instead of white, then lightly distress the edges with sandpaper after the paint dries.
For families sharing one bathroom: Assign each jar a purpose so everyone knows where things go. In my house, projects stay tidier when every little item has a home.
For picky decorators: If you don’t love the aged look, skip the dark wax and leave the paint crisp and clean for a simpler style.
For safer hanging: Mount the organizer into a wall stud when possible, or use wall anchors rated for more than the finished weight of the board and filled jars.
For easy cleaning: Leave the jar lids off for open storage, or keep the lids on if you want to reduce dust on cotton swabs and bath salts.
For a budget-friendly version: Skip the decorative knobs and use leftover paint and scrap wood. The baby jars and clamps do most of the visual work anyway.
For gift giving: Fill the jars with pretty guest bathroom items like wrapped soaps, hair ties, or homemade bath soak, and this becomes such a thoughtful housewarming present.