
Old metal cheese graters are one of those thrift-store finds I used to walk right past, until I realized how charming and useful they can be with a little imagination. This 4-item DIY rustic utensil holder turns those old graters into a hardworking kitchen organizer with loads of farmhouse character, and it is a wonderful project if you love practical décor that still feels warm and homey.
I especially like this kind of project because it is budget-friendly, beginner-friendly, and perfect for anyone who wants to tidy up a countertop, a coffee station, or even an outdoor serving area. If your family is anything like mine, utensils seem to wander everywhere, so having a sturdy little spot for spatulas, wooden spoons, and tongs makes everyday cooking feel a bit more pulled together.
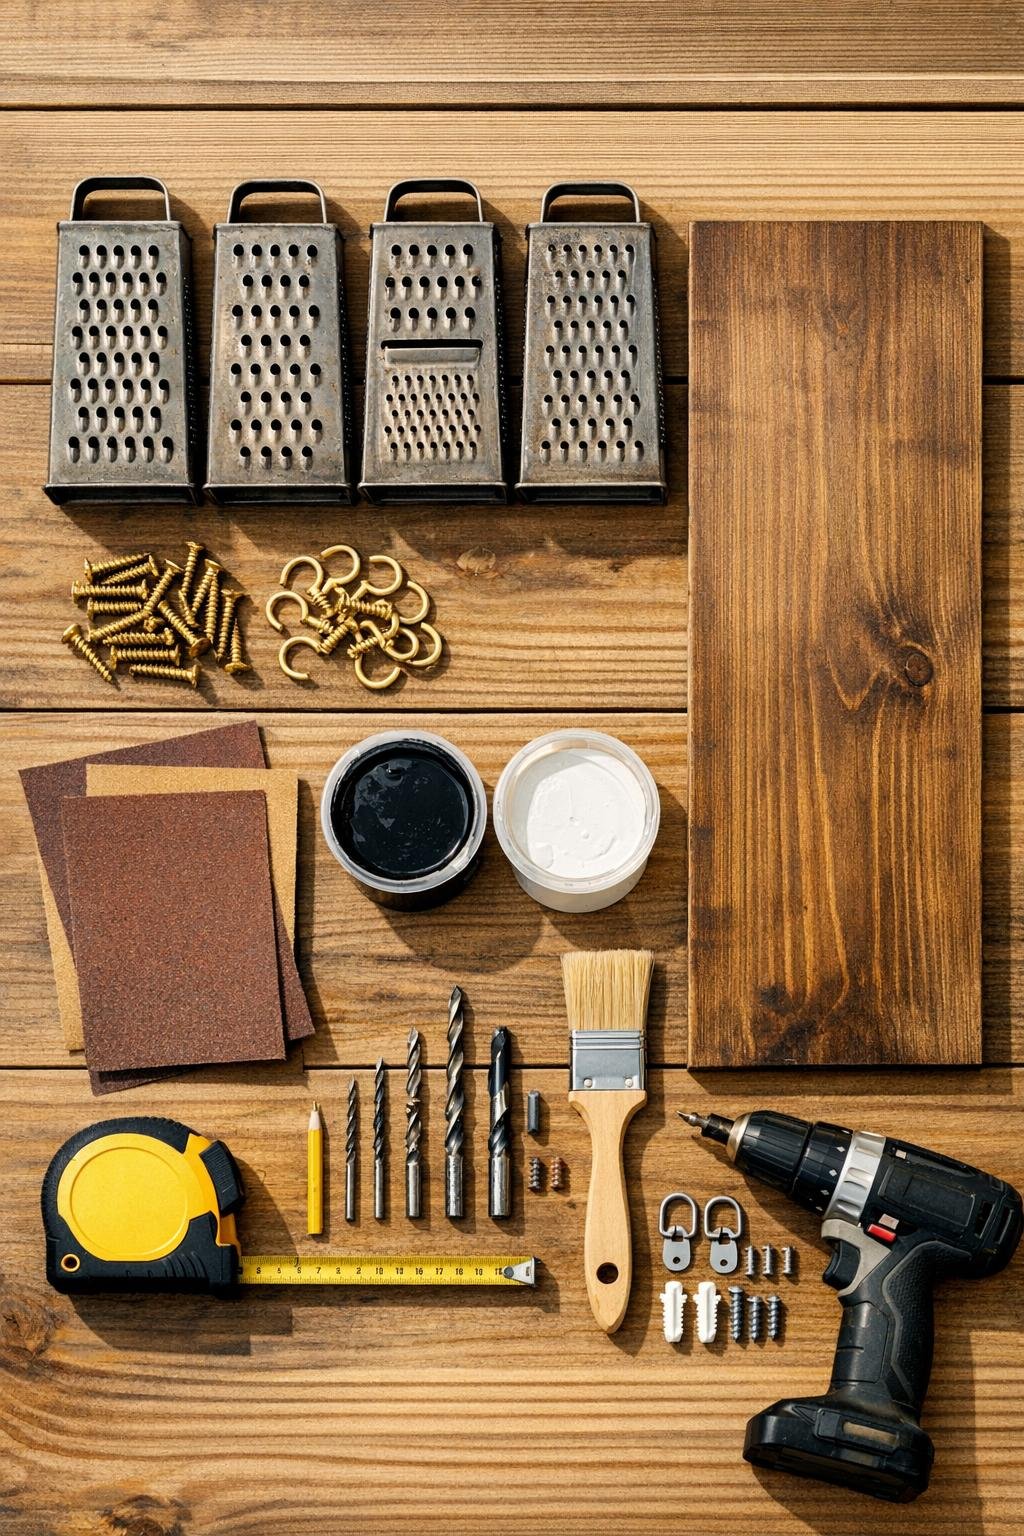
Materials
Instructions
1. Wash the cheese graters with warm soapy water, rinse them well, and let them dry completely so no grease or dust is left on the metal.
2. Lightly sand the wood board with 120-grit sandpaper, then smooth it with 220-grit sandpaper to soften the edges and prep it for stain.
3. Apply the wood stain with a rag, wipe off the excess, and let the board dry according to the stain directions before sealing it with a thin coat of matte clear sealer.
4. Dry brush a little black paint and then a touch of white paint over the graters if you want a lightly aged look, keeping the finish uneven so the old metal still shows through.
5. Measure and mark four evenly spaced positions across the board, leaving about 2 inches at each end and about 4 1/2 to 5 inches between each grater center.
6. Place each grater upside down against the board with the handle end facing down, then mark two screw points near the upper sides of each grater where the metal is flat enough to fasten securely.
7. Drill small pilot holes into the wood at each marked screw point, and if needed use an existing hole in the grater surface so you do not have to force a new hole through older metal.
8. Attach the four graters to the board with two short wood screws each, checking that each one is snug and opens upward like a pocket for utensils.
9. Twist one cup hook into the bottom center area below each grater to add an extra hanging spot for measuring spoons, kitchen shears, or a dish towel.
10. Fasten the D-ring hangers to the back of the board about 2 inches from each end, string the picture wire between them, and add felt pads at the lower back corners so the piece sits neatly against the wall.
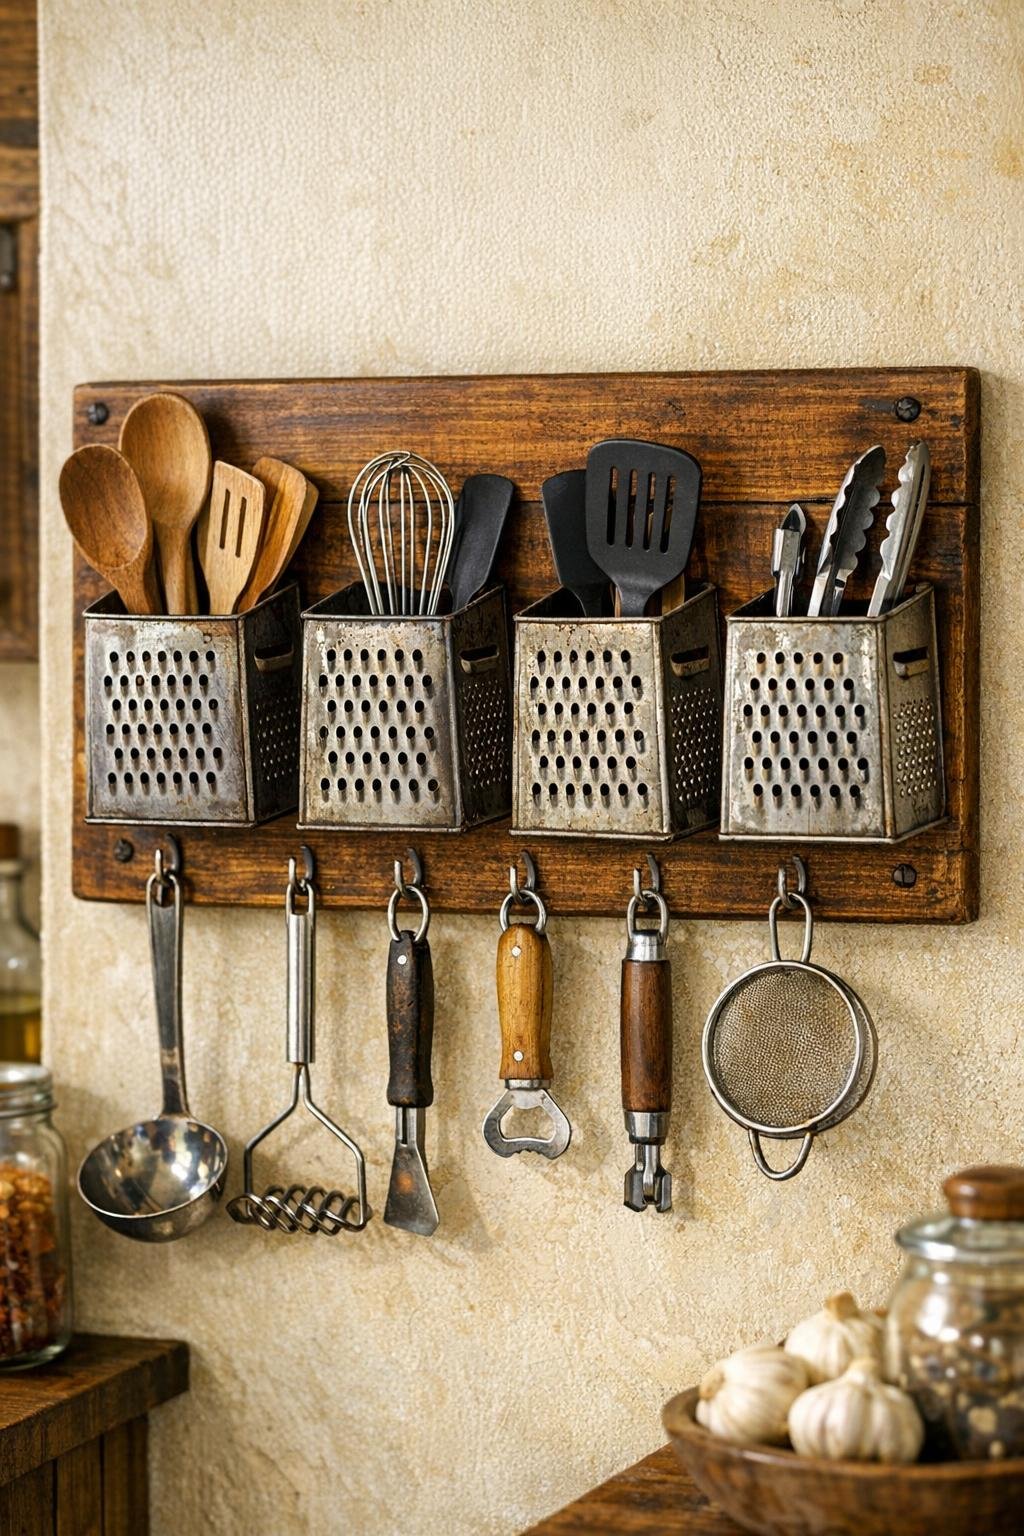
11. Hang the holder securely on the wall, then fill the four grater pockets with utensils like wooden spoons, spatulas, tongs, and whisks, keeping heavier pieces balanced across the board.
Variations & Tips
For a cleaner farmhouse look: Skip the black paint and use just a soft white dry-brushed finish on the graters. I love this in lighter kitchens where you want the piece to feel rustic but not too heavy.
For picky organizers: Assign each grater pocket a job, like baking tools, everyday cooking utensils, grilling tools, or coffee bar spoons. In my house, anything that has a clear home is much more likely to get put back where it belongs.
If the graters are very sharp: File down any rough points and keep the sharp shredding sides facing outward and up high if you are hanging this within reach of children. Older metal pieces can have surprisingly sharp edges, so this is worth the extra minute.
For a countertop version: Use a wider, thicker base board and attach simple supports on the back to make it freestanding instead of wall mounted. This works nicely for parties or buffet tables.
For stronger hold: If your graters are especially heavy, use small washers with the screws to help distribute pressure on the metal. That little adjustment can make the finished holder feel much sturdier.
To match your kitchen: Try dark walnut stain for a richer rustic look, or weathered gray for a more vintage cottage feel. I usually choose finishes the same way I plan a family meal, by thinking about what already works well together.