
Old drawer fronts are one of those castoffs I hate to see headed for the trash, especially when the wood still has good character. For this project, I turn three old wooden drawer fronts into a simple rustic wall shelf using basic metal brackets and a little cleanup. It is an easy upcycling build that gives you useful storage without asking for advanced woodworking skills.
I like this kind of project because it sits right at the intersection of practical and charming. If you have a few mismatched drawer fronts from a renovation, thrift find, or curbside save, this is a smart way to give them a second life. The finished shelf works well in a kitchen, entryway, bathroom, or anywhere you want a bit of warm wood on the wall.
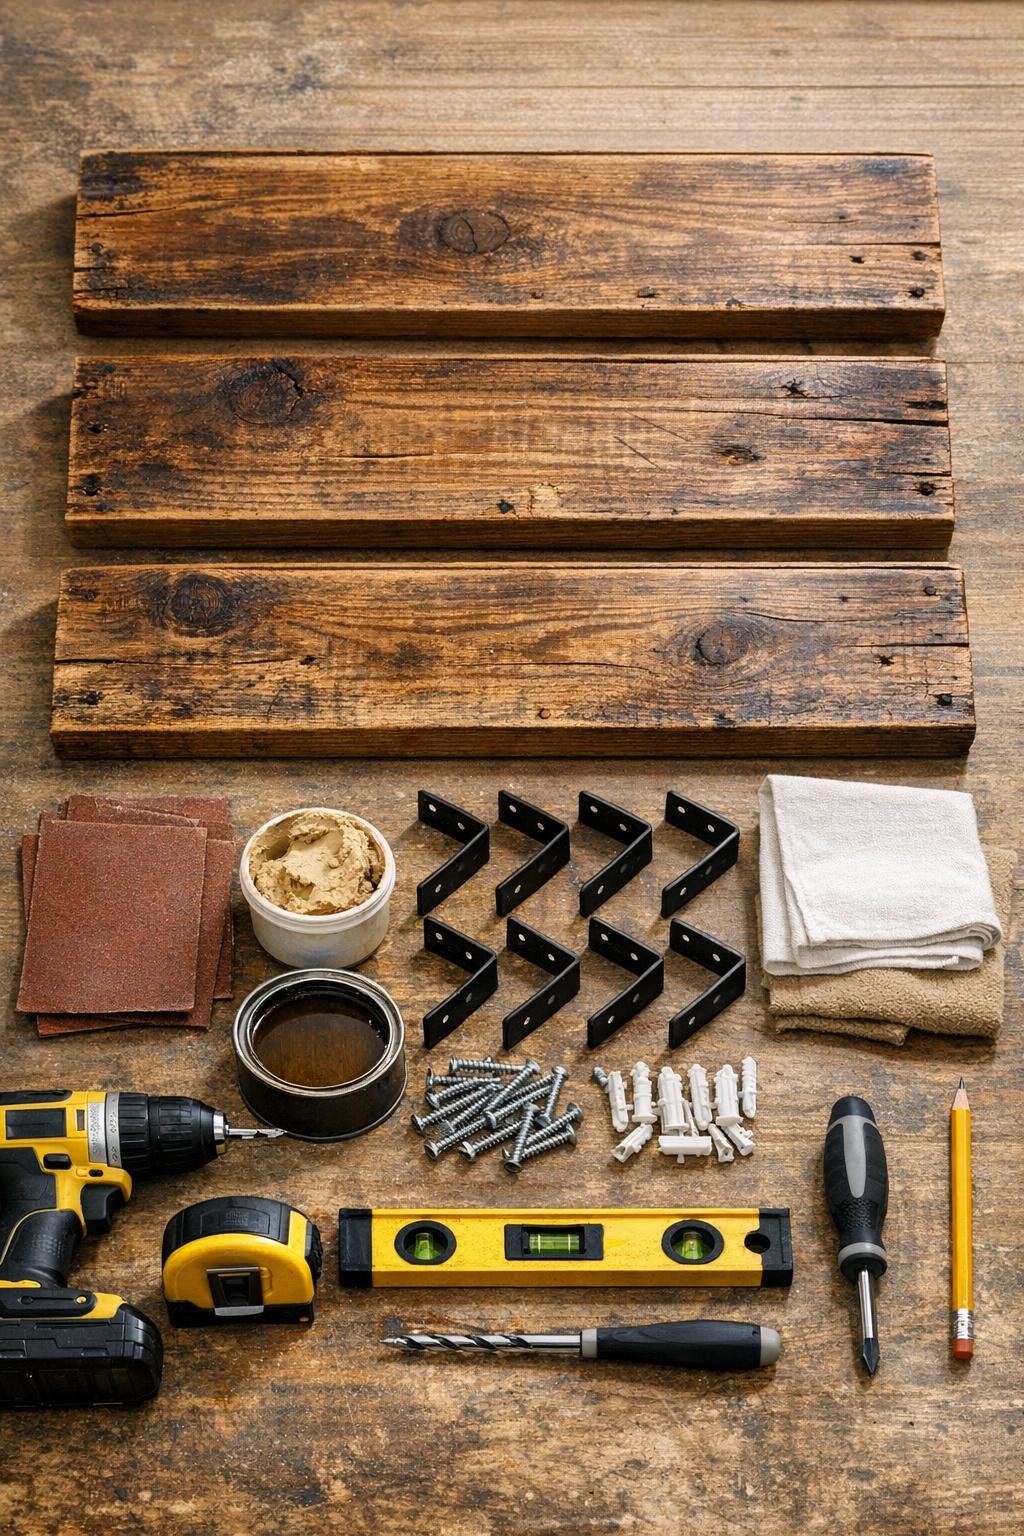
Materials
Instructions
1. Inspect the three drawer fronts and choose the flattest, strongest pieces for your shelves. Remove any remaining hardware, loose veneer, nails, or staples so the wood is safe to handle and mount.
2. Fill old handle holes or deep dents with wood filler, then let it dry completely according to the package directions. Sand the filled spots flush with 120-grit sandpaper.
3. Sand all faces and edges of each drawer front with 120-grit, then smooth them with 220-grit. Wipe away every bit of dust with a tack cloth or clean rag.
4. Apply stain if you want a richer, more even rustic tone, then wipe off the excess and let it dry. Seal each shelf with a thin coat of clear wax or matte polyurethane and let it cure fully.
5. Turn each drawer front upside down and position two L-brackets evenly underneath, about 2 to 3 inches in from each end. Mark the screw holes with a pencil.
6. Pre-drill shallow pilot holes at the bracket marks to prevent splitting. Fasten the brackets to the underside of each drawer front using the 1/2-inch wood screws.
7. Decide on your shelf spacing on the wall; I usually leave 10 to 12 inches between shelves for a balanced look and practical storage. Mark a level line for the top or bottom of each shelf.
8. Use a stud finder if available, and mark stud locations where possible. Hold each shelf in place, transfer the bracket hole locations to the wall, and drill for anchors if you are not hitting studs.
9. Insert the wall anchors, then screw the brackets into the wall loosely at first. Check the shelf with a level, adjust as needed, and tighten all screws securely.
10. Repeat the installation for the remaining two shelves, checking alignment as you go. Once everything is secure, style the shelves with lightweight décor, jars, or small plants.
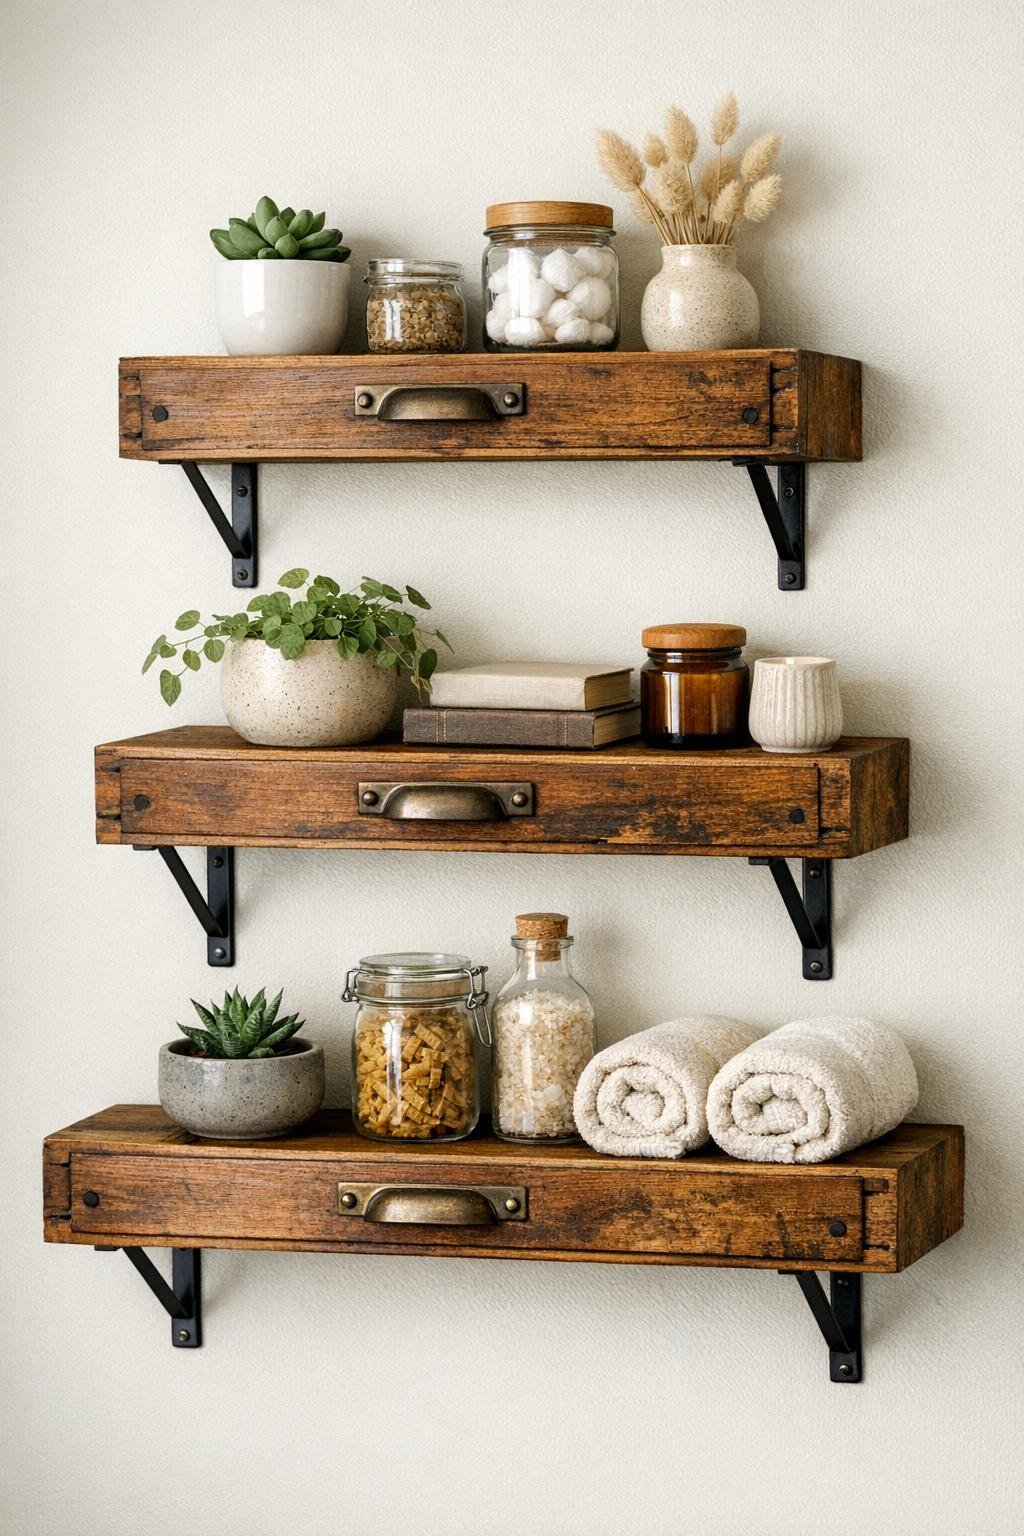
Variations & Tips
Keep the original patina: If the drawer fronts have beautiful worn paint or old varnish, lightly sand only the rough spots and skip stain. A clear matte sealer will preserve that timeworn look nicely.
Add a front lip: If you want the shelves to hold spice jars or bathroom items more securely, attach a thin 1/2-inch wood strip along the front edge before finishing.
Mix bracket styles: Plain black brackets give an industrial-rustic look, but antique brass or hammered iron styles can shift the whole mood. I like choosing hardware the same way I choose serving pieces in my kitchen; small details carry a lot of personality.
Use matching depths: The project looks more intentional when all three drawer fronts are close in depth, even if their widths vary a little. If one piece is much deeper, hang it as the bottom shelf for visual balance.
Mind the weight limit: Old drawer fronts are sturdy, but bracket strength and wall attachment matter more than the wood alone. Keep heavy books or large pottery on shelves mounted directly into studs.
Try a kitchen version: These shelves are especially useful for oils, spice jars, mugs, or small bowls. Since I spend so much of my time cooking, I love projects that make everyday ingredients and tools easier to reach while adding warmth to the room.