
I’ve always had a soft spot for sturdy old kitchen pieces, especially the kind that have a little rust around the edges and a story tucked into every dent. This project turns three old metal bread boxes into a vintage-style wall organizer that’s both useful and full of character. Instead of letting them sit in a shed or head for the scrap pile, you can give them a second life as storage for mail, kitchen linens, garden packets, or all those everyday odds and ends that seem to wander off on their own.
What I love most about this project is that it doesn’t ask for perfection. In fact, a little age makes it prettier. If you enjoy farmhouse décor, upcycling, or simply making something practical with what you already have, this is a satisfying weekend project. It reminds me of the sort of thing a Midwestern kitchen has always done best—make do, make it sturdy, and make it charming while you’re at it.
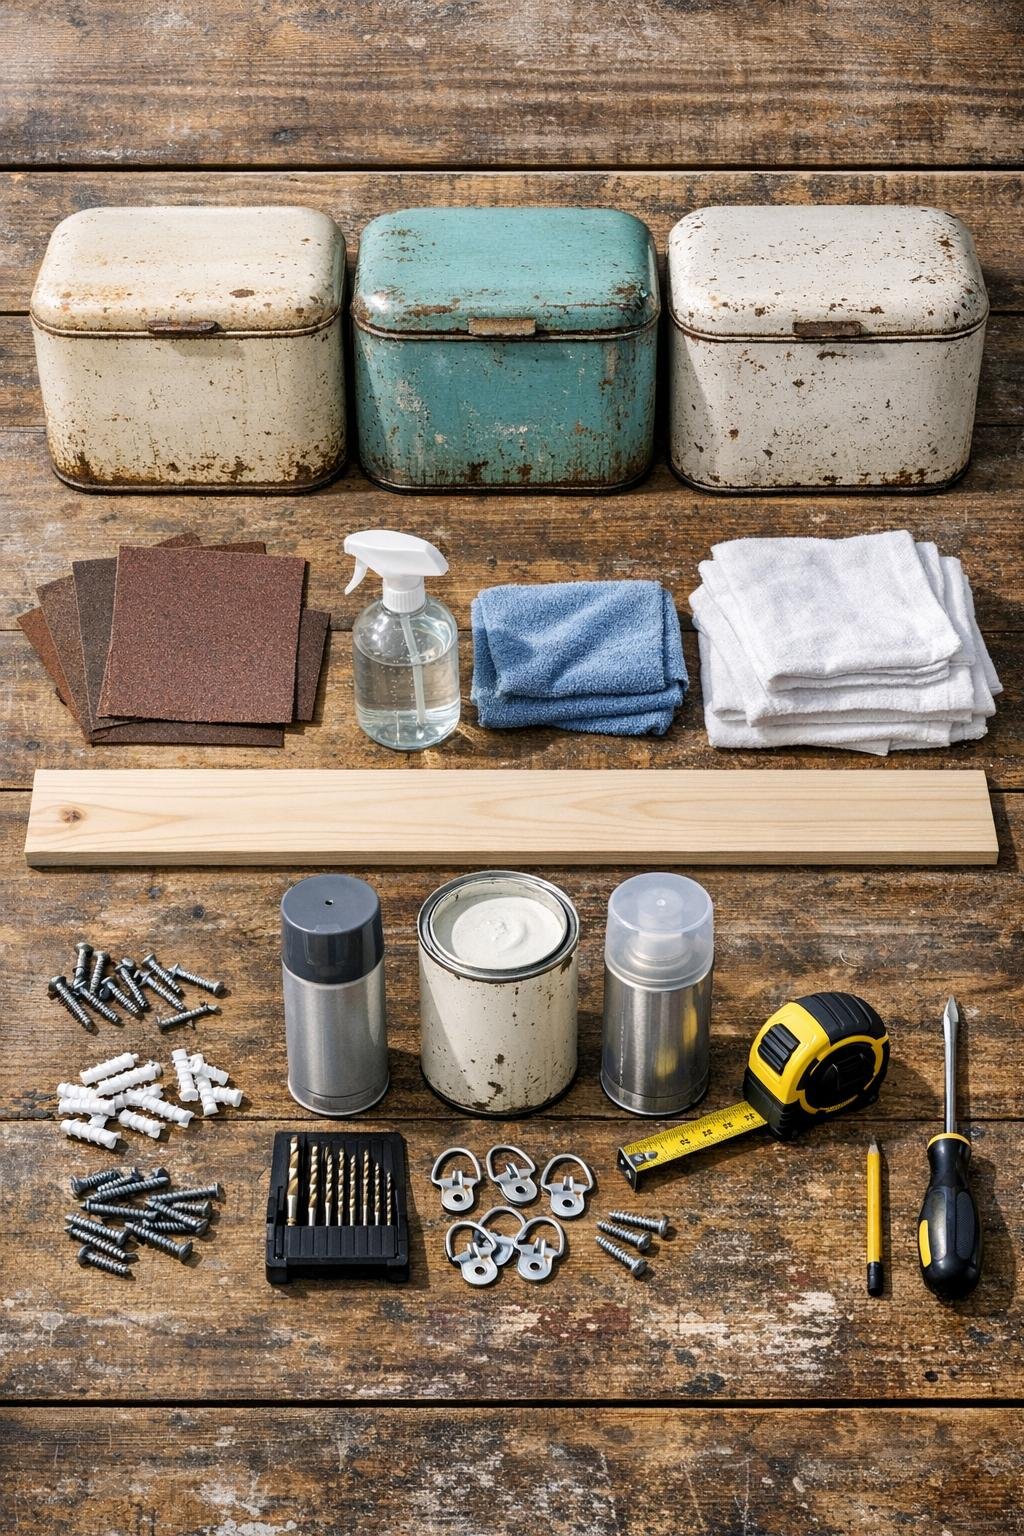
Materials
Instructions
1. Inspect the three bread boxes and choose the best side of each one to face forward. Remove any loose crumbs, shelf paper, or interior debris, and set aside any removable lids or doors if your boxes allow it.
2. Wash each bread box thoroughly with degreasing cleaner and a rag to remove old grease, dust, and residue. Let them dry completely before moving on.
3. Sand the exterior lightly with 120-grit sandpaper to scuff the surface and smooth any flaky paint or rust spots. Follow with 220-grit on the edges and visible areas so the finish will look clean but still keep its vintage charm.
4. Repair any loose handle, hinge, or trim piece with a small amount of metal epoxy if needed. Allow the repair to cure according to the package directions before painting.
5. Place the bread boxes on a protected surface and apply a light, even coat of metal primer. Let the primer dry fully, then add a second light coat if the original finish was patchy or dark.
6. Spray paint the bread boxes in thin coats, allowing each coat to dry before adding the next. Two to three coats usually give good coverage without drips, and I find muted white, soft sage, or charcoal especially pretty for a vintage look.
7. Seal the painted surface with a clear matte topcoat once the color coat is dry. This helps the organizer stand up to fingerprints and everyday use.
8. Measure and mark the 36-inch wood board so the three bread boxes will be evenly spaced from top to bottom. Leave about 2 inches between each box and about 3 inches at the top and bottom of the board.
9. Hold the first bread box against the board and mark two screw points through the back of the box, spacing them evenly from left to right. Repeat for the other two boxes so all mounting points line up neatly.
10. Drill pilot holes through the metal backs of the bread boxes and shallow pilot holes into the wood board. Attach each bread box to the board with four #8 x 1/2-inch screws, checking that each one sits level before tightening fully.
11. Turn the assembled organizer over and install two heavy-duty D-ring hangers on the back of the wood board near the top corners. Add felt pads to the lower back corners if you want to keep the piece from rubbing the wall.
12. Use a level to mark the wall, install the heavy-duty wall anchors, and drive in the two mounting screws. Hang the organizer securely, then test each bread box with a little weight before filling it completely.
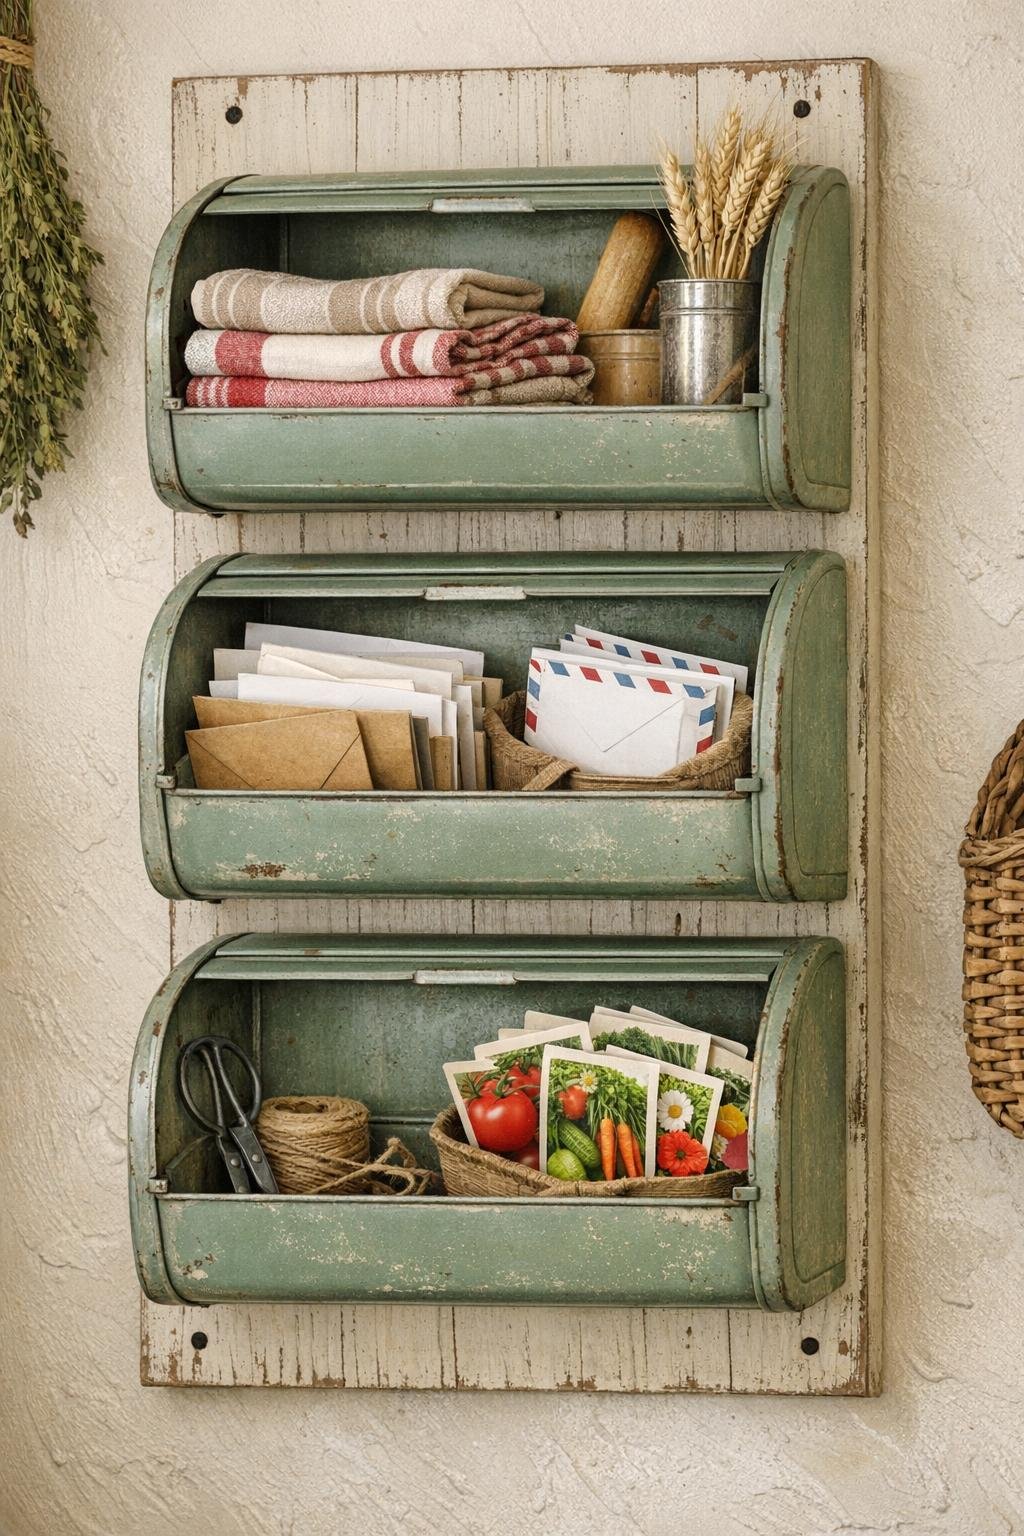
Variations & Tips
Color choice: If you want a more timeworn look, use chalky white, pale blue, or buttery cream, then lightly distress the edges with fine sandpaper after the paint cures.
Use by room: This organizer works nicely in the kitchen for napkins and recipes, in a mudroom for gloves and mail, or in a potting shed for seed packets and twine.
No mounting board option: If your bread boxes are especially sturdy and all the same size, you can hang them directly on the wall in a vertical row, though I prefer the board because it keeps everything straight and adds strength.
Rust control: Surface rust is fine, but if you have deeper rust spots, sand them thoroughly and use a rust-inhibiting primer so the finish lasts longer.
Style detail: Original handles, vents, and latches are worth keeping whenever possible. Those little old-fashioned details are what make this project feel collected rather than newly bought.
Weight reminder: Keep heavier items in the lowest bread box so the organizer hangs more securely and feels balanced on the wall.