
Every fall, I end up with a small pile of old wool sweaters that are too worn at the cuffs or a little misshapen to pass along, but still too good-hearted to throw away. Turning them into autumn accent pillow covers is one of those practical little projects that feels like something my mother and aunts would have done without a second thought—use what you have, make it pretty, and give it another season of life.
This version makes three simple pillow covers, each with its own look, using the best parts of old sweaters for a cozy mix of texture and color. If you’re comfortable with basic sewing—or even just patient enough to sew a straight seam—this is a fine weekend project for refreshing a sofa, porch bench, or reading chair when the weather starts to turn cool.
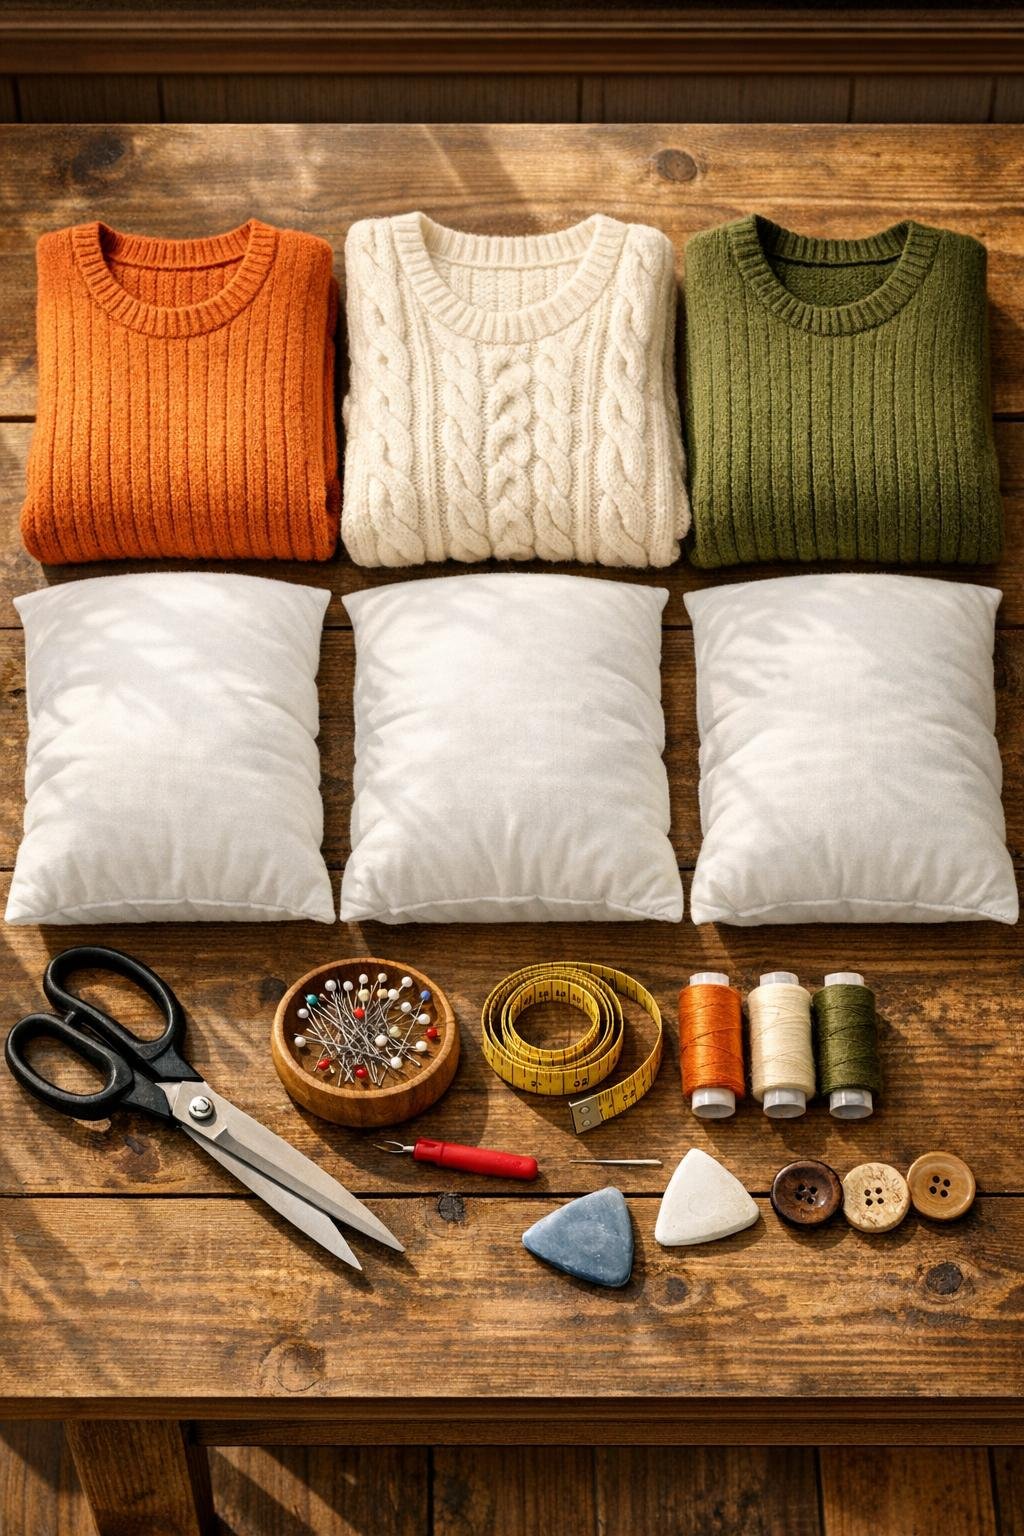
Materials
3 old wool sweaters, adult medium to extra-large, in autumn colors or textures
Instructions
1. Wash and dry the wool sweaters the way you want them to behave in the finished pillow covers; if you’d like a denser, felted texture, wash them warm and dry them fully before cutting.
2. Lay each sweater flat and check for holes, thin elbows, stretched hems, or stains, then choose the best front and back sections large enough to cut 18 1/2-inch squares.
3. Measure and mark six squares total—two per pillow cover—at 18 1/2 x 18 1/2 inches to allow for 1/4-inch to 1/2-inch seams, depending on how snug you want the fit.
4. Cut out the six sweater squares carefully, working around bulky seams or ribbing unless you want to feature the ribbed hem as part of the design.
5. For the first pillow, place two squares right sides together, pin around all four edges, and stitch with a 1/2-inch seam allowance, leaving a 10-inch opening along the bottom edge.
6. Turn the cover right side out, ease in the pillow insert, then hand-stitch or machine-stitch the opening closed as neatly as you can.
7. For the second pillow, use the sweater’s original bottom ribbing to create an envelope-style back by cutting one 18 1/2-inch front square and two back pieces measuring 18 1/2 x 12 inches, each with ribbed edge kept intact for the overlap.
8. Lay the two back pieces overlapping on the front square with right sides together, pin the outer edges, and sew all the way around with a 1/2-inch seam allowance.
9. Turn the second cover right side out through the envelope opening and insert the pillow form, adjusting the overlap so it sits flat and tidy.
10. For the third pillow, piece together contrasting sweater sections if needed by sewing smaller panels first, pressing the seams gently with a warm iron and a pressing cloth if the wool allows it.
11. Once that pieced panel is large enough, cut one 18 1/2-inch front and one 18 1/2-inch back, then sew them right sides together with a 1/2-inch seam, leaving an opening for the insert.
12. Turn the third cover right side out, add the pillow insert, and close the opening by hand or machine; if you like, sew 1 to 3 buttons on the front as decoration, not through both layers.
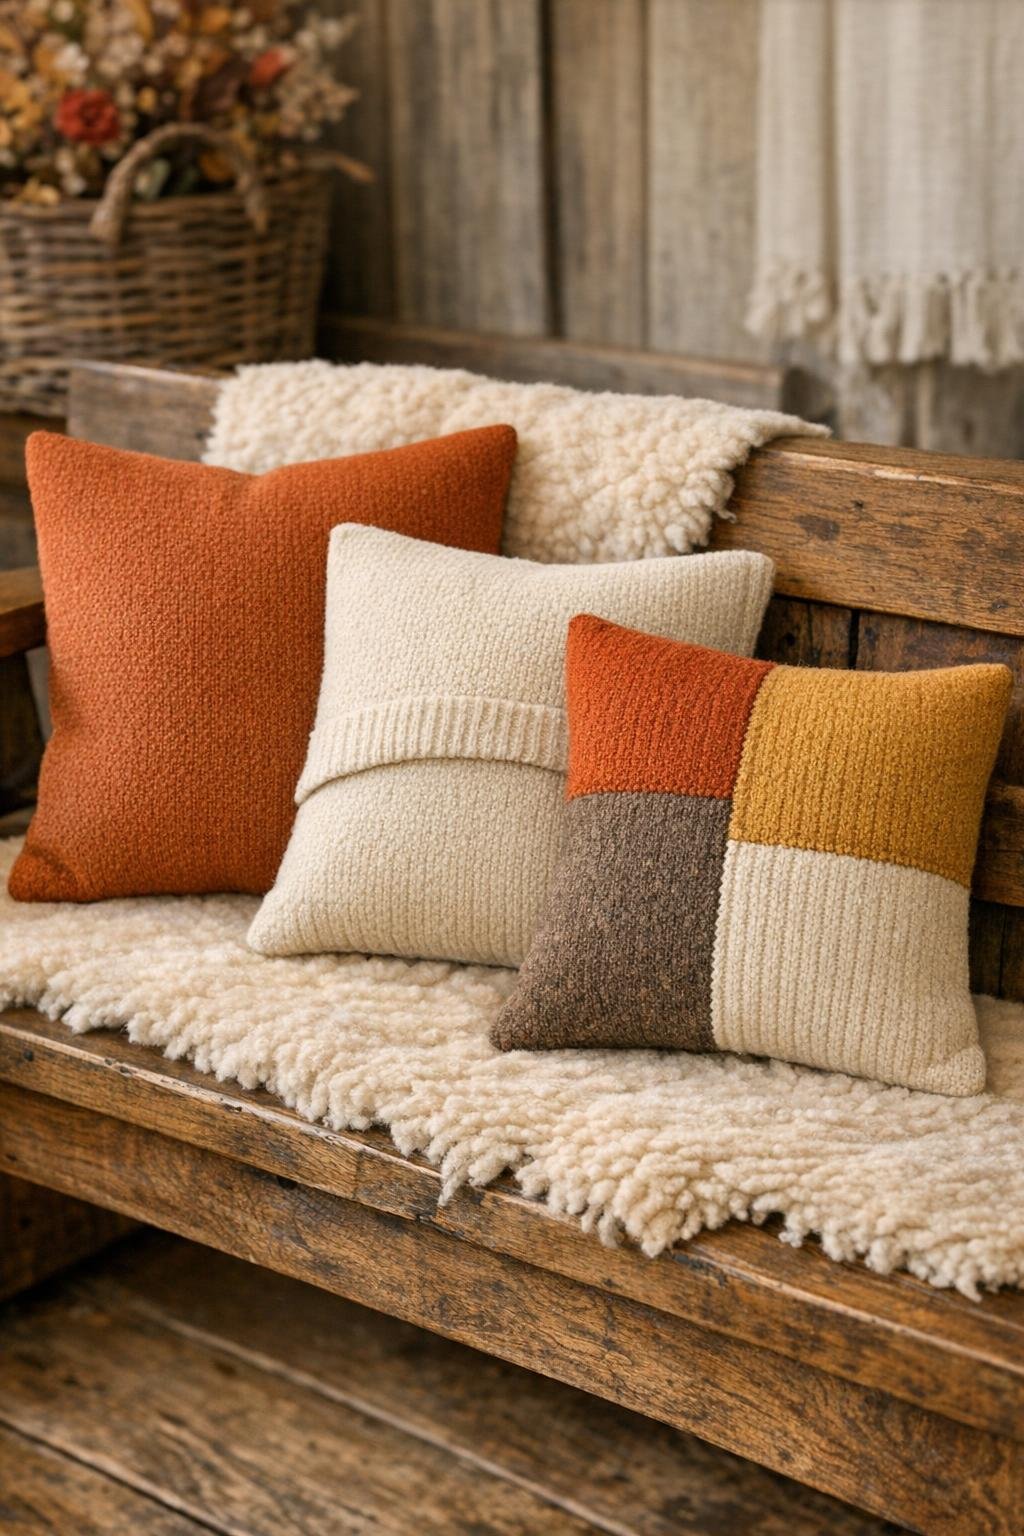
Variations & Tips
Use what the sweater gives you: Cable-knit fronts, button plackets, pockets, and ribbed hems can all become part of the finished design. I always say the sweater will tell you what kind of pillow it wants to be if you study it a minute.
For extra-stretchy knits: Back the sweater pieces with lightweight cotton fabric before sewing if the knit is loose or saggy. That little bit of structure makes the finished covers hold their shape much better.
Mix textures carefully: Pair smoother wool with chunkier knits for contrast, but try to keep the colors in the same autumn family—rust, oat, moss, mustard, or deep brown—so the set still feels gathered together on purpose.
Make smaller pillows from scraps: If your sweaters don’t yield three full 18-inch covers, switch one or more to 16 x 16 inches or make a rectangular lumbar cover. In an old farmhouse, nothing ever had to match perfectly to look charming.
Reinforce weak spots: If you find a thin area you really want to use because the color is lovely, stitch a scrap of cotton behind it before assembly. That’s an old mend-first, use-longer habit that has saved many a good piece of cloth in my house.
Care for them gently: Remove the inserts and hand-wash or spot-clean the covers when needed, then dry them flat. Wool has a way of lasting beautifully when you’re kind to it.