
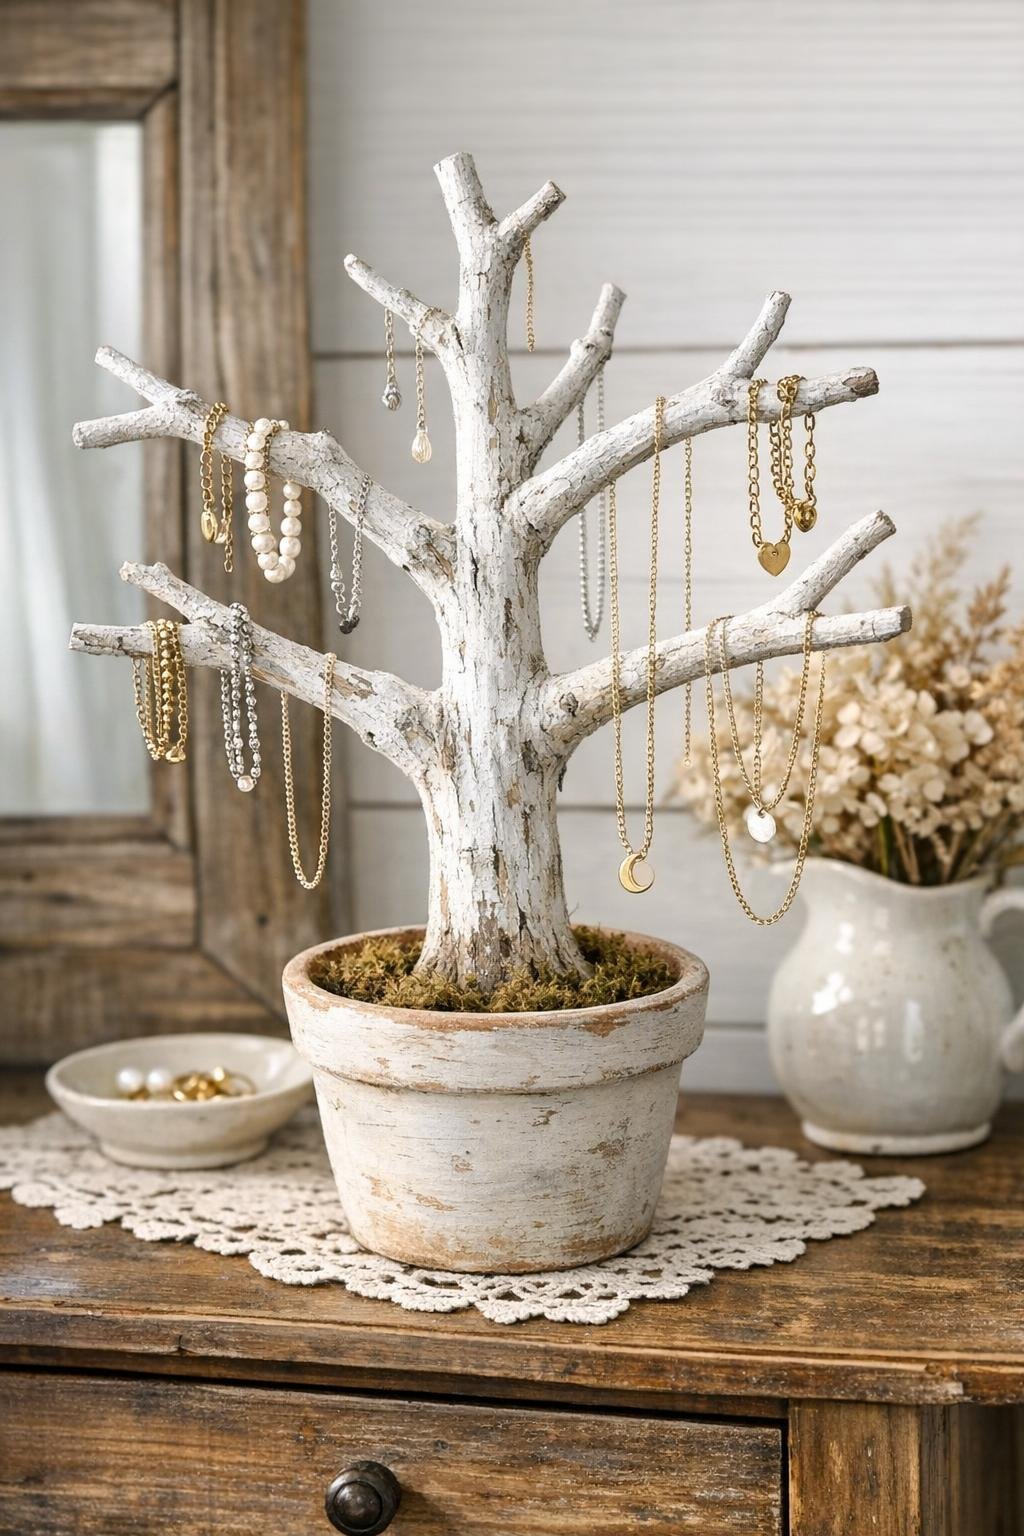
There’s something satisfying about turning a pile of backyard castoffs into something both useful and pretty, and this little rustic jewelry tree does exactly that. The first time I made one, I was cleaning up storm-fallen branches by the shed and nearly hauled the whole bundle off to the burn pile. Then I noticed one thick branch with just the right shape, and before long it was sitting on my dresser holding necklaces and bracelets like it had always belonged there.
This is an easy project for anyone who likes natural décor, simple upcycling, or practical handmade gifts. With just a sturdy branch, a clay pot, and a bit of paint, you can make a jewelry stand that looks charming on a vanity, shelf, or bedside table.
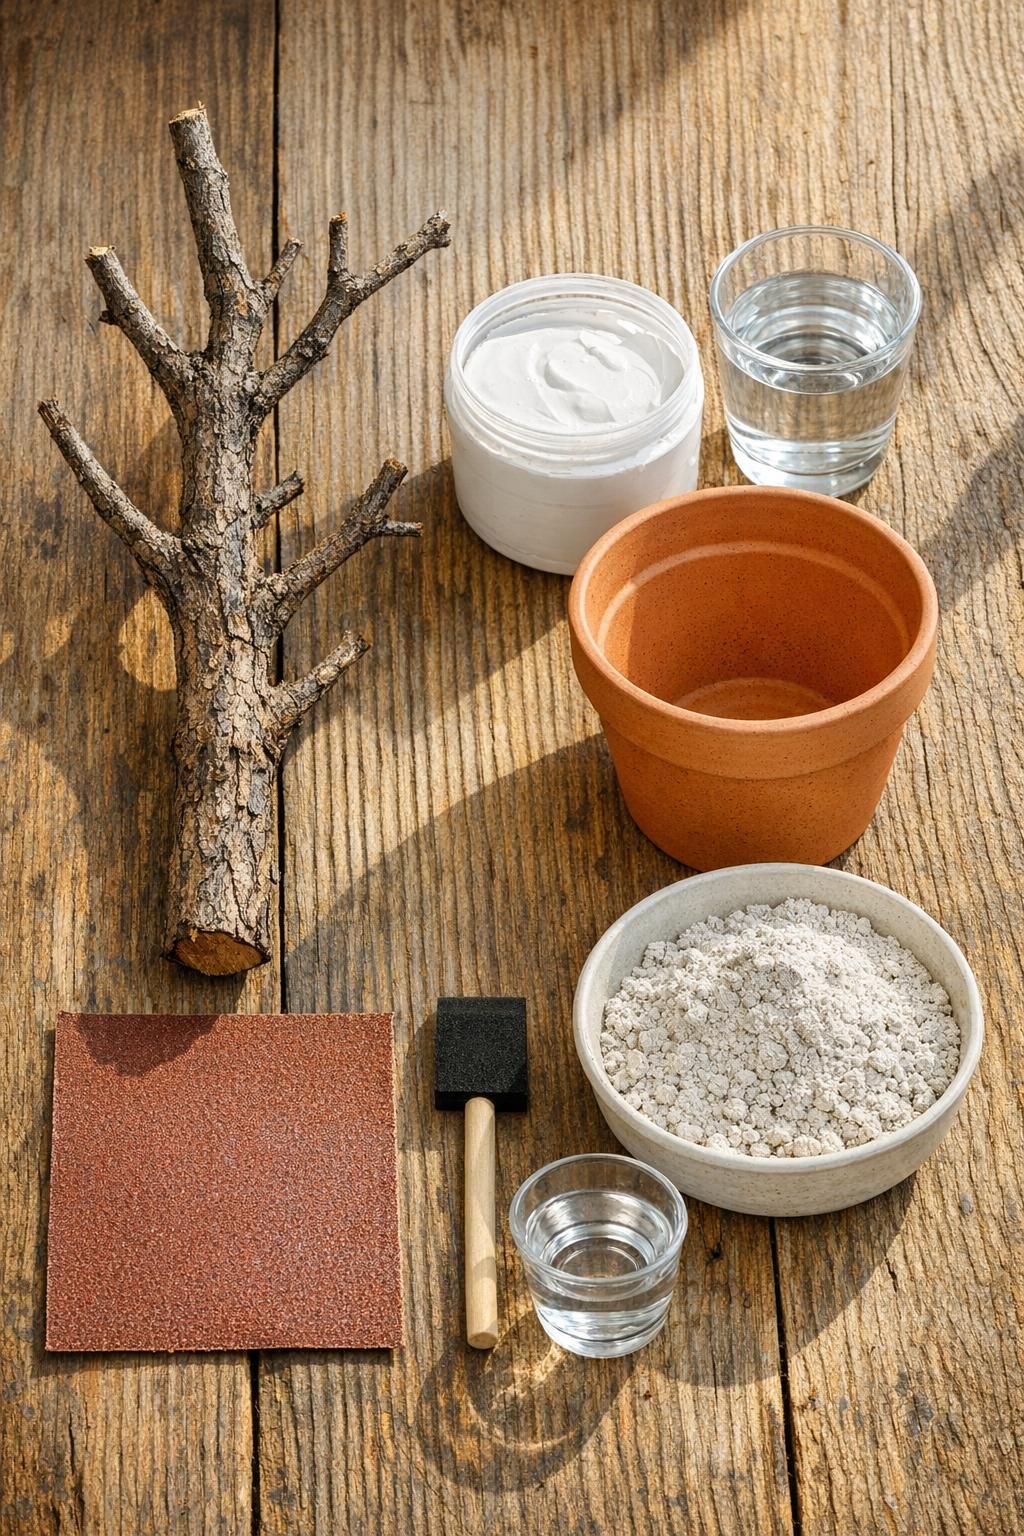
Materials
Instructions
1. Choose a thick branch with a sturdy trunk and several short side branches that can hold necklaces and bracelets without bending. Trim it to about 16 to 20 inches tall so it fits nicely on a dresser or shelf.
2. Brush off dirt and loose bark, then sand any rough spots, sharp ends, or flaky areas with 120-grit sandpaper. Wipe the whole branch clean with a damp rag and let it dry fully.
3. Paint the branch and the outside of the clay pot with a thin, even coat of paint. Let the first coat dry, then add a second coat if you want a more solid finish; I often leave a little wood texture showing for an older farmhouse look.
4. Mix the plaster or fast-set concrete according to the package directions until it is thick but pourable. Pour it into the clay pot, filling the pot about three-quarters full.
5. Stand the branch upright in the center of the filled pot and press it down until it feels anchored. Hold it in place for a minute or two, then check from all sides to be sure it is straight before the mix starts to set.
6. Let the pot sit undisturbed until the filler hardens completely, usually a few hours for plaster and longer for concrete. If desired, cover the top with pebbles or moss once fully set for a finished look.
7. Test the branches with a few lightweight necklaces, bracelets, or rings to make sure the tree is balanced and secure. If one side feels too heavy, arrange your jewelry evenly across the branches.
Variations & Tips
Natural finish: If you love the look of raw wood, skip painting the branch and just seal it with a clear matte finish instead. That keeps the bark and grain front and center.
Pot style: A plain clay pot has an old-fashioned charm I’m partial to, but you can age it with a dry-brushed second color or a little light sanding around the rim for a weathered look.
Better balance: If your branch is top-heavy, use fast-set concrete instead of plaster for extra weight in the base. I’ve found that especially helpful with thicker hedge or maple branches.
Jewelry care: Keep the branch tips smoothly sanded so they don’t snag delicate chains. For earrings, you can add a small screw hook underneath one branch, though I like the simpler look without extra hardware.
Gift idea: This makes a lovely handmade present for a daughter, sister, or friend. Tuck a bracelet or necklace onto one branch before wrapping, and it turns into both the gift and the gift holder.
Color choice: White and cream give this project that soft farmhouse look, while black makes it feel a little more modern. Sage green is especially pretty if you want it to blend into a bedroom with plants and natural textures.