
If your kitchen counter is always collecting onions, potatoes, garlic, and snack packets, this little produce bin is one of those projects that makes the whole room feel calmer fast. I love a DIY that looks charming but also solves a real everyday problem, and stacking wire baskets inside a wooden crate does exactly that.
This is a beginner-friendly organizing project that comes together quickly with just a few simple supplies. I especially like it for busy family kitchens, because everyone can see what’s inside at a glance, and the chalkboard labels make it easy to keep things tidy without making the setup feel fussy.
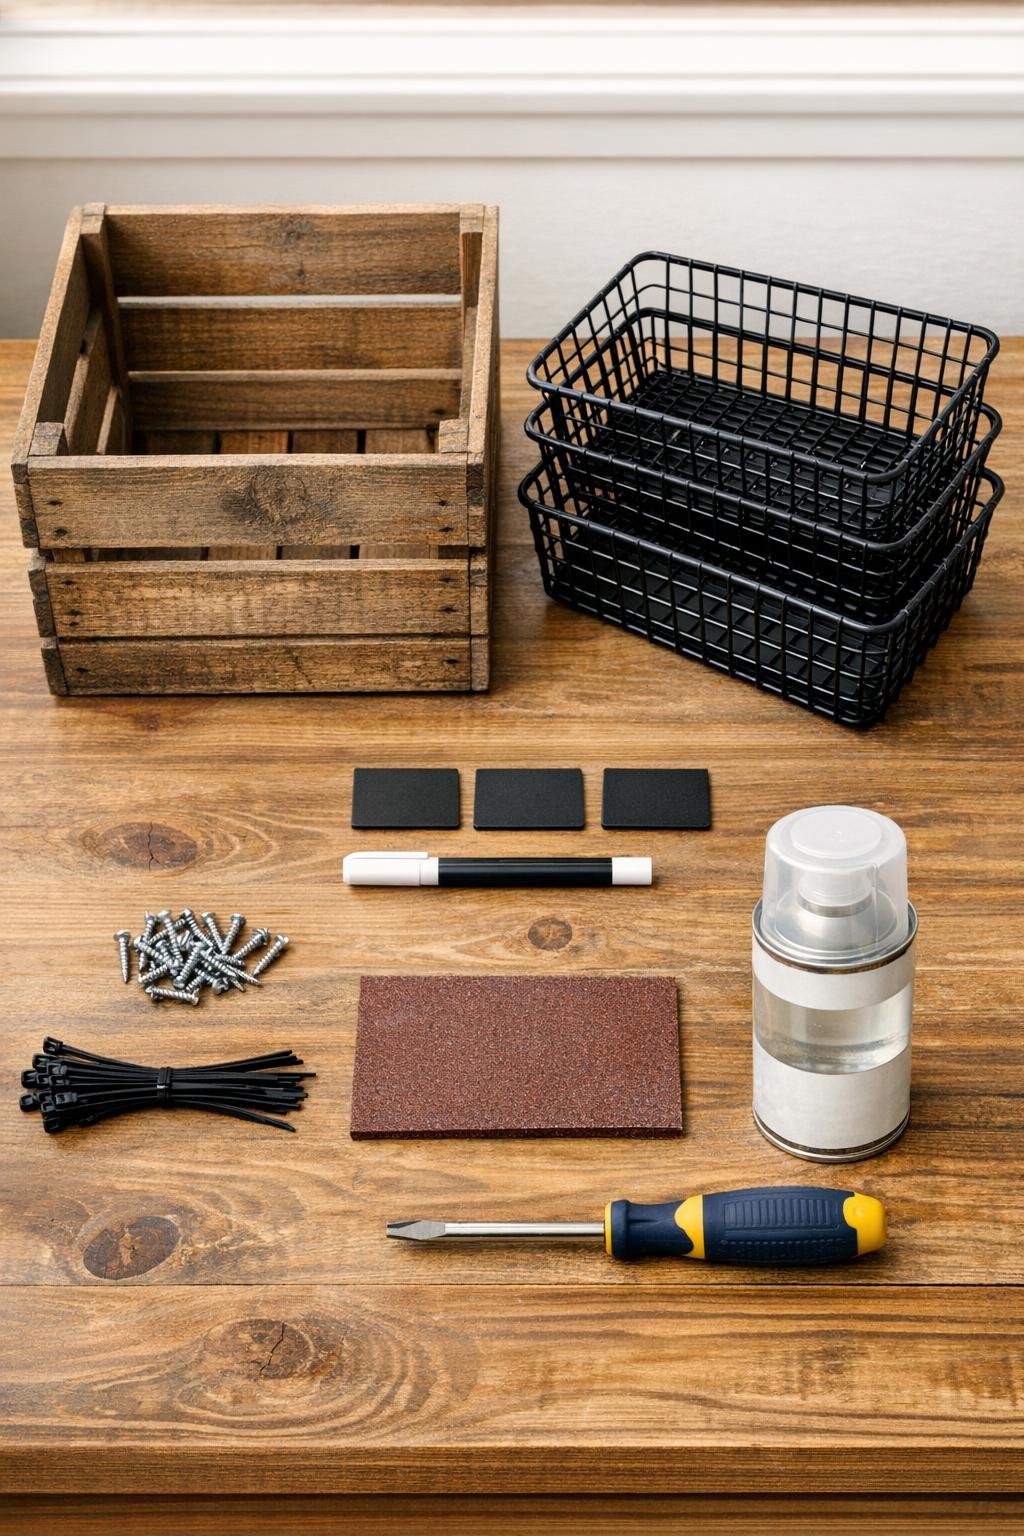
Materials
Instructions
1. Set the wooden crate on your work surface and check that your wire baskets fit inside with enough room to stack neatly. Leave a little finger space at the front so each basket is easy to grab.
2. Sand the crate lightly with 120-grit sandpaper, then smooth it with 220-grit. Wipe away all dust with a clean cloth so the wood feels clean and splinter-free.
3. If you want added protection for kitchen use, brush or wipe on a thin coat of clear matte sealer or furniture wax. Let it dry fully before adding the baskets.
4. Place the lowest basket inside the crate and center it so it sits level. Mark the position where it rests best, keeping the front edge accessible for reaching produce.
5. Stack the second and third baskets above the first, spacing them evenly so each one is easy to access. Adjust until the overall stack looks balanced and stable inside the crate.
6. Secure each basket to the crate by threading zip ties through the basket wires and around the crate slats where possible. If your crate style needs extra hold, attach small L-brackets with 1/2-inch screws beneath or beside the baskets to keep them from shifting.
7. Tighten all fasteners and test each basket with a gentle pull to make sure the stack feels sturdy. Trim the ends of the zip ties if needed so nothing snags hands or produce bags.
8. Attach one small chalkboard label to the front of each wire basket. Center the labels so they are easy to read and give the project that tidy farmhouse look.
9. Write the contents on each label with a white chalk marker, such as potatoes, onions, and garlic, or use one basket for packaged snacks if that suits your family better. Let the writing dry for a moment before handling.
10. Add felt pads to the bottom corners of the crate, then place the finished bin on your counter, pantry floor, or kitchen shelf. Fill the baskets with produce that stores well at room temperature, making sure not to overload the top basket.
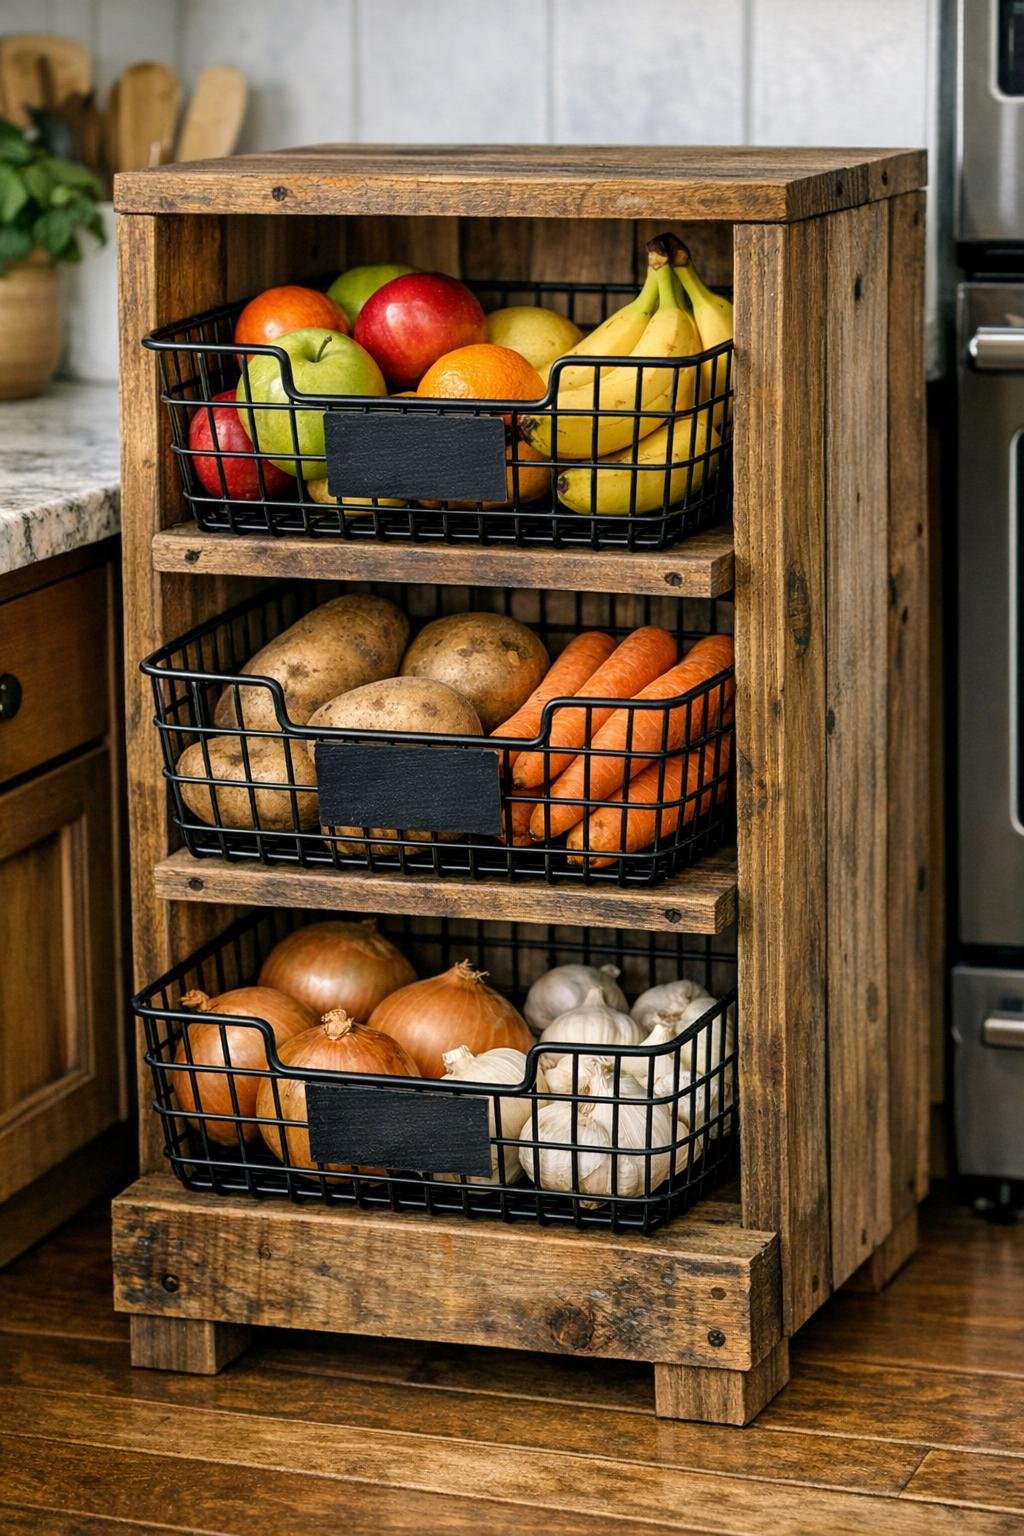
Variations & Tips
For picky eaters: I sometimes use one basket for easy grab-and-go choices like apples, clementines, or snack bars, because kids are much more likely to help themselves when they can see everything clearly.
Basket size tip: Measure the inside of your crate before buying baskets, and leave at least 1 inch of clearance at the front so hands can reach in comfortably.
No-drill option: If you do not want to use screws or brackets, choose a crate with open side slats and secure the baskets with extra zip ties in at least four places per basket.
Label swap: If you prefer a cleaner look, use clip-on metal label holders instead of chalkboard labels, but I like chalkboard because I can change the basket use with the seasons.
Best produce choices: This bin works best for onions, potatoes, shallots, garlic, and other dry goods that like airflow; skip refrigerated produce or anything that bruises easily.
Cleaning tip: Take the baskets out every week or two and wipe them with a damp cloth, because a quick clean keeps dust and onion skins from collecting in the corners.
Style variation: Paint or stain the crate before assembly if you want it to match your cabinets, pantry shelves, or farmhouse kitchen décor.