
A simple porch privacy screen can make a front entry feel calmer, softer, and much more usable without blocking all the light. For this project, I’m using sheer curtain panels hung on tension rods to create an easy, renter-friendly privacy layer that looks tidy from both the street and the porch.
I especially like this kind of project because it gives you flexibility: you can close the panels when you want a little separation, then slide them open whenever you want the view or a breeze. If your porch has posts, a recessed opening, or a narrow sitting area that feels a bit exposed, this is one of the quickest ways I know to make it feel more finished.
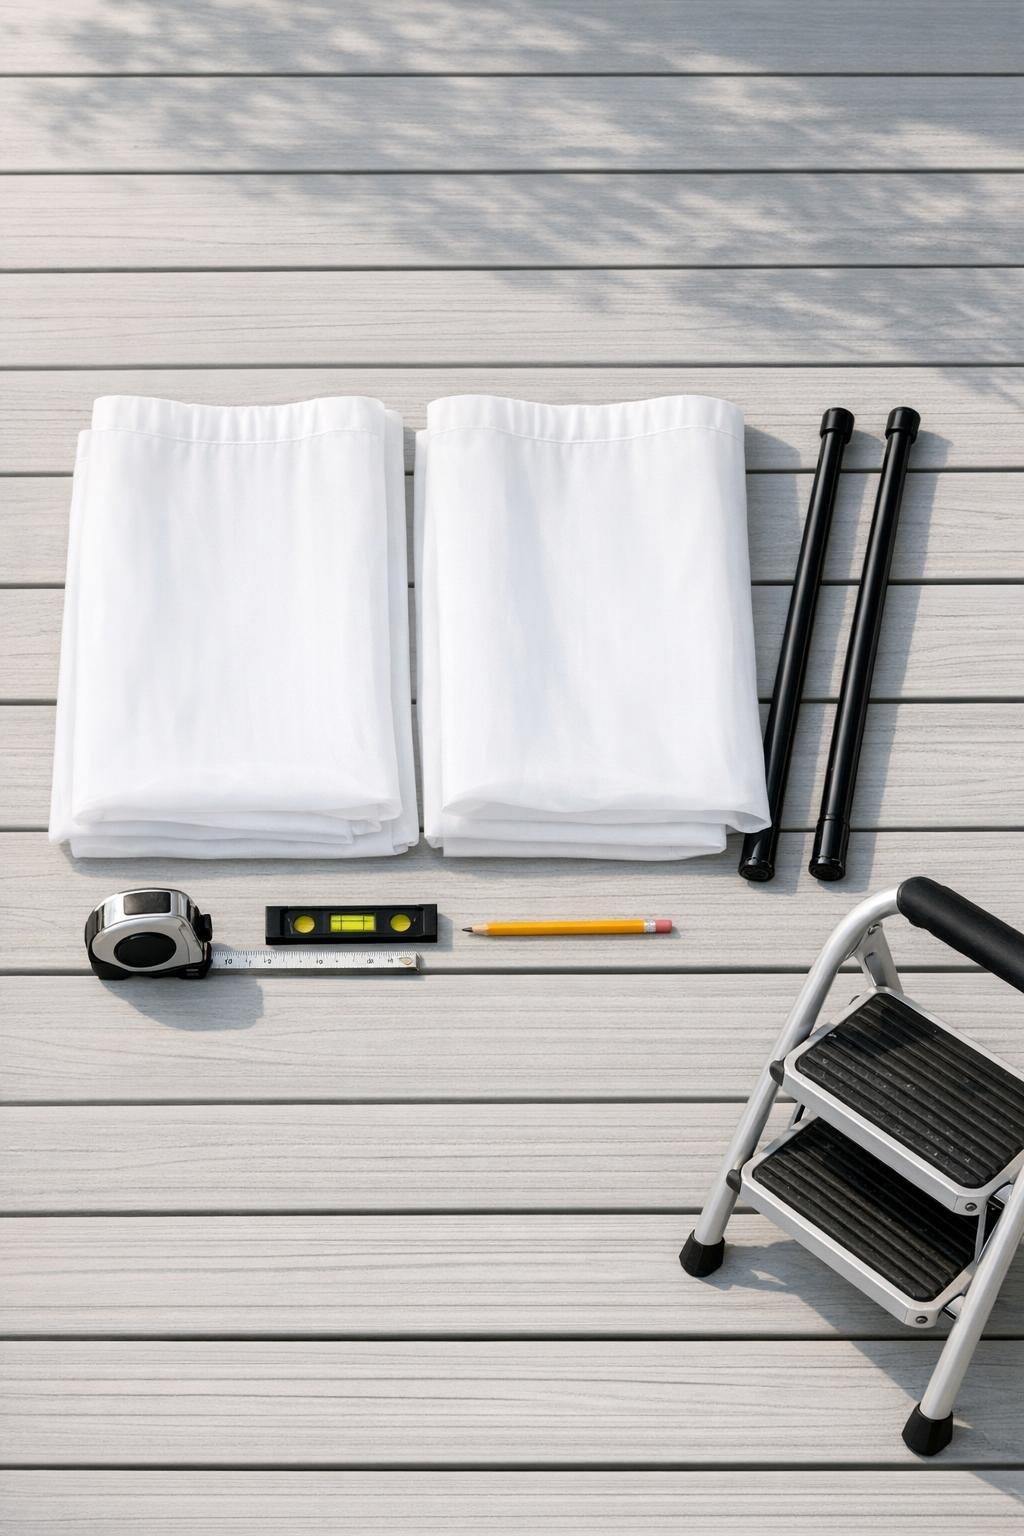
Materials
Instructions
1. Measure the width of the porch opening where you want the screen to hang, checking at the top and again a few inches below to make sure the spacing is consistent.
2. Decide how much coverage you want, then choose one rod for the front edge and one for a second section if you are screening a corner or creating layered coverage.
3. Extend each black tension rod to roughly the measured width, leaving a little adjustment room so you can tighten it securely in place.
4. Thread the top rod pocket of each white sheer curtain panel onto its tension rod, spreading the fabric out evenly before installation.
5. Stand on the step stool and position the first rod between the porch posts, wall, or trim boards at the height you want, usually just below the porch ceiling for the cleanest look.
6. Twist and tighten the rod until it feels firm, then use the small level to make sure it sits straight before locking in the final tension.
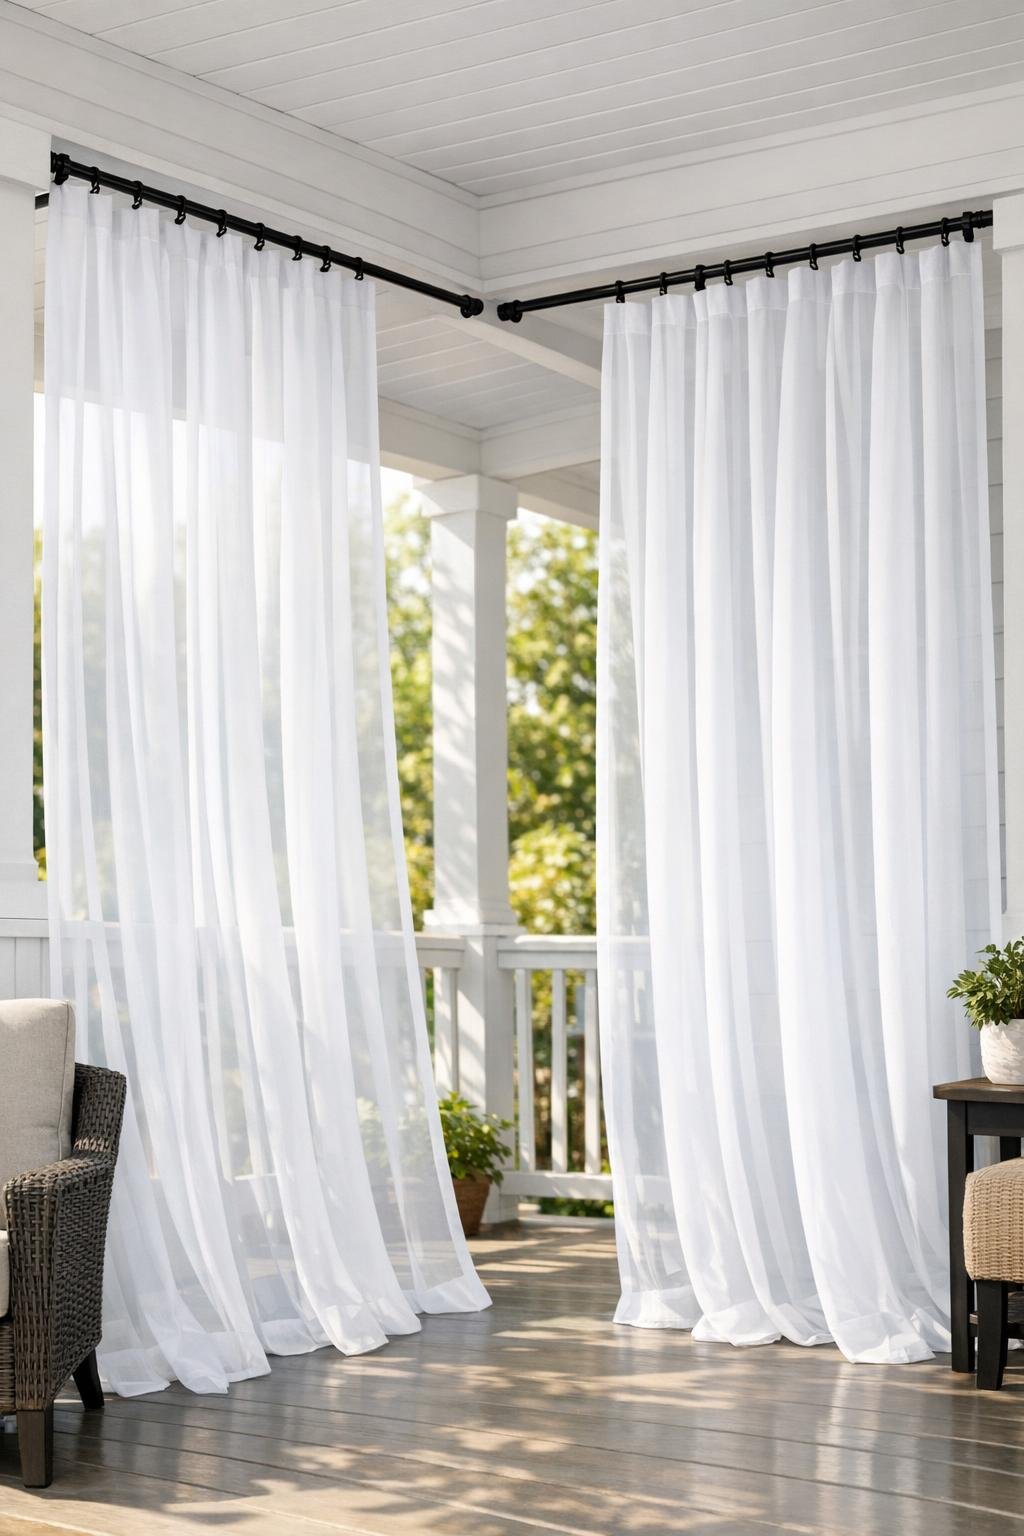
7. Repeat with the second rod and curtain panel if you are covering another side, layering a second section, or making an L-shaped privacy screen around a seating area.
8. Slide the curtain panels back and forth a few times to make sure they move freely, then adjust the gathers so the sheers look full and evenly spaced.
9. Check the bottom length and let the panels skim just above the porch floor; if they puddle too much, raise the rods slightly for a neater, safer finish.
10. Arrange your porch furniture behind the screen and test the view from outside so you can fine-tune the curtain placement for the amount of privacy you want.
Variations & Tips
For more privacy: Use wider panels or add an extra set so the curtains stay more densely gathered when closed. More fabric always gives a fuller, less see-through result.
For windy porches: Choose slightly heavier sheer outdoor curtains if you can find them. On especially breezy porches, I like to keep the rods mounted a little higher and the hems just off the floor so the fabric moves cleanly.
For renters: This method is ideal because tension rods don’t require drilling. Just be sure the surfaces on both ends are clean and solid so the rods grip properly.
For a polished look: Match the rod color to your porch hardware, light fixture, or railing. Black rods usually disappear nicely against trim and give the sheers a crisp outline.
If your opening is wide: Split the span into two sections instead of forcing one extra-long rod. You’ll get better support and smoother curtain movement.
Care tip: Sheer panels collect dust and pollen faster than people expect on a front porch. Shake them out regularly and wash according to the fabric care instructions to keep them looking fresh.