
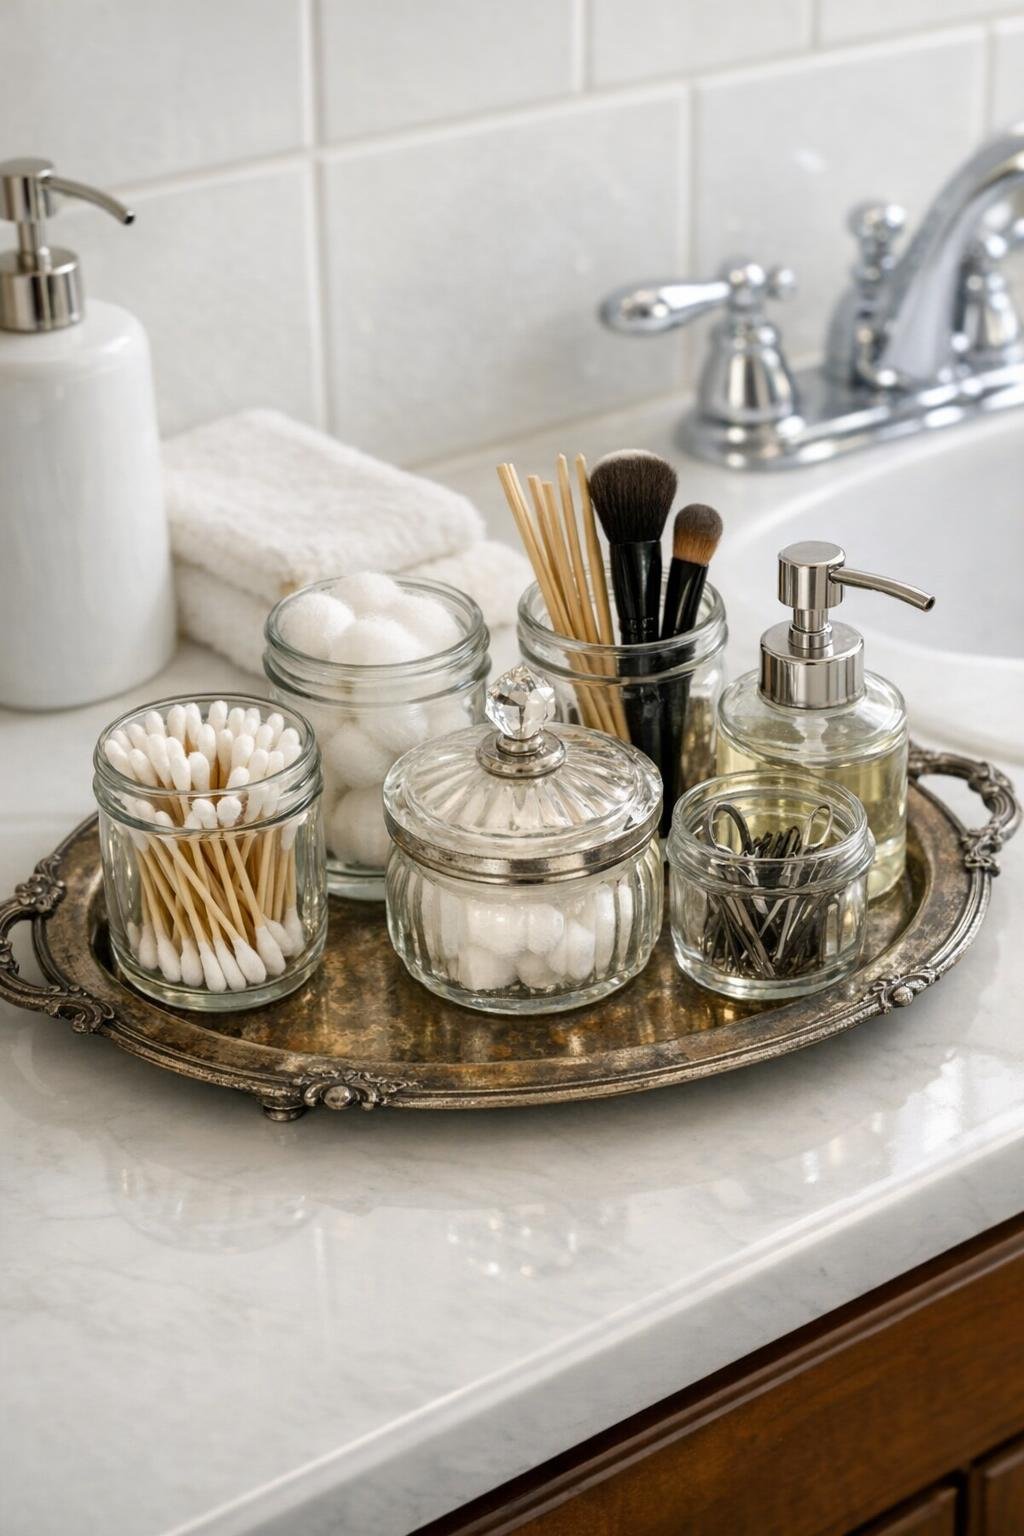
I love a bathroom project that looks far more elegant than the effort it takes, and this tray organizer is exactly that kind of make. By arranging a few small glass jars on a vintage silver serving tray, you end up with a tidy little station for cotton balls, swabs, hair ties, bath salts, or even a couple of fresh stems if you like a softer touch near the sink.
As someone who spends a lot of time thinking about presentation in the kitchen, I find the same principle works beautifully in the bathroom: when everyday essentials are grouped thoughtfully, the whole room feels calmer and more intentional. This project is perfect if you want quick organization, love a bit of vintage charm, or need a renter-friendly upgrade that doesn’t involve drilling, painting, or permanent changes.
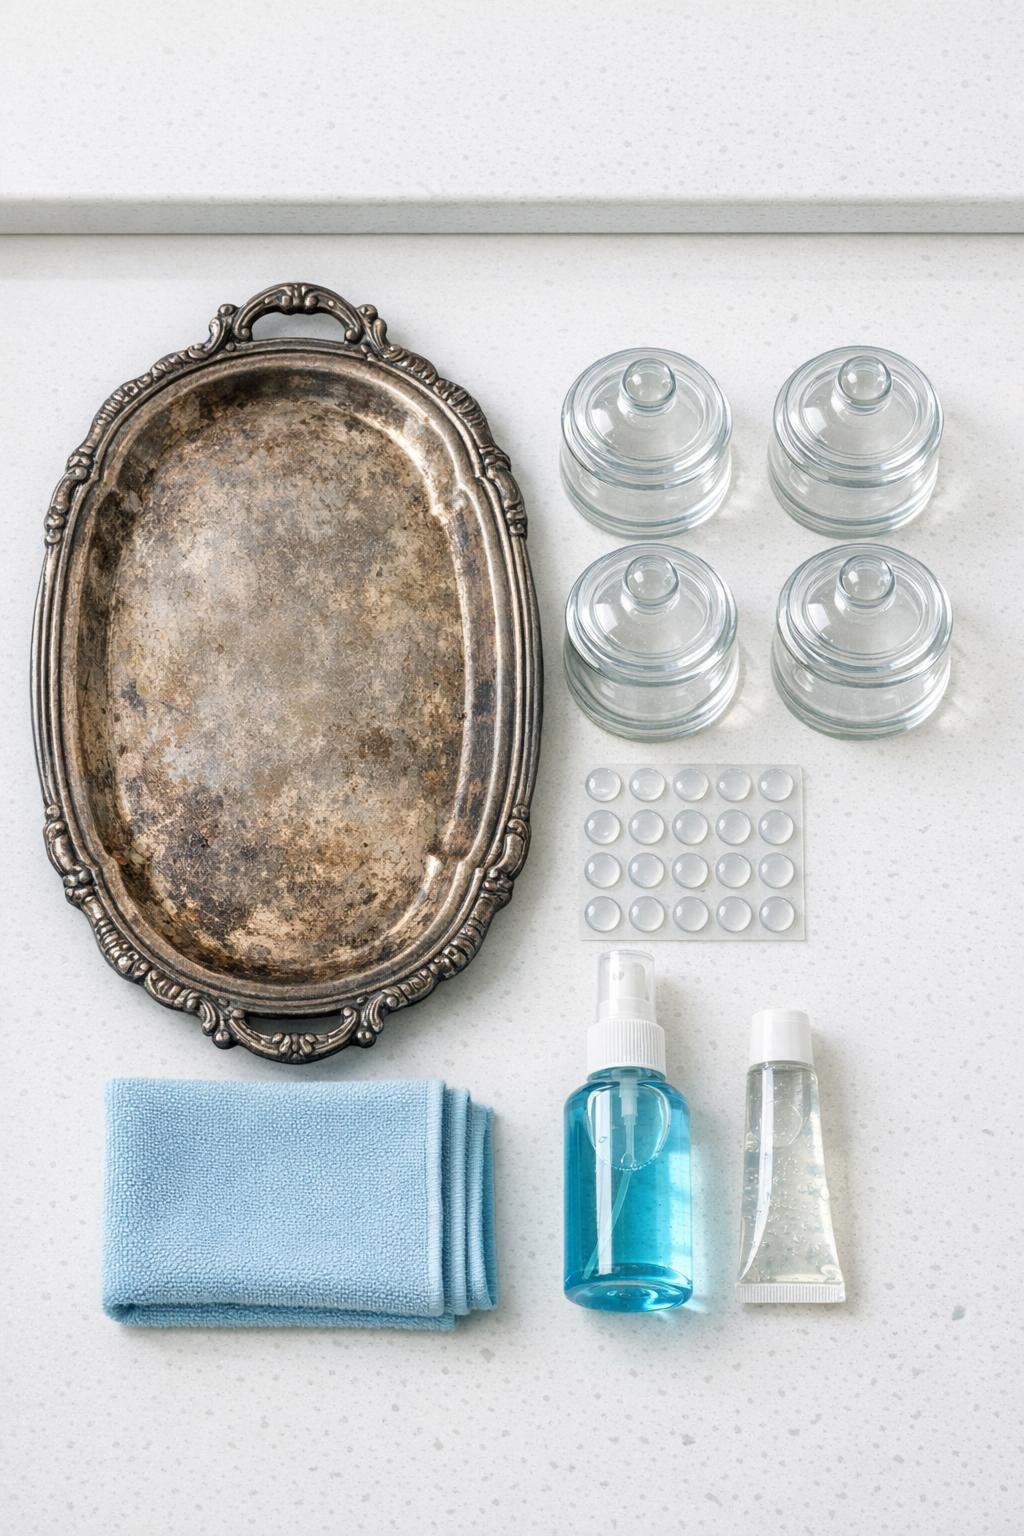
Materials
Instructions
1. Wash the glass jars and lids with warm water and mild dish soap, then dry them completely so they look clear and polished on the tray.
2. Clean the silver tray with the microfiber cloth and glass cleaner, leaving a bit of tarnish if you like that vintage look; I often do, because it adds character the way a well-used copper pot does in a kitchen.
3. Set the empty tray on your bathroom counter and test where it fits best, making sure there’s enough room to lift jars on and off comfortably.
4. Place the jars on the tray and try a few arrangements before committing; a straight row works well on a narrow vanity, while a clustered grouping feels softer on a wider counter.
5. Stick two clear rubber bumpers to the bottom of each jar to keep the glass from sliding and to protect the tray from scratches.
6. If you want extra stability, add a small pea-sized bit of removable museum gel under each jar, then press the jars gently into place without making them permanent.
7. Fill the jars with bathroom essentials such as cotton swabs, cotton rounds, bath salts, hair pins, or dental picks, keeping similar items together so the organizer stays visually calm.
8. Put the lids on any jars holding items you want to keep dust-free, and leave one or two open if you use those contents every day.
9. Step back and adjust the spacing so the arrangement looks balanced, then wipe away any fingerprints from the jars and tray for a finished, polished look.
Variations & Tips
For a guest bathroom: Fill the jars with cotton swabs, cotton rounds, floss picks, and rolled hand towels nearby for a setup that feels thoughtful and hotel-like.
For a softer vintage look: Keep the tray lightly tarnished instead of fully polished; that aged finish gives the organizer warmth and makes the clear glass stand out beautifully.
For small counters: Use three jars instead of four and choose a narrower tray around 10 to 12 inches long so the arrangement doesn’t crowd the sink area.
For moisture control: Store powders, bath salts, and specialty items in lidded jars, especially if the tray sits in a bathroom that gets steamy after showers.
For easy cleaning: Lift the whole tray at once when wiping the counter underneath; it’s one of my favorite organizing tricks because it makes daily tidying much faster.
For a coordinated style: Match jar contents by color or texture, such as all-white cotton items or neutral-toned grooming tools, to give the organizer a calm, intentional feel.
For safe stability: If your tray surface is quite slick, use both rubber bumpers and removable gel so the jars stay in place but can still be lifted out and rearranged later.