
In fall, I always seem to have one hand full of pruners and the other trying to wrestle a floppy yard bag that refuses to stay open. This simple garden debris collection bin solves that problem with three humble shed items: wire coat hangers, a wire tomato cage, and a large plastic garden bag. The result is a lightweight, freestanding bin that holds itself open while you rake, deadhead, and clean up the beds.
I like projects like this because they use what many of us already have tucked into a garage corner, and they make a repetitive chore noticeably easier. If you want a fast, low-cost build that helps with leaves, faded annuals, and light prunings, this is a very practical little fix.
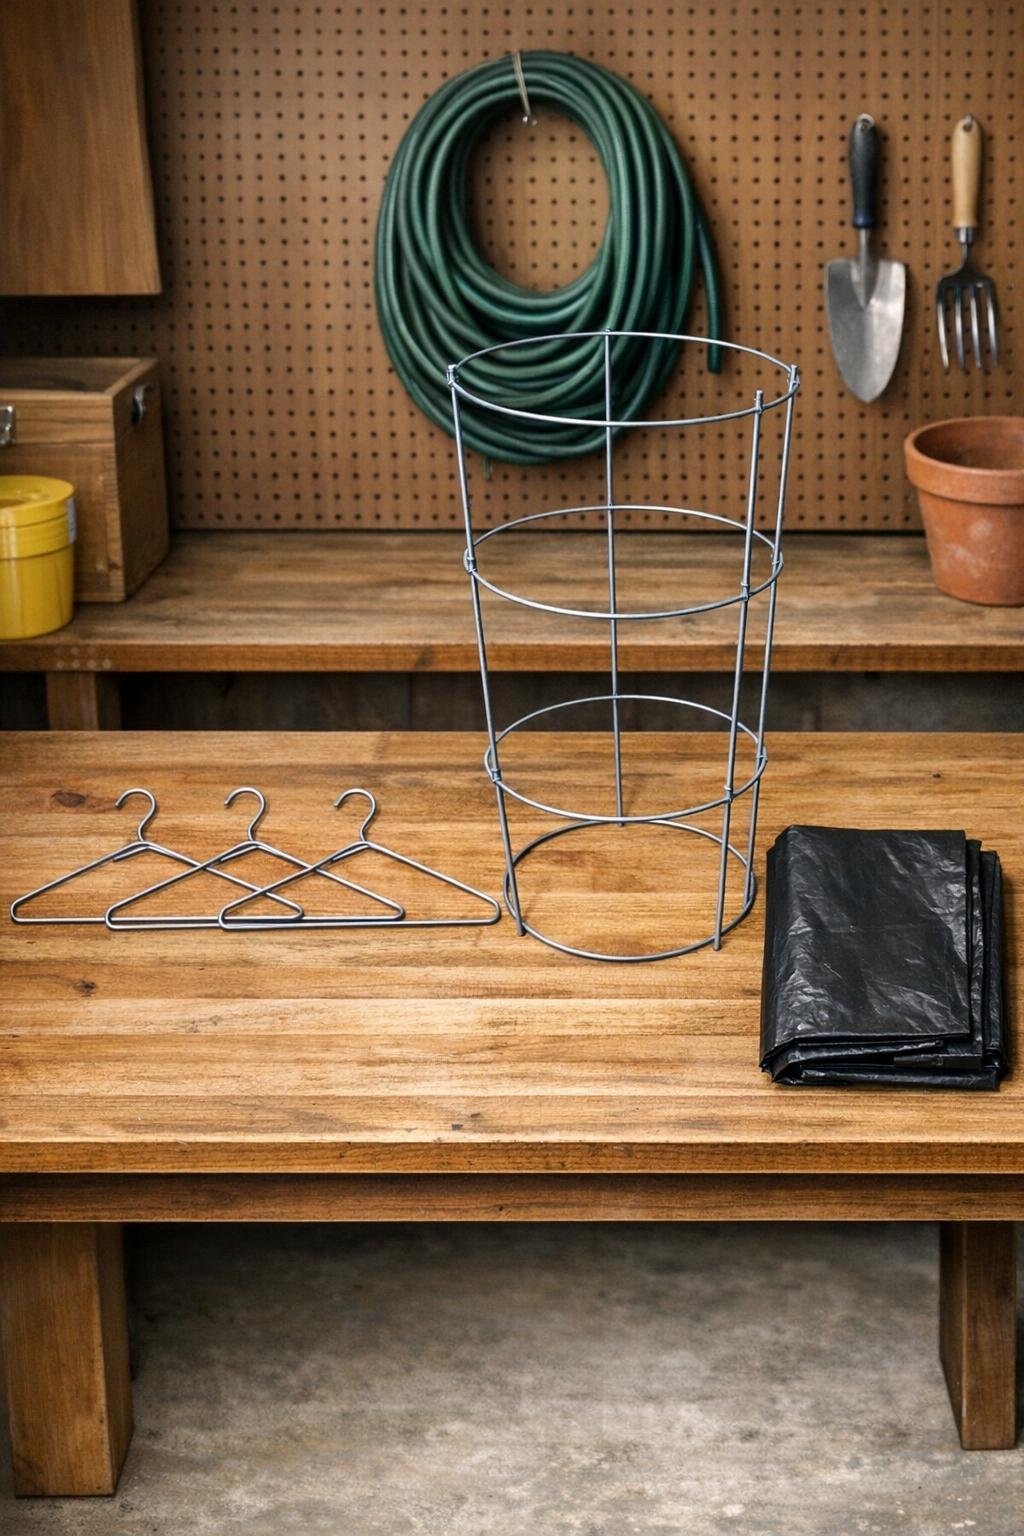
Materials
3 metal wire coat hangers, standard adult size, about 16 to 17 inches wide each
Instructions
1. Set the tomato cage on the ground with the wide ring at the top and the pointed legs facing down. Press the legs 3 to 4 inches into the soil, or set the cage inside a large empty planter if you want a movable bin for a patio or driveway.
2. Straighten each wire coat hanger just enough to open the triangle, then bend each one into a rough loop. Keep the hook or twisted neck section intact so you can use it as a fastening point.
3. Attach the first hanger loop to the top ring of the tomato cage by wrapping its hook or neck tightly around the ring. Repeat with the other two loops, spacing them evenly so they create a wider circular support around the top.
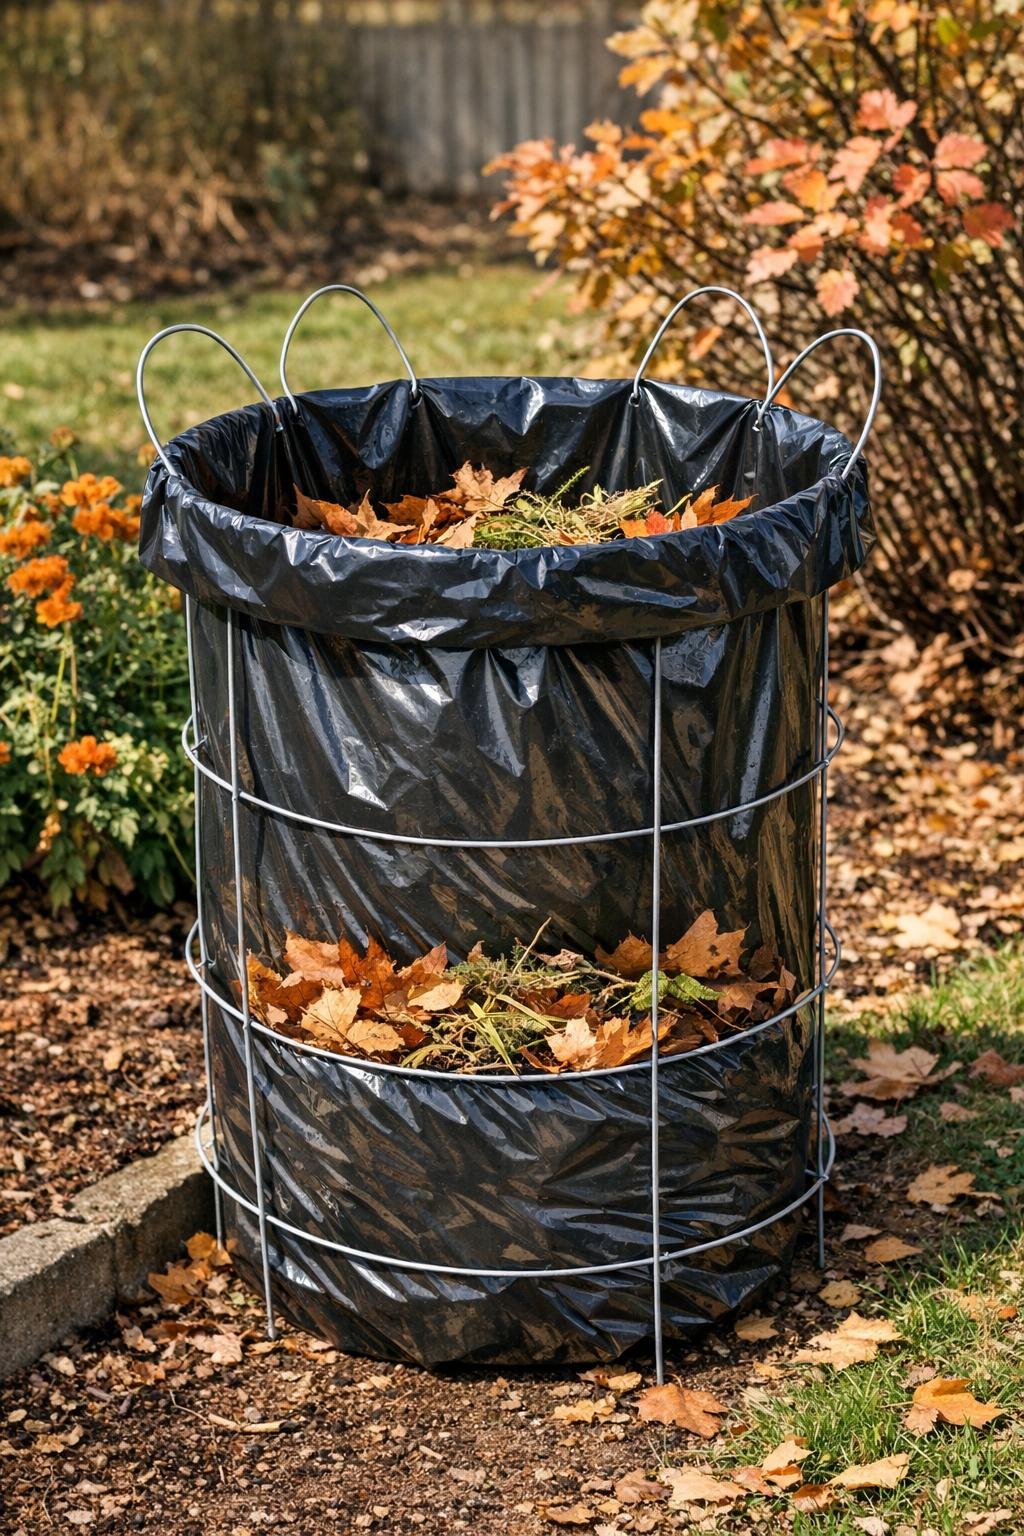
4. Adjust the three loops until they form an even collar that flares the opening several inches wider than the original cage top. This extra rim is what keeps the bag mouth open instead of collapsing inward.
5. Open the garden bag and slide it down over the widened wire collar and cage frame. Pull the bag edge over the loops so the plastic catches under the wire and stays spread open.
6. Tuck the bottom of the bag neatly inside or around the lower portion of the cage so it does not drag. If the bag is extra long, fold the excess outward once to keep the opening tidy and stable.
7. Start filling the bin with dry leaves, spent stems, and soft garden debris. When it is full, lift the bag off the wire frame, tie it closed, and fit a fresh bag over the frame if needed.
Variations & Tips
For lighter cleanup: This works best for leaves, frost-killed annuals, and soft trimmings rather than thick woody branches. I save heavier rose canes and shrub prunings for a sturdier yard cart.
Use a planter as a base: If your soil is frozen or you are working on a driveway, set the tomato cage inside a large empty nursery pot with a brick in the bottom. That gives the bin enough weight to stand without staking it into the ground.
Choose the right bag size: A 30-gallon bag fits a narrower cage neatly, while a 39-gallon bag is easier if your hanger loops create a very wide collar. The bag should drape over the rim without straining.
Smooth rough wire ends: If any cut or twisted wire feels sharp, bend it inward tightly so it does not snag the plastic. A torn bag is one of those tiny frustrations that can sour an otherwise efficient garden afternoon.
Make it easier to empty: Do not overpack wet debris. A moderately filled bag lifts off the frame much more cleanly, and you will be less likely to pull the wire collar out of shape.
Try it as a temporary harvest bin: For lightweight jobs, you can also use this frame to hold a bag for pulled weeds or even a cloth sack for dry corn stalk leaves. I appreciate any garden tool that earns its storage space in more than one season.